Offrez à vos amis 10 € de réduction sur leur première commande !
Parrainez un AMI








Un projet de notre émission en direct CREATE AND CRAFT - KIT EN COFFRET - Retrouvez Toni pour sa dernière émission de lancement 2 - Diffusé le 16 nov. 22 · 16/11/2022 · à voir dès 25:30
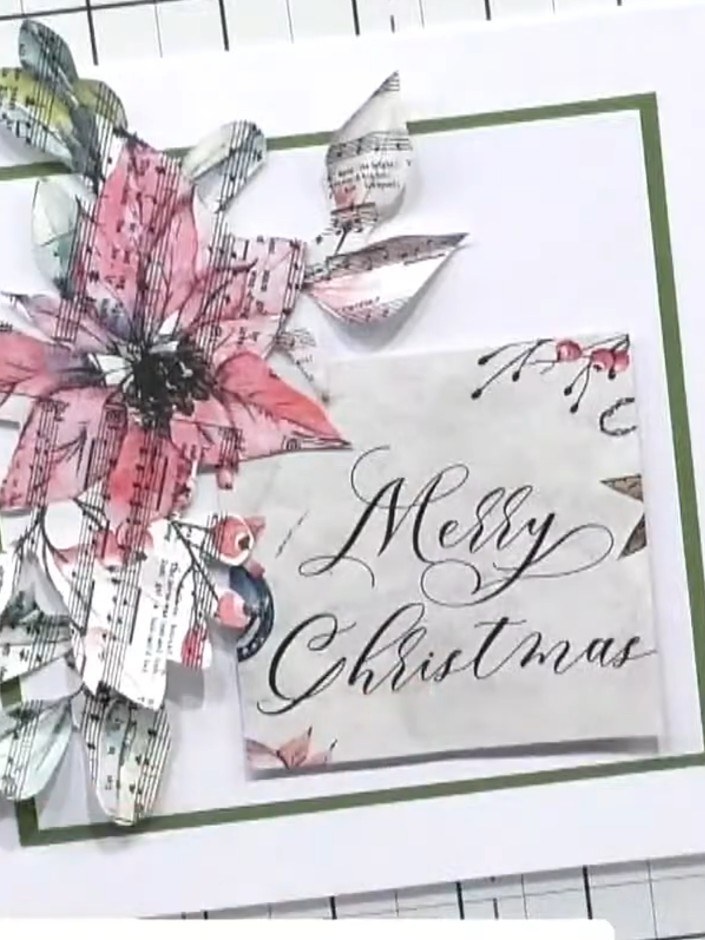
Create a stunning festive card featuring a dimensional poinsettia flower in pink and grey tones. The poinsettia is fussy-cut from patterned paper and layered with foam pads for depth, then embellished with black gems and positioned on a white card base with a green border and elegant 'Merry Christmas' sentiment. This project combines die-cutting, paper layering and dimensional techniques to create a beautiful seasonal greeting card.
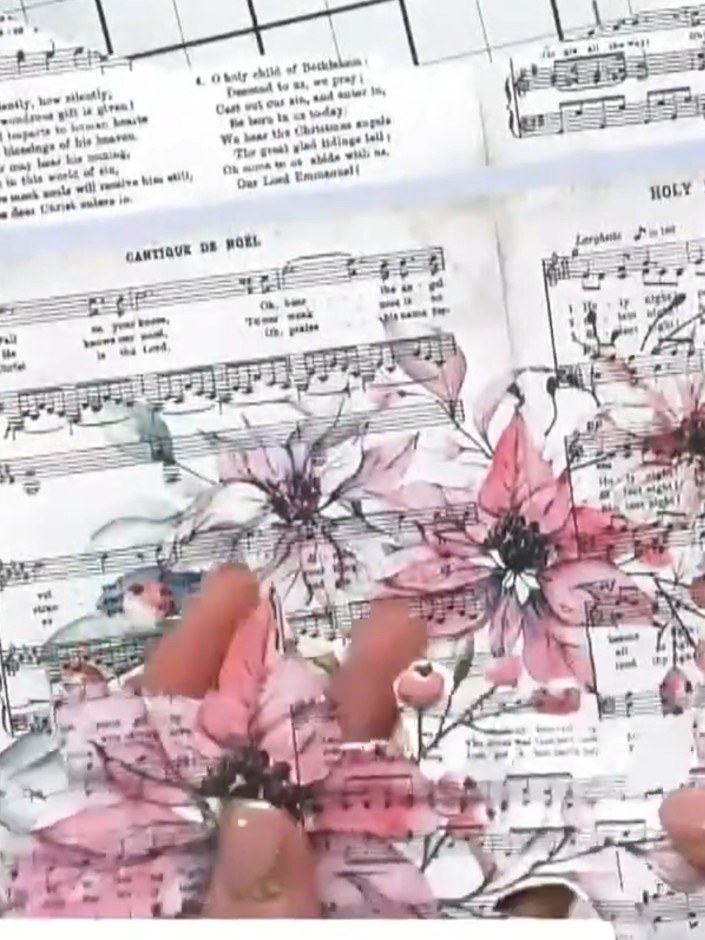
Fussy cut a poinsettia design from the paper pad, carefully cutting around the petals and flower details.
▶ voir cette étape (25:30)
Trim away sections of the die-cut butterfly design with scissors to reshape the petals to your preference. Cut carefully around the decorative edges to refine the shape.
▶ voir cette étape (26:00)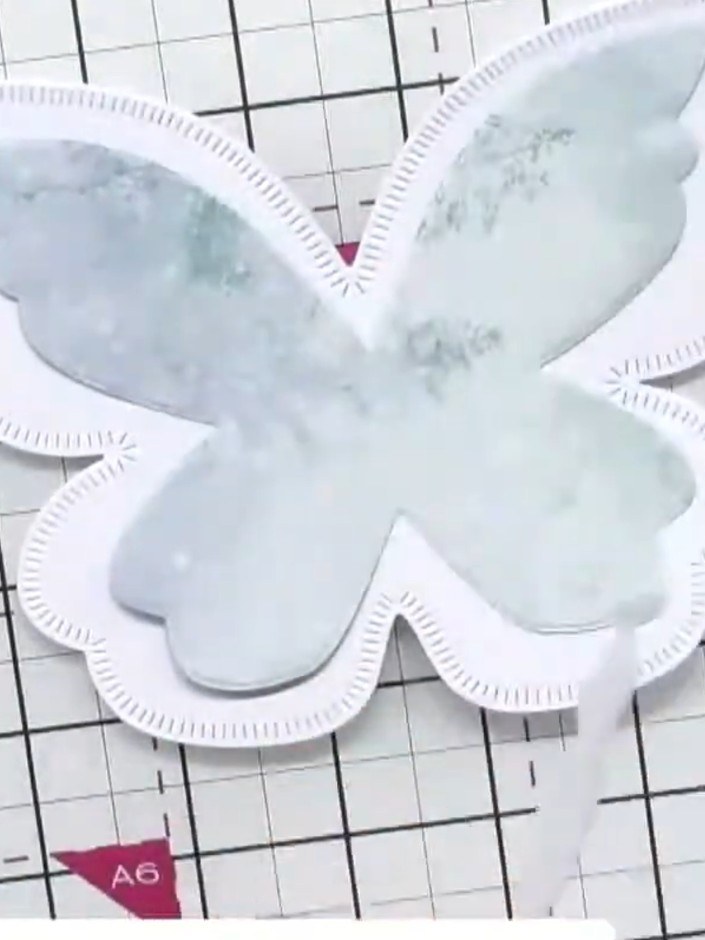
Apply foam pads to the back of the die-cut butterfly poinsettia shape to create dimension. Position the foam pads evenly across the back of the piece to ensure it sits level when attached to the card.
▶ voir cette étape (26:15)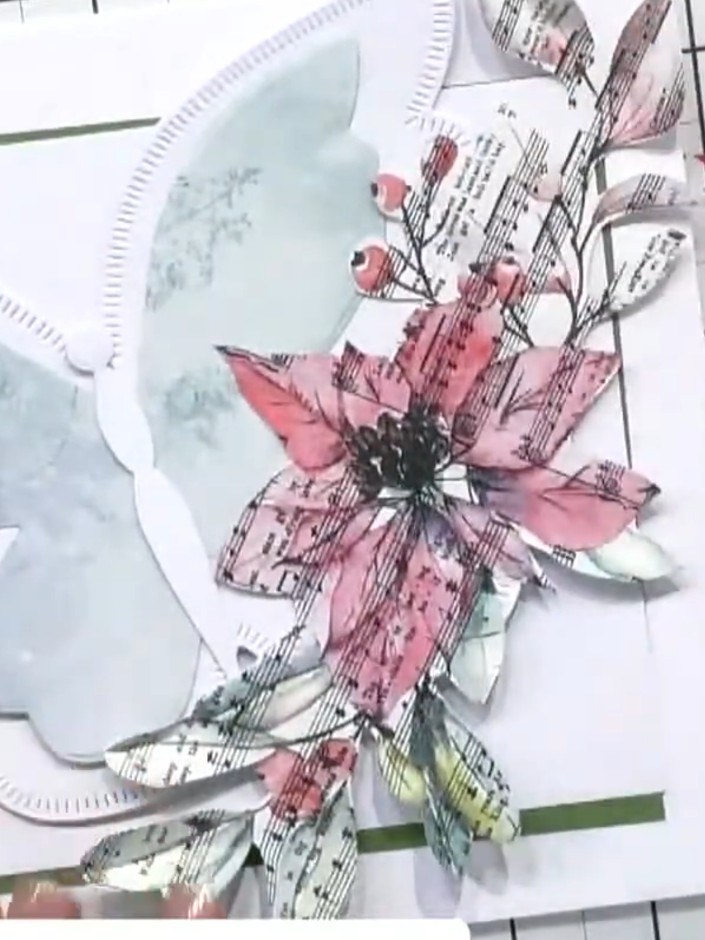
Attach the layered poinsettia embellishment onto the front of your green card base using adhesive. Position it centrally or as desired to create your finished card design.
▶ voir cette étape (26:30)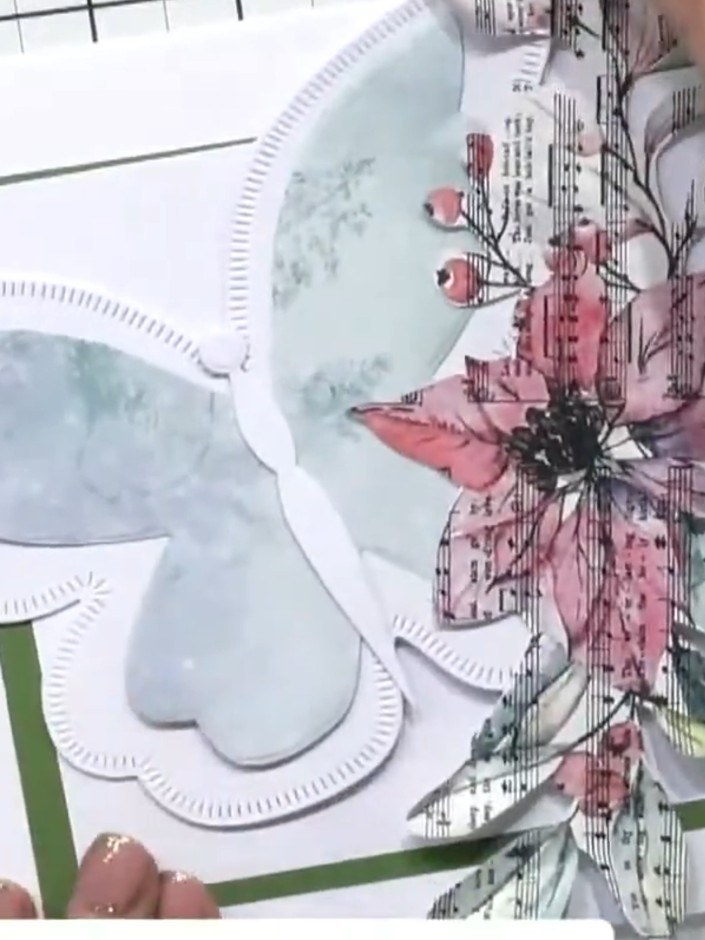
Tuck Christmas embellishments such as mistletoe sprigs behind the layered poinsettia flower to add festive detail and depth to your card design.
▶ voir cette étape (27:00)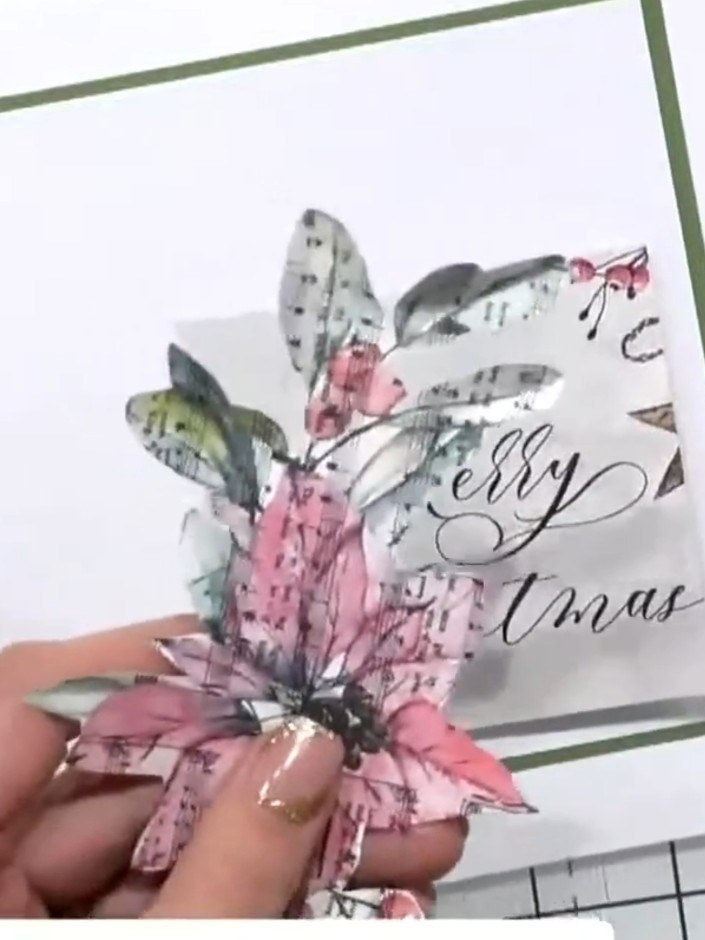
Add sparkle or sequins to embellish the card. Trim any excess ribbon or embellishments with scissors to neaten the design.
▶ voir cette étape (28:00)Rédigé à partir de l'émission elle-même. Découvrez tous les guides de nos émissions · tutoriels gratuits · regarder en direct sur My Telly