Offrez à vos amis 10 € de réduction sur leur première commande !
Parrainez un AMI








Un projet de notre émission en direct CREATE AND CRAFT - NOUVEAUTÉS ET EXCLUSIVITÉS - Retrouvez Toni pour ses derniers produits et ses idées créatives - Diffusion du 12 oct. 22 · 12/10/2022 · à voir dès 21:00
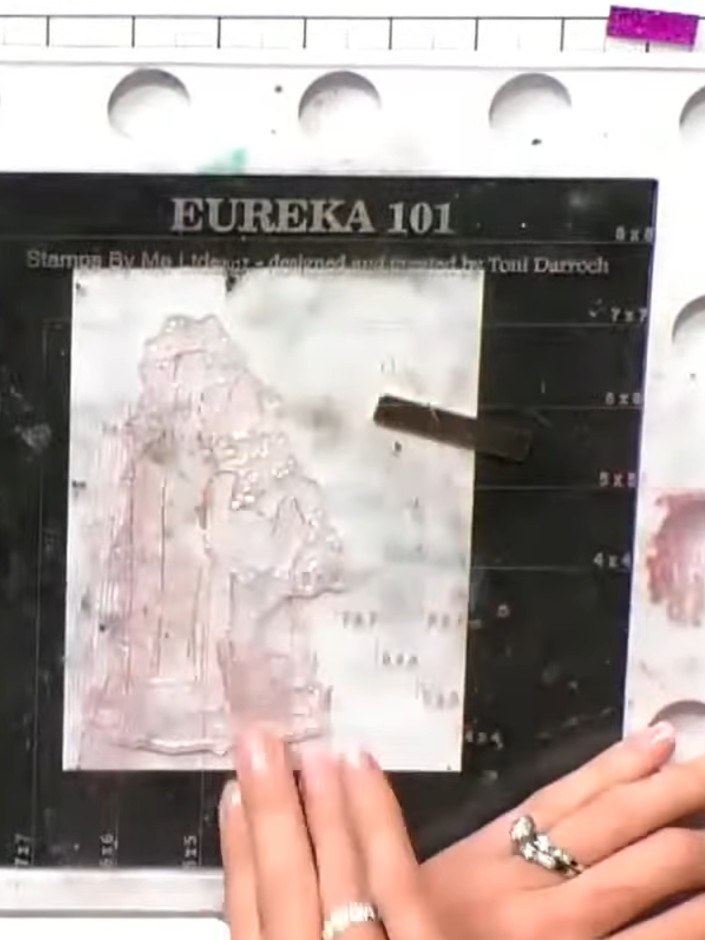
Create a striking wine-themed celebration card featuring a purple wine bottle and glass with splatter effects. Using lamination stamps and embossing powder, you'll achieve a glossy, dimensional finish that adds sparkle and texture to your design. This technique demonstrates how to use embossing powder as an alternative to watercolour for bold, eye-catching results.
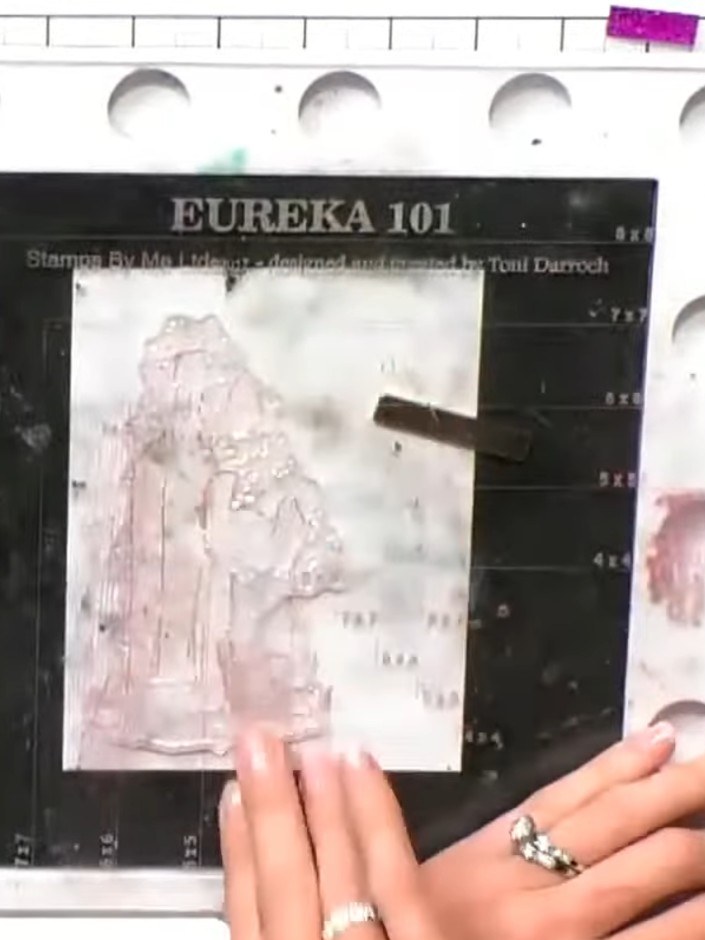
Using a sticky ink pad, stamp the solid wine bottle image from the Celebrate stamp set onto white cardstock. Position the stamp centrally on your card panel.
▶ voir cette étape (21:00)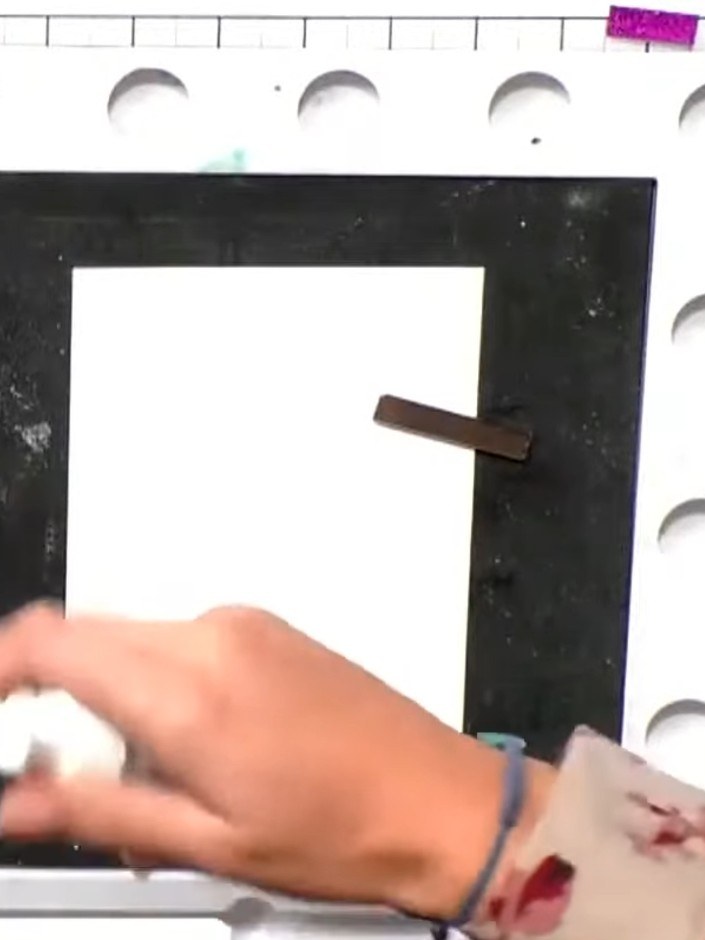
Dust the inked stamp generously with embossing powder, ensuring complete coverage of all the stamped detail.
▶ voir cette étape (21:15)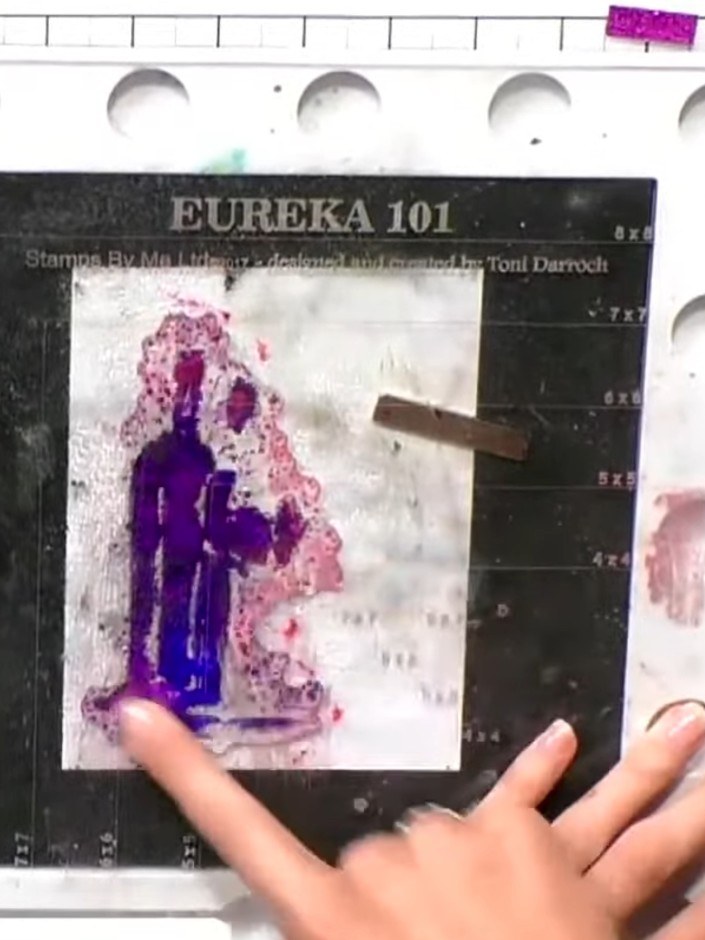
Tap off the excess embossing powder back into the pot. Use an anti-static bag to remove any remaining loose powder from the stamped image.
▶ voir cette étape (21:30)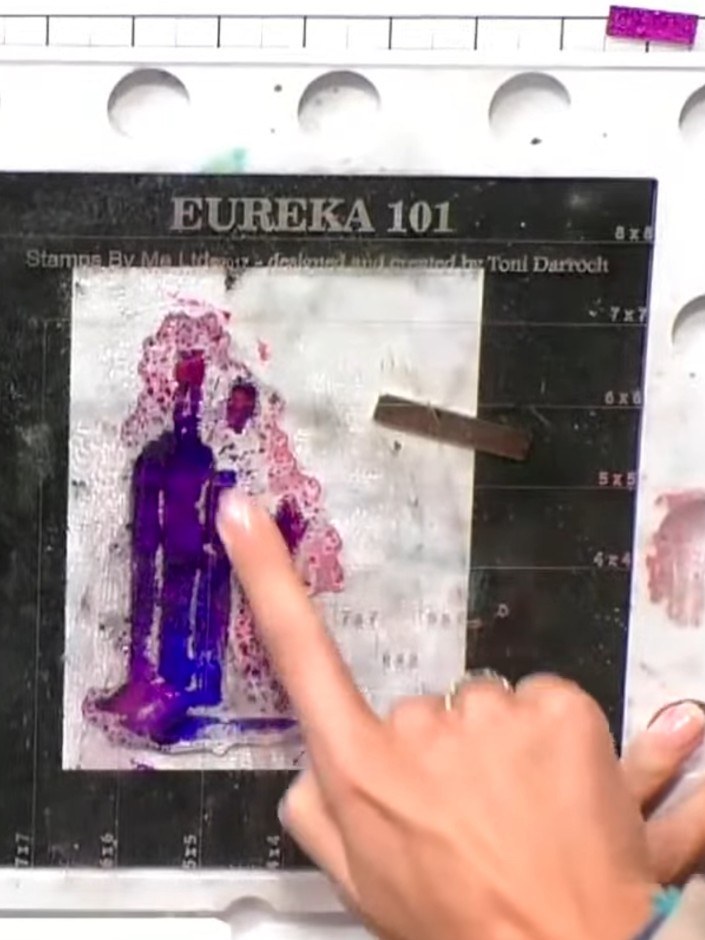
Heat the embossing powder with a heat gun, holding it at a distance and moving it around until the powder melts and becomes glossy. The purple embossing powder will transform into a shiny, raised finish.
▶ voir cette étape (21:45)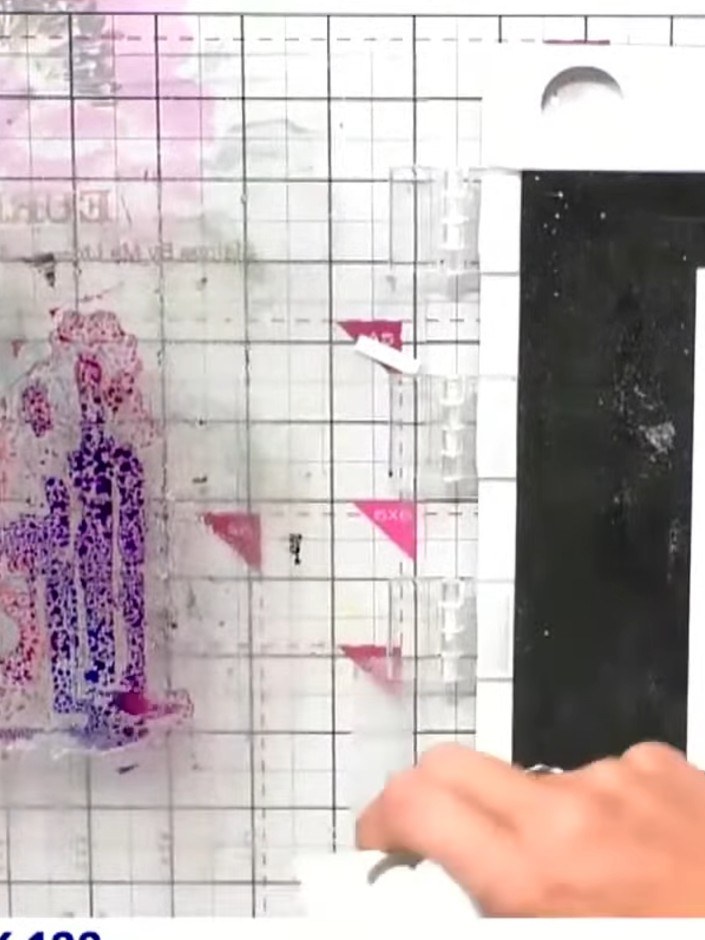
Once the embossed wine bottle has cooled, line up the outline stamp from the same set and stamp it directly over the solid embossed portion using black ink. This creates a detailed outline around the purple embossed wine bottle image.
▶ voir cette étape (22:00)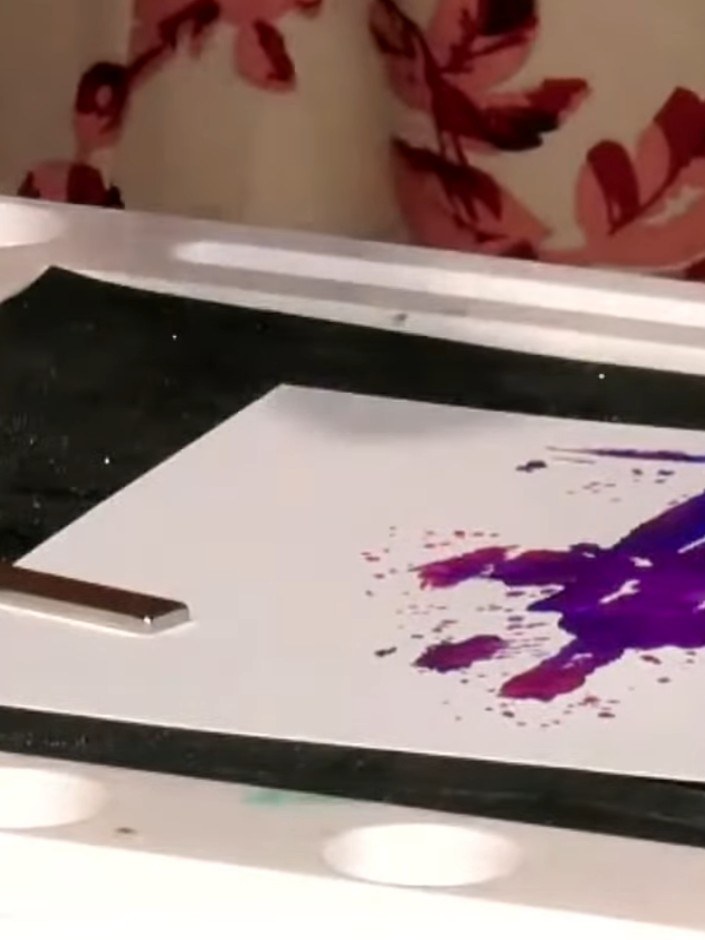
Heat emboss the outline stamp using your heat tool to create a coordinated sparkly finish. Apply the embossing powder to the stamped image and heat until the powder melts and creates a raised, glossy effect.
▶ voir cette étape (22:15)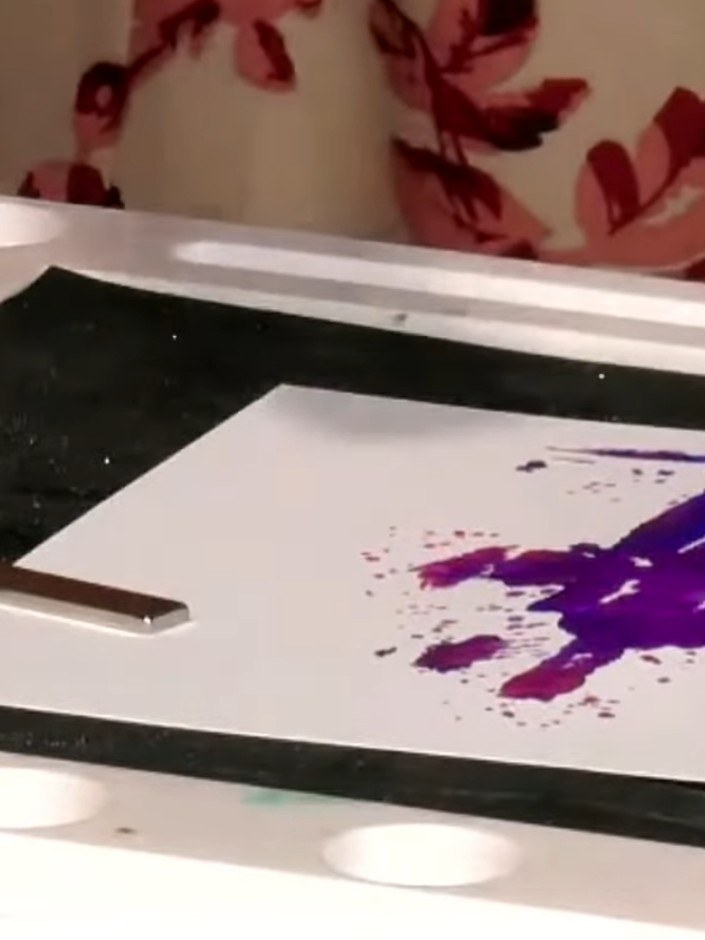
Mount the finished wine bottle design onto your chosen cardstock base using adhesive. Position it centrally to create a professional-looking card. Your embossed wine bottle card is now complete.
▶ voir cette étape (22:30)Rédigé à partir de l'émission elle-même. Découvrez tous les guides de nos émissions · tutoriels gratuits · regarder en direct sur My Telly