Offrez à vos amis 10 € de réduction sur leur première commande !
Parrainez un AMI








Un projet de notre émission en direct CREATE AND CRAFT - NOUVEAUTÉS ET EXCLUSIVITÉS - Retrouvez Toni pour ses derniers produits et ses idées créatives - Diffusion du 12 oct. 22 · 12/10/2022 · à voir dès 5:00
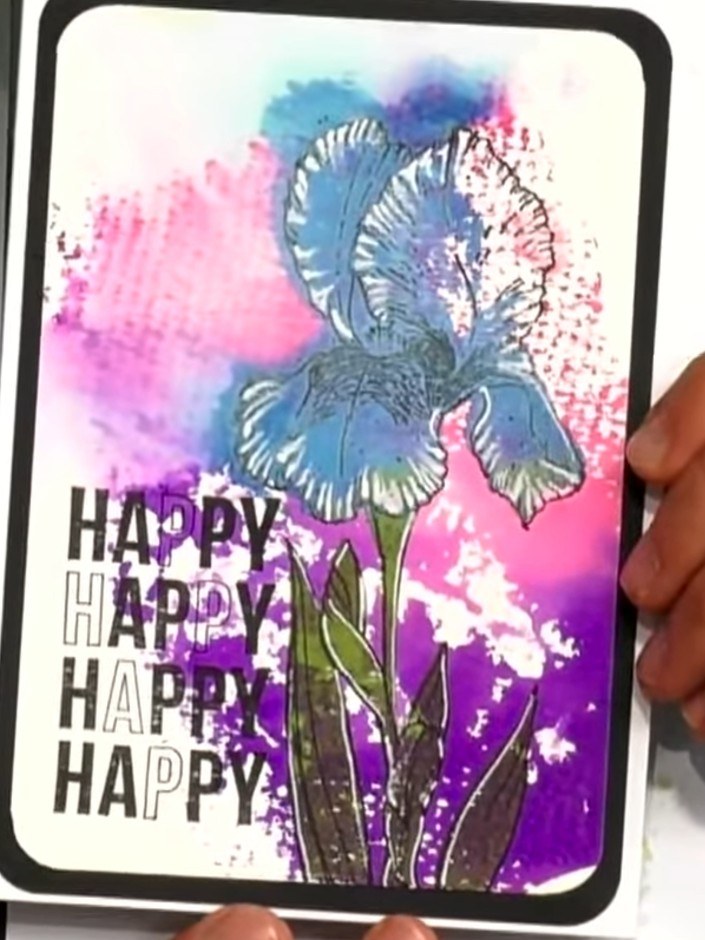
Create a quick and elegant slimline card using a single ink colour with lamination stamps. This project demonstrates how to achieve beautiful results with minimal colour variation, featuring delicate floral imagery with pink and purple tones, gold foil accents, and a 'Think Positive' sentiment. The technique showcases the versatility of stamping and how simple colour choices can create stunning, professional-looking cards.
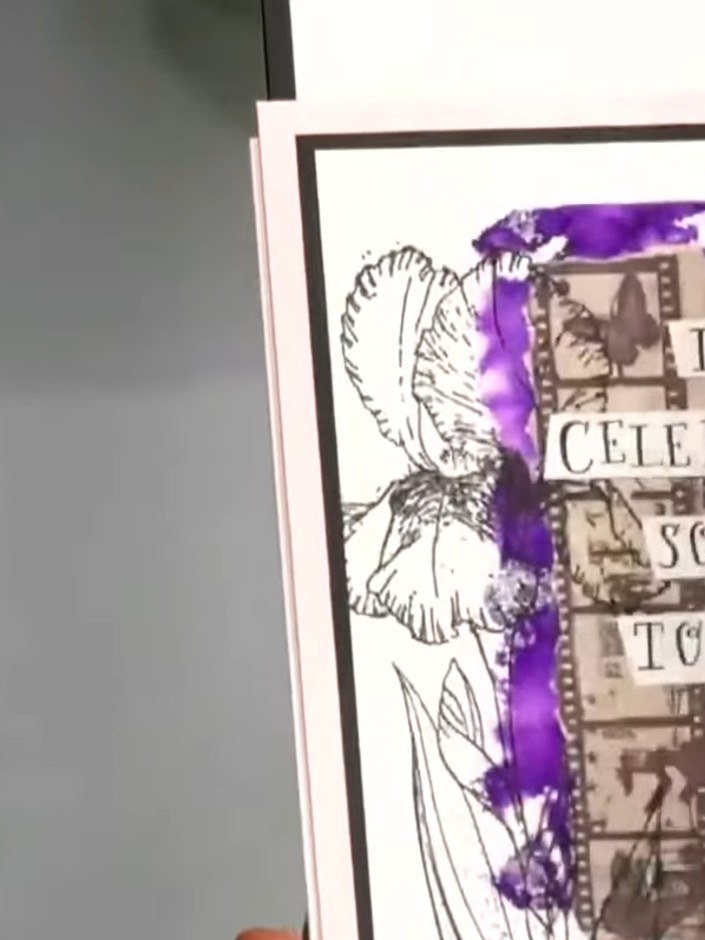
Stamp the solid portion of your chosen design onto slimline cardstock using a single purple ink pad. Position the stamp carefully to create the base image for your card.
▶ voir cette étape (5:00)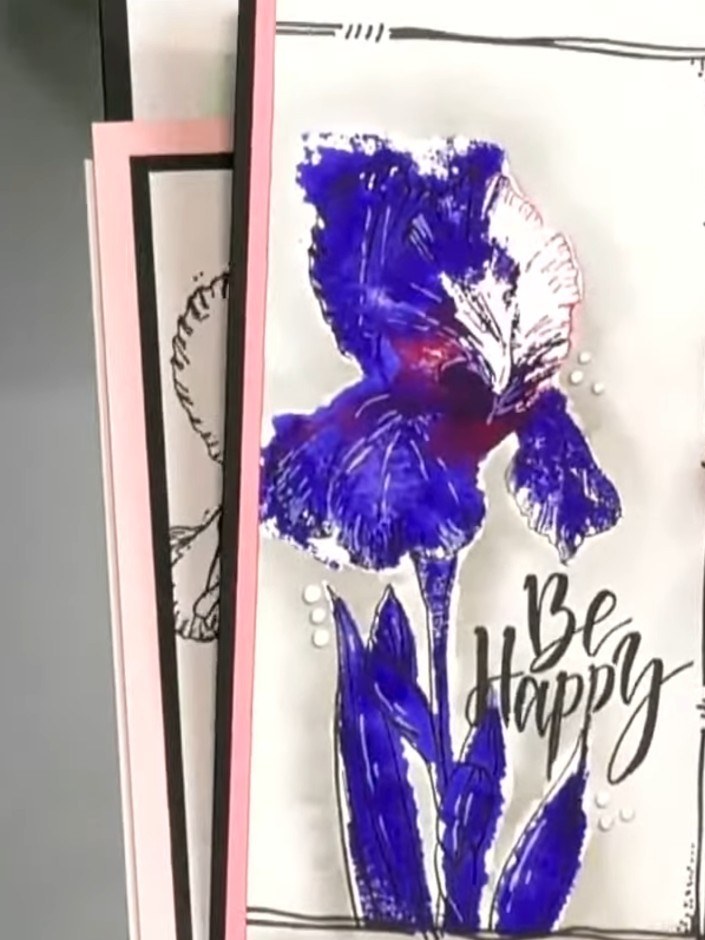
Line up and stamp the outline portion of the iris stamp over the previously stamped solid portion to complete the design. Ensure careful alignment to create the finished layered iris image.
▶ voir cette étape (5:15)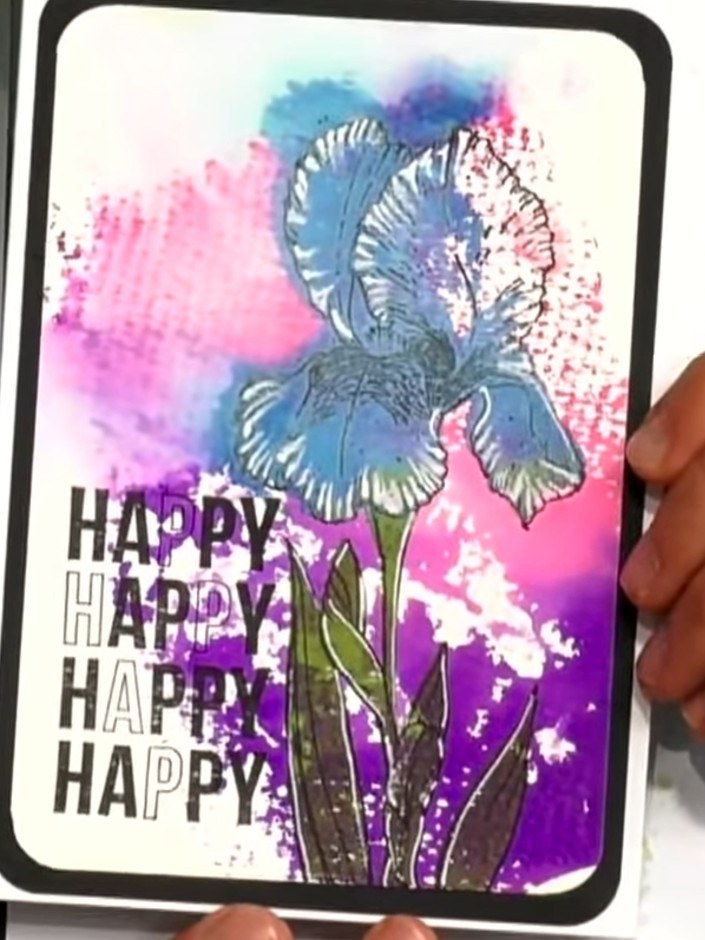
Stamp your chosen sentiment onto the card. Position the 'HAPPY' repeated text stamp to the right side of the iris flower. Use the same ink colour as the iris for a coordinated look.
▶ voir cette étape (5:30)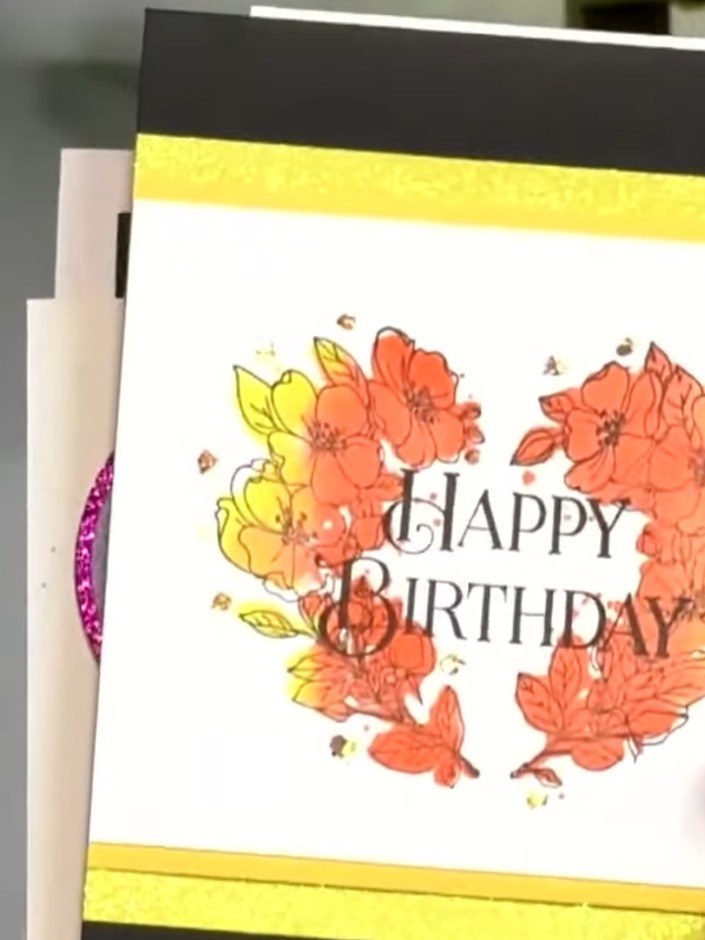
Mount the completed stamped panel onto your slimline card base using adhesive to finish the card.
▶ voir cette étape (5:45)Rédigé à partir de l'émission elle-même. Découvrez tous les guides de nos émissions · tutoriels gratuits · regarder en direct sur My Telly