Offrez à vos amis 10 € de réduction sur leur première commande !
Parrainez un AMI








Un projet de notre émission en direct THE ART OF CARDISTRY - Rejoignez-moi pour ma séance de création de cartes avec toutes mes merveilleuses abonnées américaines - Diffusé le 4 SEPT. 23 · 04/09/2023 · à voir dès 31:30
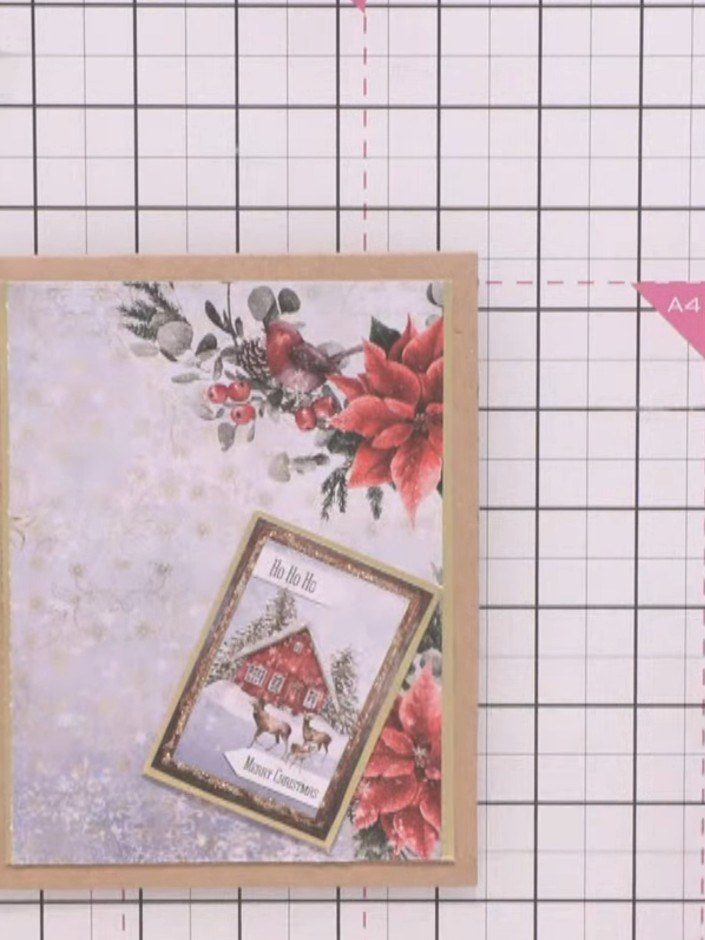
Réalisez une superbe carte festive avec les élégants médaillons prédécoupés de la collection Winter Story. Ce design plein de charme associe des illustrations au style vintage à des messages encadrés de doré, comme « Happy Holidays », « Ho Ho Ho » et « Sending Wishes », le tout orné de magnifiques poinsettias rouges et de verdure de saison. Superpositions et embellissements en relief font de cette carte un vœu de Noël des plus raffinés.
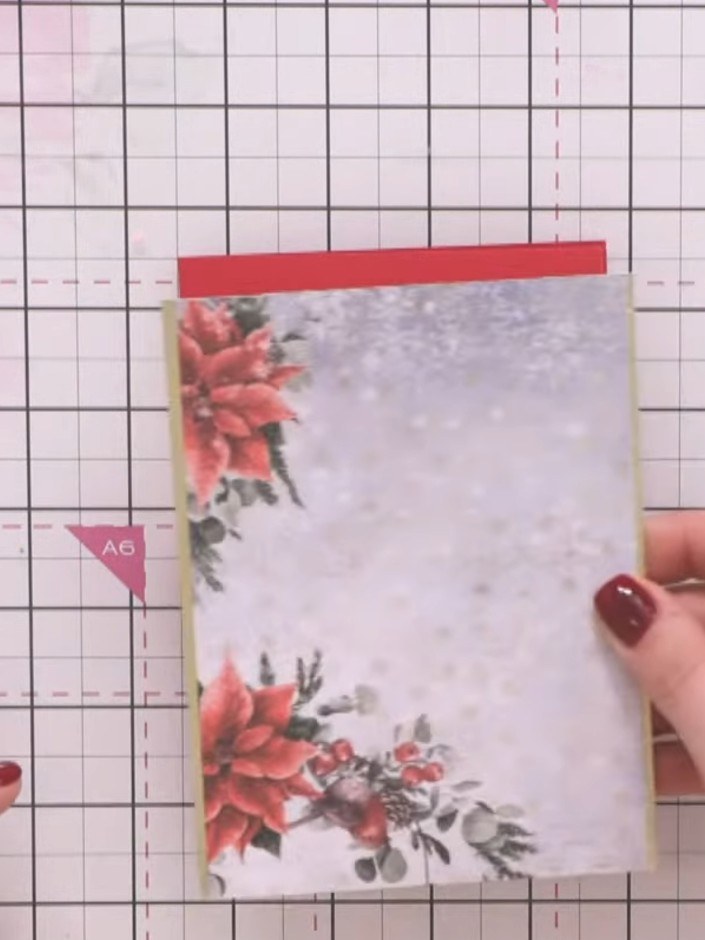
Select a pre-cut topper from the Winter Story collection and mount it onto gold cardstock.
▶ voir cette étape (31:30)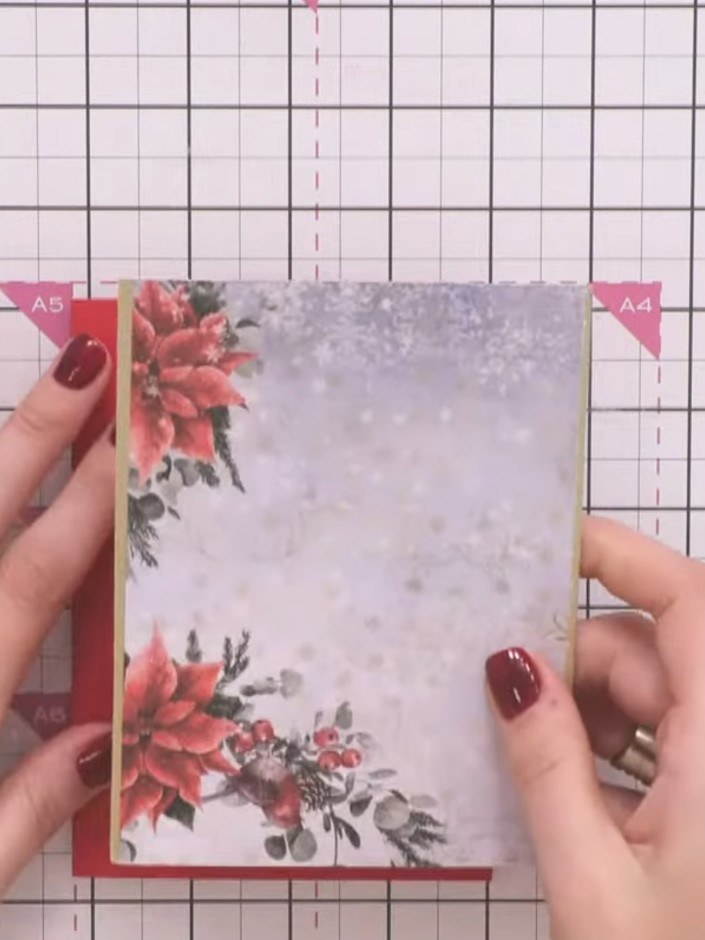
Add sparkle around the frame of the topper using glitter or embellishment for extra decoration.
▶ voir cette étape (32:00)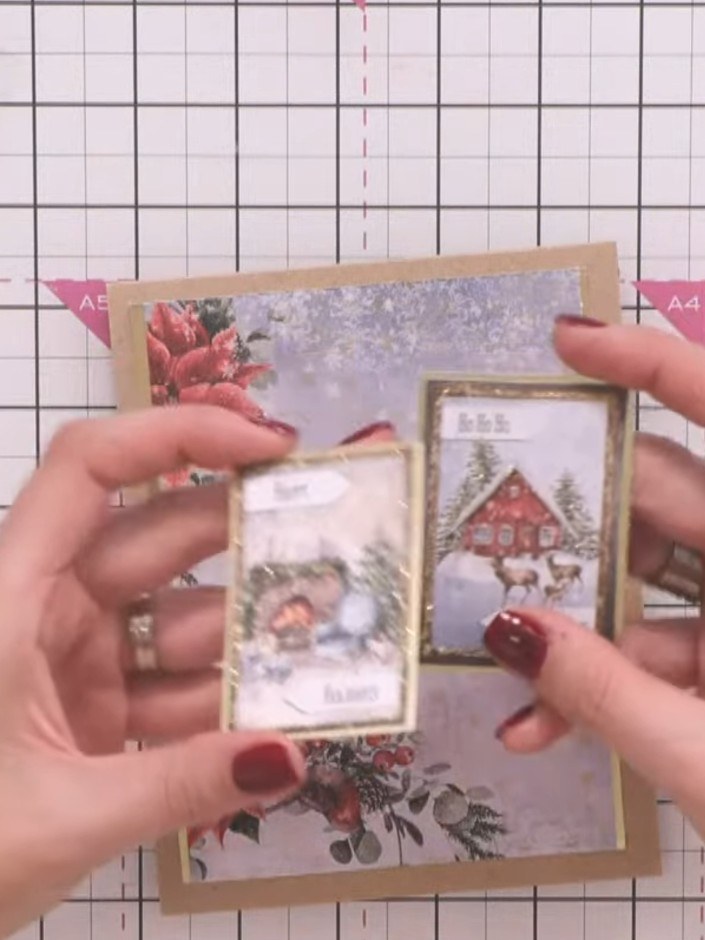
Position two small rectangular toppers with winter scenes (snowman and house) onto the card front with gold borders showing. These add a final decorative touch to complete the card design.
▶ voir cette étape (33:00)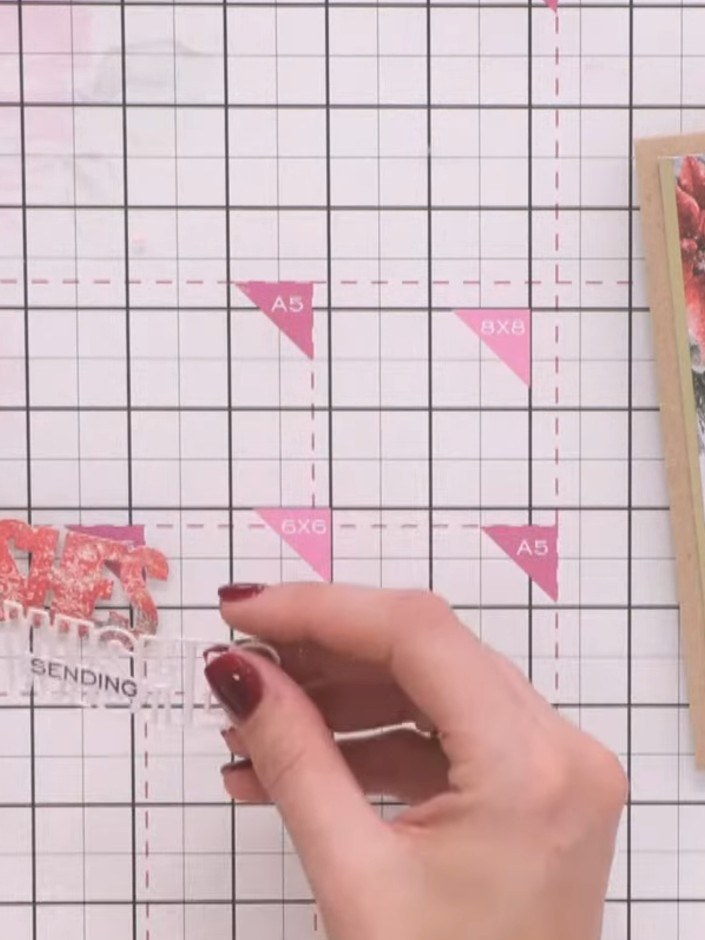
Position the stamped sentiment on the card, placing it below the toppers so it doesn't cover the main decorative elements. Ensure the 'SENDING WISHES' text is clearly visible beneath the winter scenes.
▶ voir cette étape (33:45)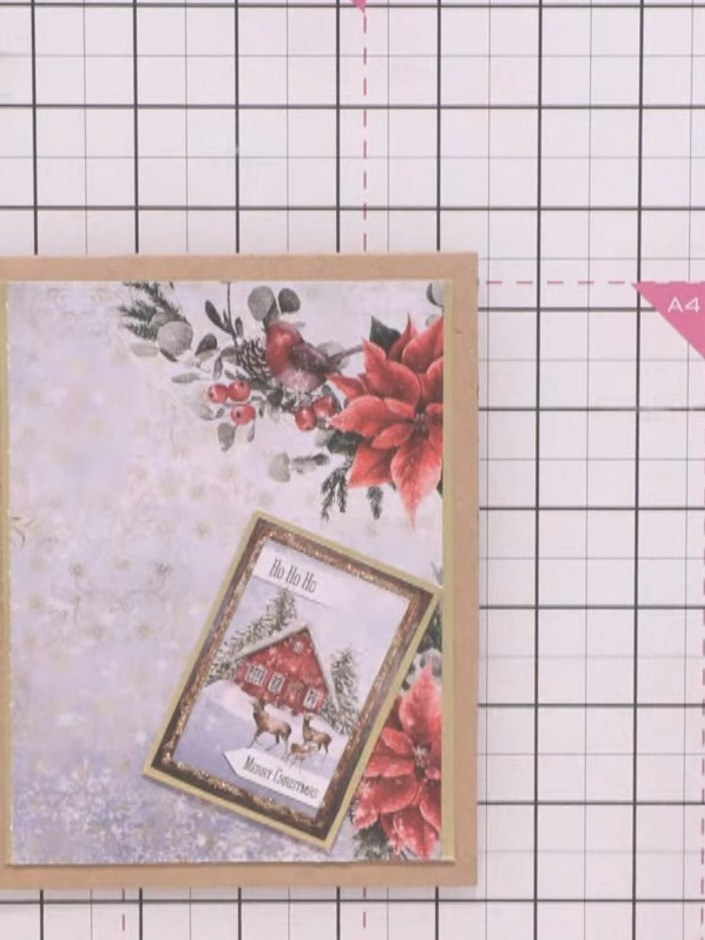
Cut out a poinsettia flower cluster from the Winter Story paper collection. Position it in the lower right corner of the card front.
▶ voir cette étape (34:30)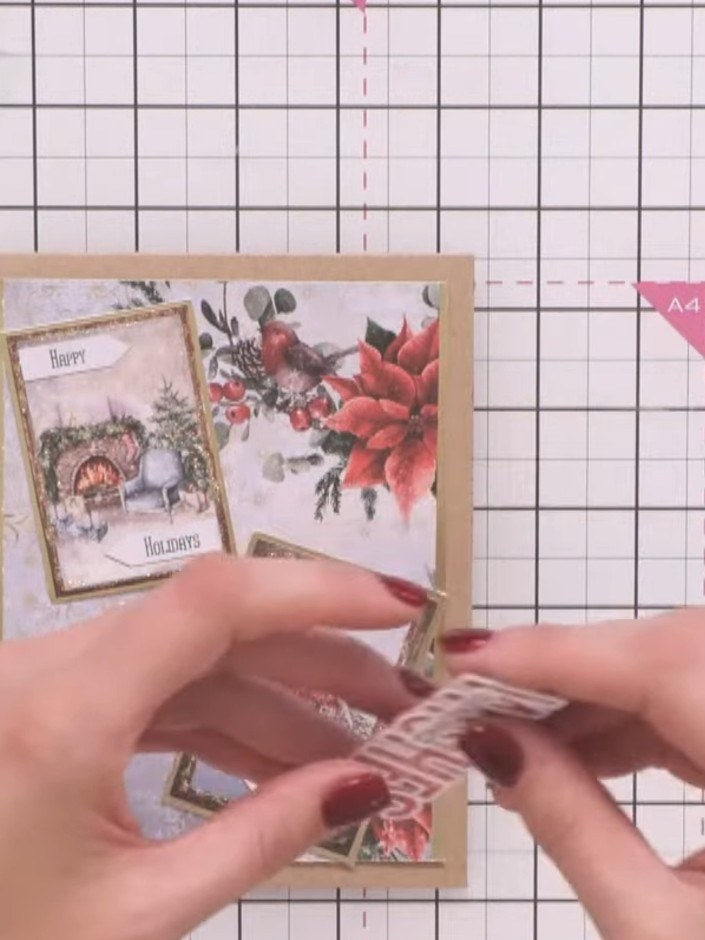
Pinch the leaves of the poinsettia slightly to add dimension to the flowers.
▶ regarder cette étape (35:00)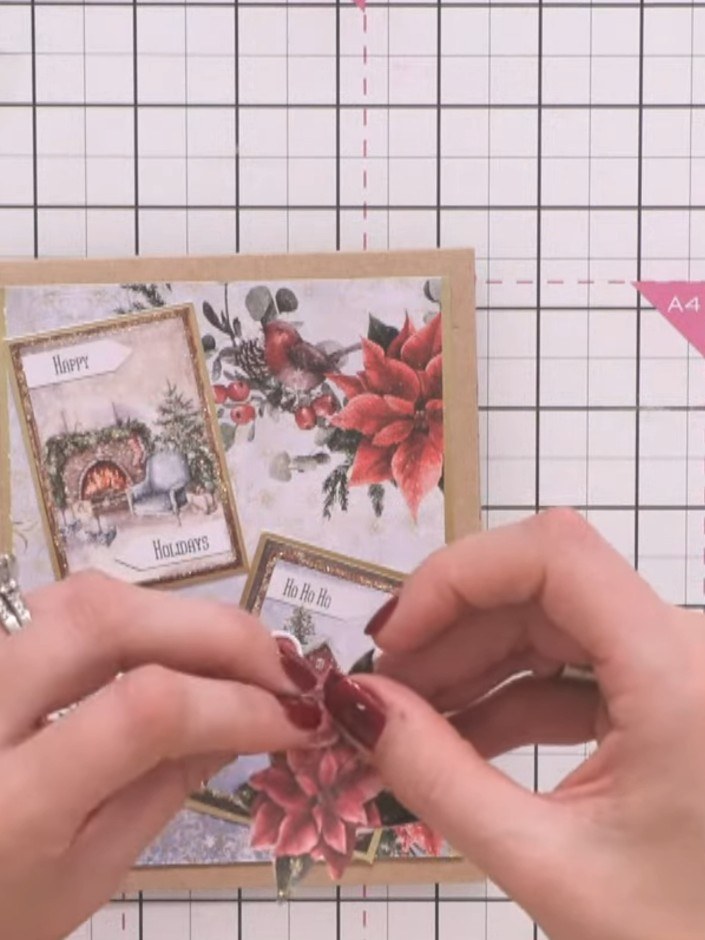
Secure the red poinsettia cluster beneath the 'Ho Ho Ho' sentiment topper to add dimension and create a decorative layered effect.
▶ voir cette étape (35:30)Rédigé à partir de l'émission elle-même. Découvrez tous les guides de nos émissions · tutoriels gratuits · regarder en direct sur My Telly