Offrez à vos amis 10 € de réduction sur leur première commande !
Parrainez un AMI








Un projet de notre émission en direct THE ART OF CARDISTRY - Rejoignez-moi pour ma séance de création de cartes avec toutes mes merveilleuses abonnées américaines - Diffusé le 4 SEPT. 23 · 04/09/2023 · à voir dès 42:45
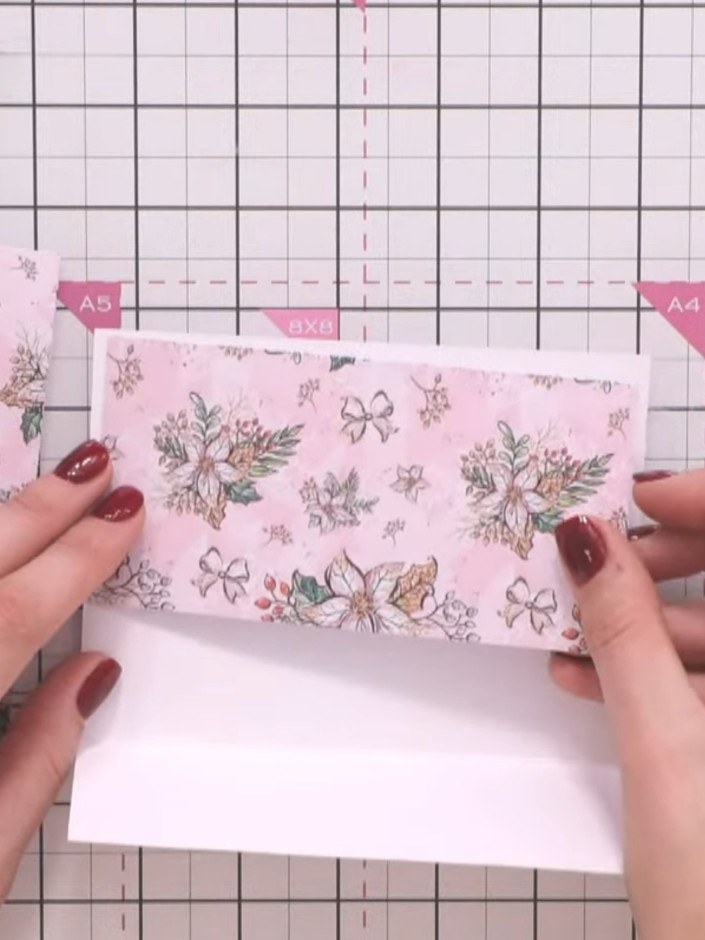
Réalisez une élégante carte de fêtes avec un panneau découpé à la matrice Wrap and Fold, dans de doux tons roses. Le bord décoratif plié apporte relief et caractère, associé à un délicat papier imprimé à fleurs et couronné d'un message festif préimprimé. Ce design moderne allie découpe à la matrice et superpositions toutes simples pour des vœux de saison raffinés.
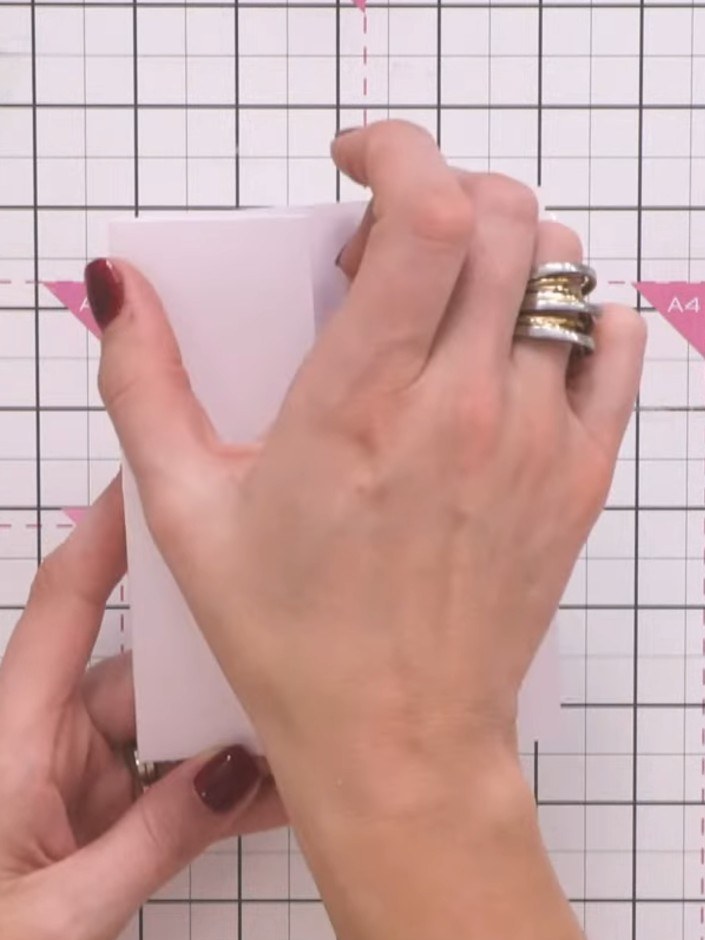
Cut an A2 card base (10.5 x 14.8 cm when folded) from white cardstock.
▶ voir cette étape (42:45)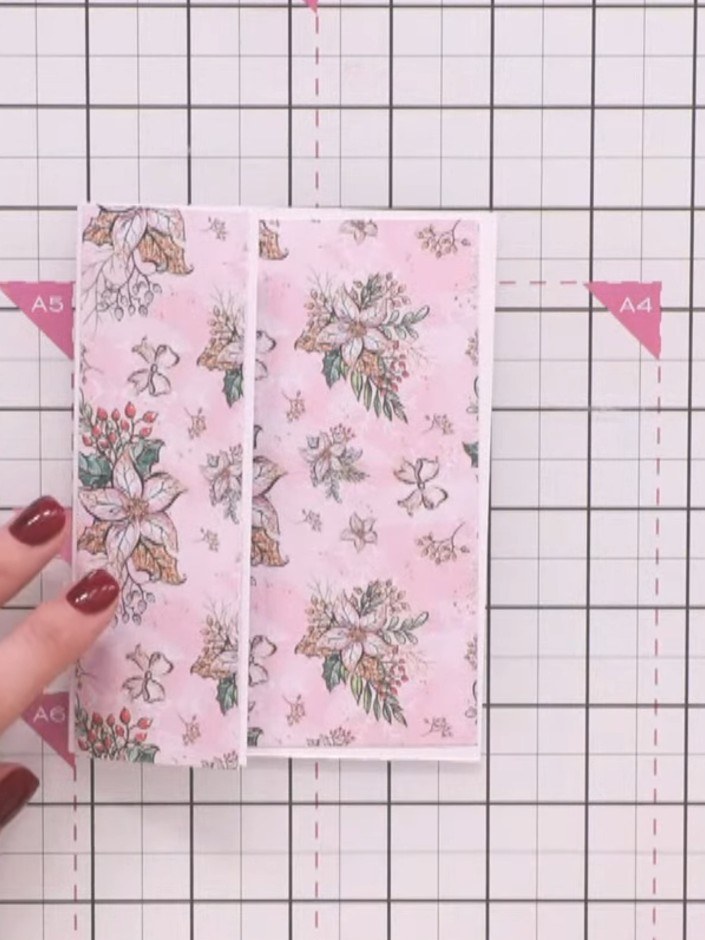
Use the wrap and fold die to cut a panel from the pink floral cardstock. This will create a decorative edge with a built-in score line for the front of your card.
▶ voir cette étape (43:00)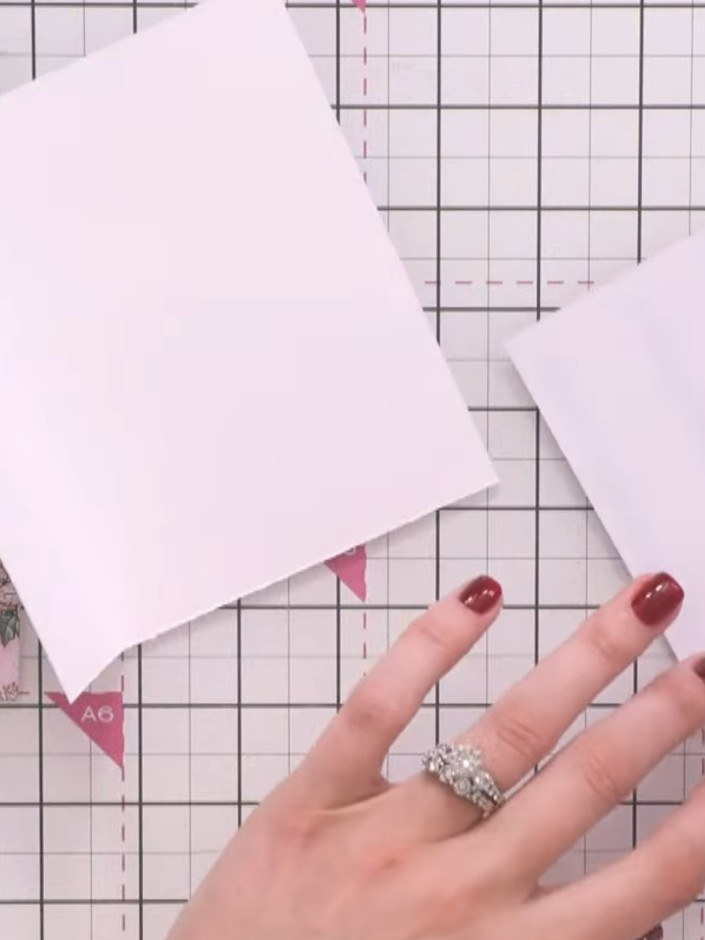
Cut a second panel from the pink floral patterned paper to use as a backing layer for your card front.
▶ voir cette étape (43:15)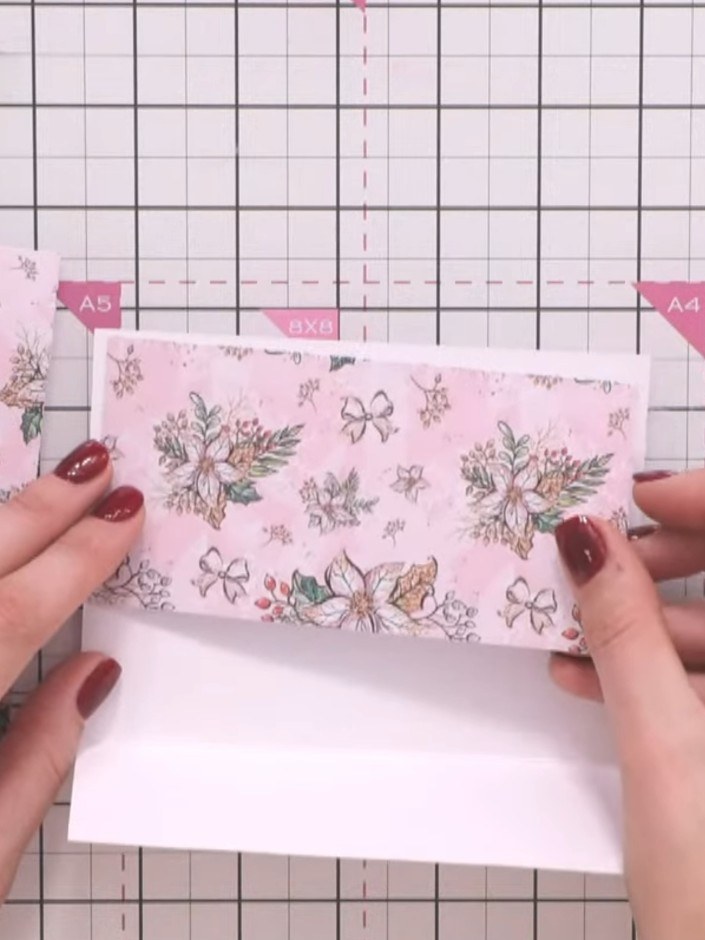
Secure the pink patterned wrap and fold panel to the front of the white card base using adhesive tape, smoothing it down firmly to ensure it is well attached.
▶ voir cette étape (43:30)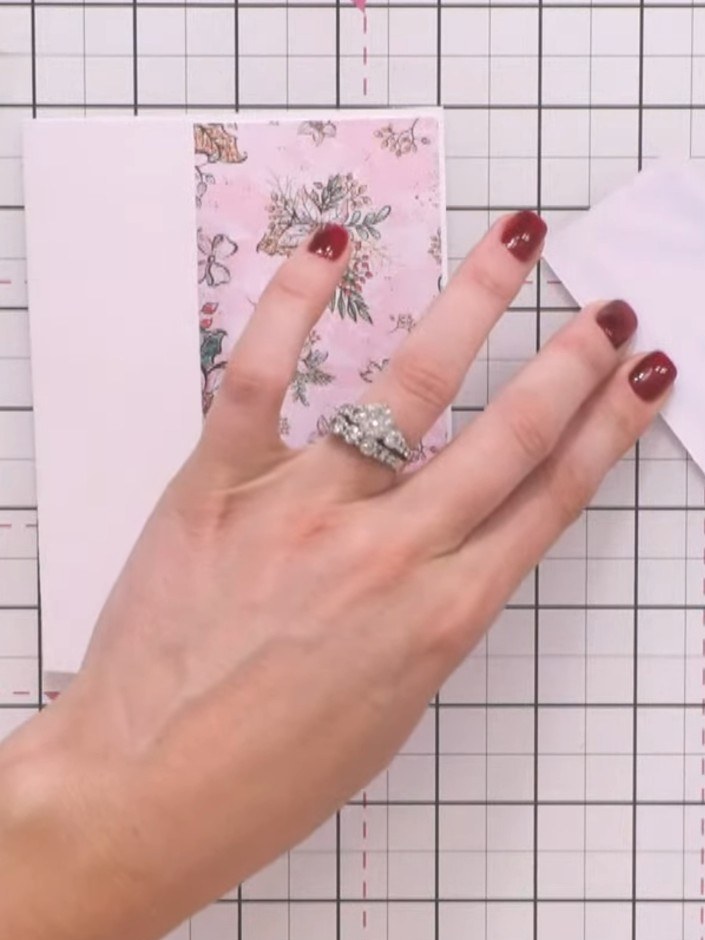
Layer the patterned paper panel behind the pink panel, positioning it so the pattern shows around the edges of the pink card.
▶ voir cette étape (43:45)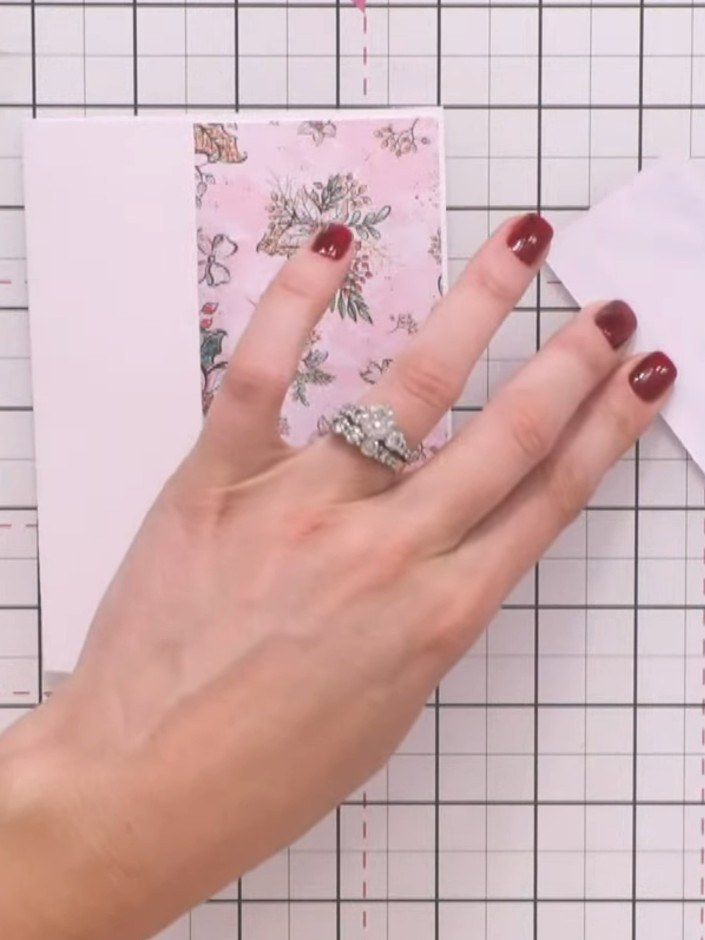
Select a pre-printed sentiment from the collection. Choose one such as 'Friends like you make this season special' to complement your card design.
▶ voir cette étape (44:00)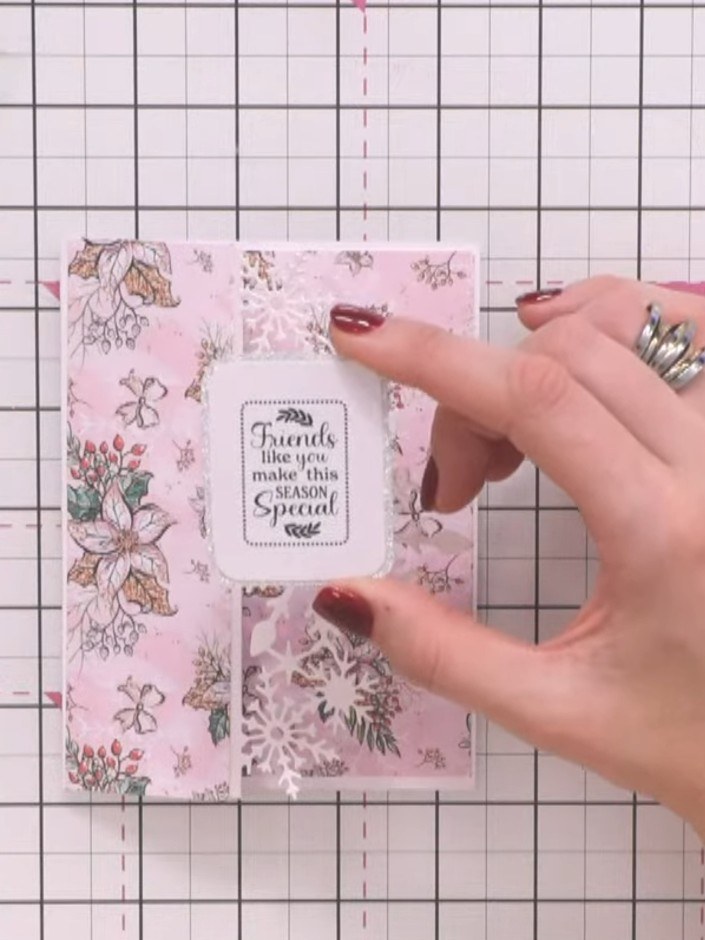
Position the sentiment label so it slightly overhangs the top edge of the pink floral panel. Use adhesive to secure it in place.
▶ voir cette étape (45:15)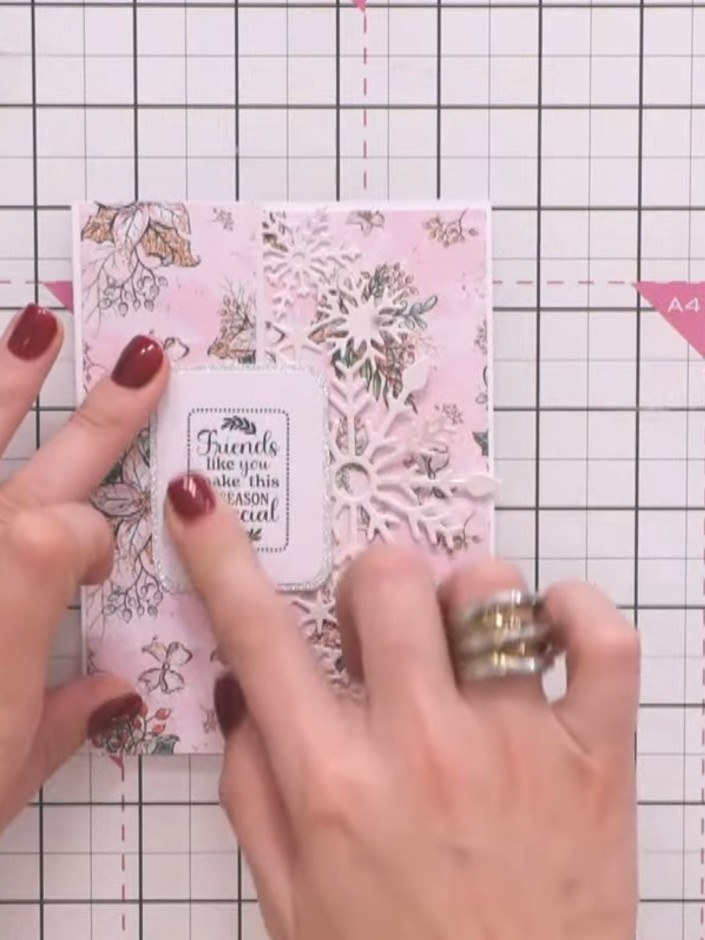
Decorate the envelope flap with the same pink patterned paper and die-cut snowflakes to match your card design.
▶ voir cette étape (45:30)Rédigé à partir de l'émission elle-même. Découvrez tous les guides de nos émissions · tutoriels gratuits · regarder en direct sur My Telly