


Step 1 of 9
Tear this decorative paper out of the Imala Prestige A4 paper pad, and trim to 8 x 5 1/2".








Prices change straight away. Every language is our own translation, not Google.
 Eureka 101 Replacement Bar MagnetsEureka 101€10.99BUY✓ ADDED
Tear this decorative paper out of the Imala Prestige A4 paper pad, and trim to 8 x 5 1/2".
Pop the paper in your Eureka and secure with the magnet.
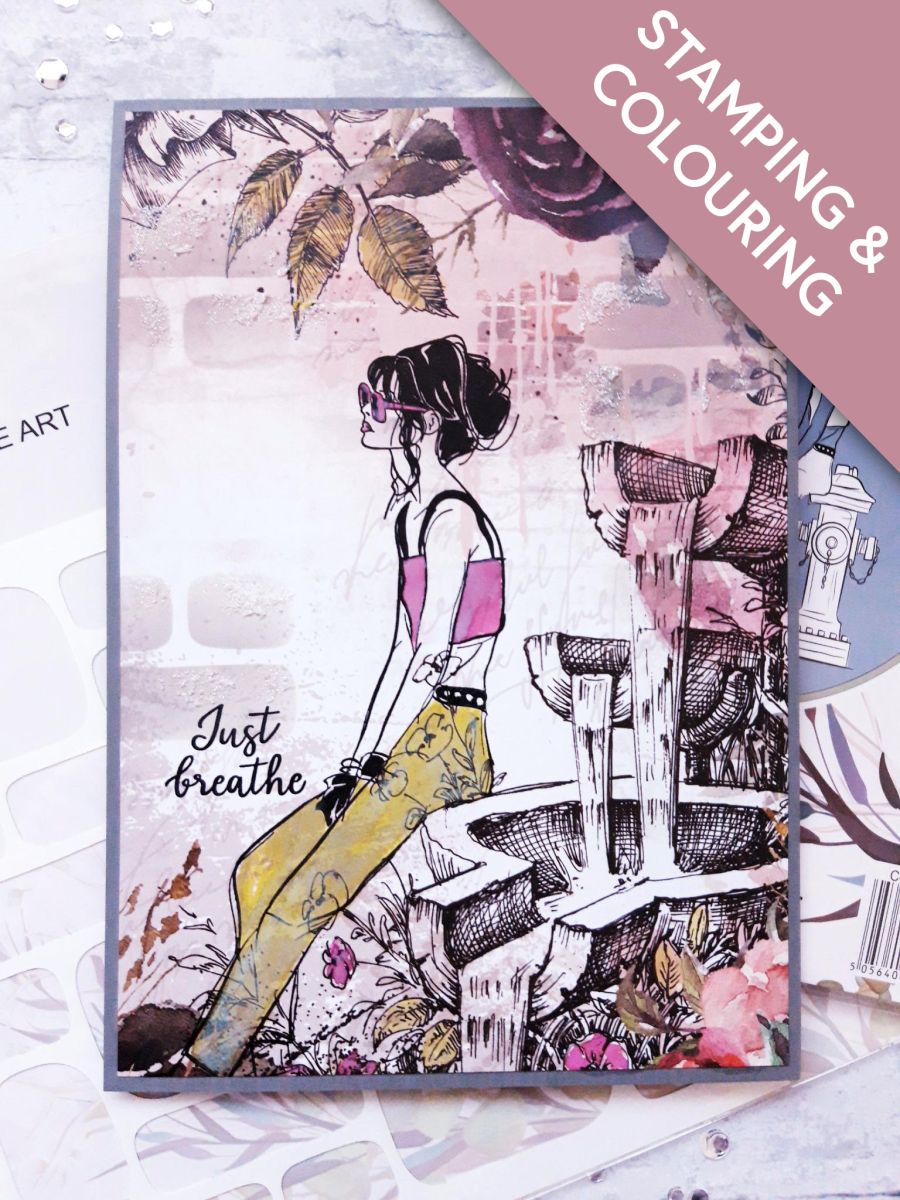
Position the lady stamp, from the Imala Be Yourself, so she appears to be sitting on the edge of the "Fountain", as shown here.
Pick up the stamp with the lid of the Eureka.
You only want to ink the lady part of the stamp, with the Onyx Black Versafine, so wipe off any ink you may get on the rest of the stamp.
Stamp the lady in place, on to the decorative paper.
Dry the ink thoroughly.
Blend the Hickory Smoke Oxide randomly on to your decorative paper, through the Imala Masonry stencil.
Blend the Izink Nacre Diamond Paint randomly on to your artwork, through the Masonry stencil, using your palette knife.
Allow the Diamond Paint and Oxide to dry thoroughly. You can speed it up with a heat gun, if you're impatient like me!
Apply the Seedless Preserves and Peeled Paint Oxides on to your craft or glass mat.
Add a little water and use a paint brush to paint both the lady, and elements of the decorative paper images, as required (I painted some of the flowers and foliage, to tie everything together).
Ink up the sentiment stamp, from New Adventures Lamination Stamp Collection, with the Versafine, and stamp just to the bottom left of your artwork.
Mat on to the front of your grey, top folding card blank.
Share your make with the Stamps By Me community - and keep this guide for next time.
Prefer the previous layout? Open the old page.



