


Step 1 of 12
Spray the Izink sprays on to a glass or craft mat and spritz with water.
Pick up the ink on to the white cardstock (7 3/4 x 5 1/4") and leave to dry naturally, or with a heat gun.








Prices change straight away. Every language is our own translation, not Google.
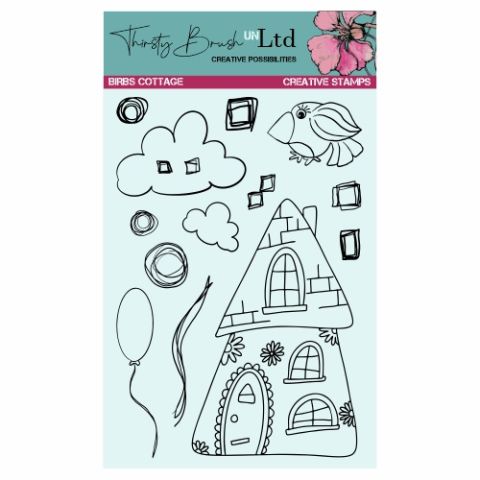 Tv - Thirsty Brush Unltd - A5 Stamp - Birbs CottageStamps from Thirsty Brush UnLtd Birbs Cottage Creative Stamps€17.99BUY✓ ADDED
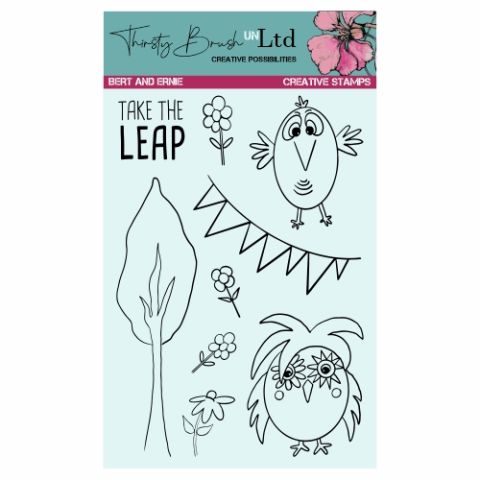 Tv - Thirsty Brush Unltd - A5 Stamp - Bert And ErnieStamps from Thirsty Brush UnLtd Bert And Ernie Creative Stamps€17.99BUY✓ ADDED
 Eureka 101 Replacement Bar MagnetsEureka 101€10.99BUY✓ ADDED
Spray the Izink sprays on to a glass or craft mat and spritz with water.
Pick up the ink on to the white cardstock (7 3/4 x 5 1/4") and leave to dry naturally, or with a heat gun.
Place the cloud element of the Rainbow stencil where required, and wih a wet paper towel, lift up the ink, until you achieve a cloud effect. Repeat as and where required.
Dry off your artwork, then place the cloud stencil back in place and use a black pen to draw in the clouds, and "movement" lines, as required.
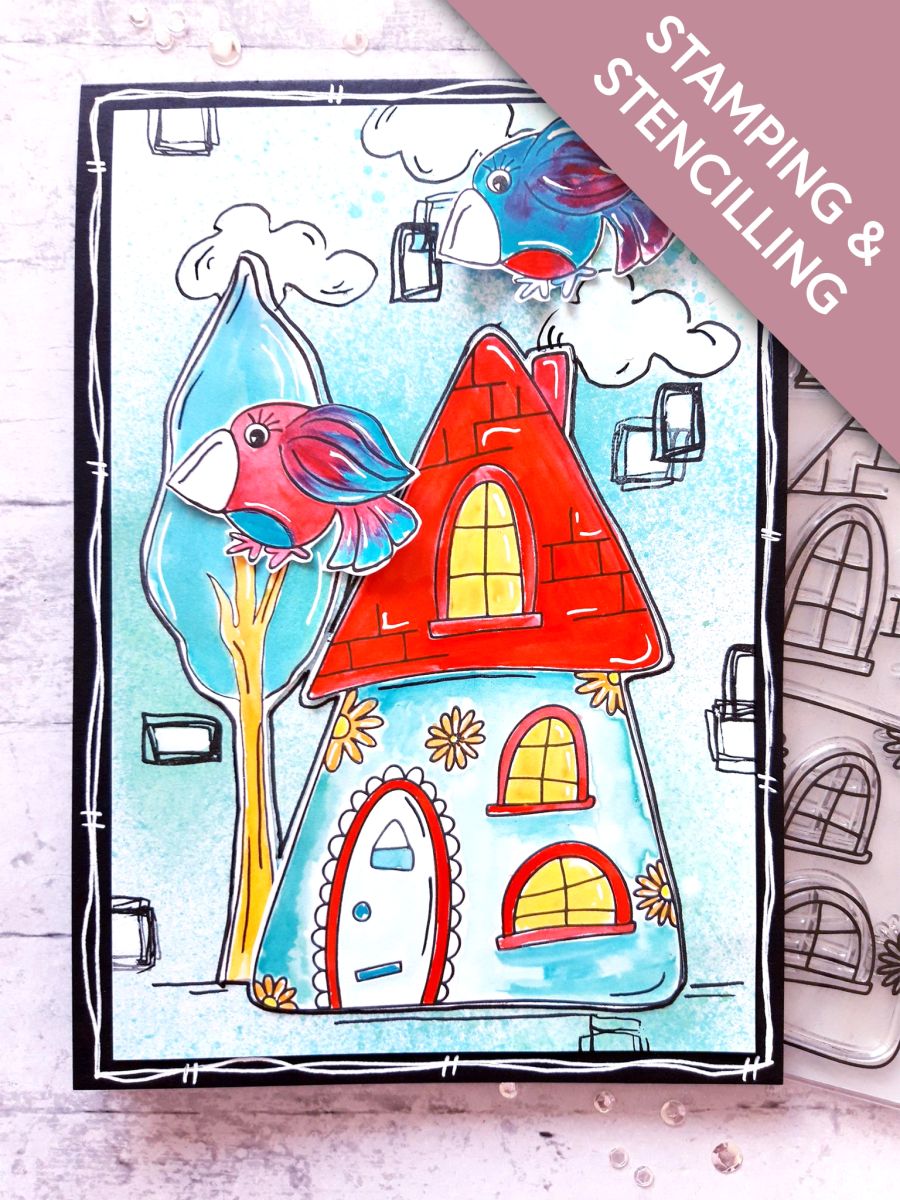
Ink up each of the element stamps, from the Birbs Cottage, and Bert And Ernie Creative Stamp sets, with the Onyx Black Versafine.
Stamp on to the A4 white card.
Once the ink is dry, cut them out.
Use your watercolour paints, to colour in your die cut elements.
Once all the paint is dry, use a black fineline and a white gel pen, to add accents, and highlights, to your elements.
Adhere your house and tree elements in place, on your background, as required, using wet glue and/or foam pads.
Ink up the different squares stamps, from the Birbs Cottage set, with the Versafine, and stamp randomly around your artwork.
Use a black pen to draw around the outside edges of your elements, to make them "pop" from the background.
Once the Versafine is dry, use the Izink Avalanche Pigment to colour within the stamped boxes. This will make them "pop" from the page.
Once your artwork is dry, adhere it to the front of the black, top folding card blank.
Adhere your coloured in Birbs where required, with foam pads.
To finish, use a white gel pen to draw a decorative, wiggly frame around your black card blank.
Share your make with the Stamps By Me community - and keep this guide for next time.
Prefer the previous layout? Open the old page.



