


Step 1 of 10
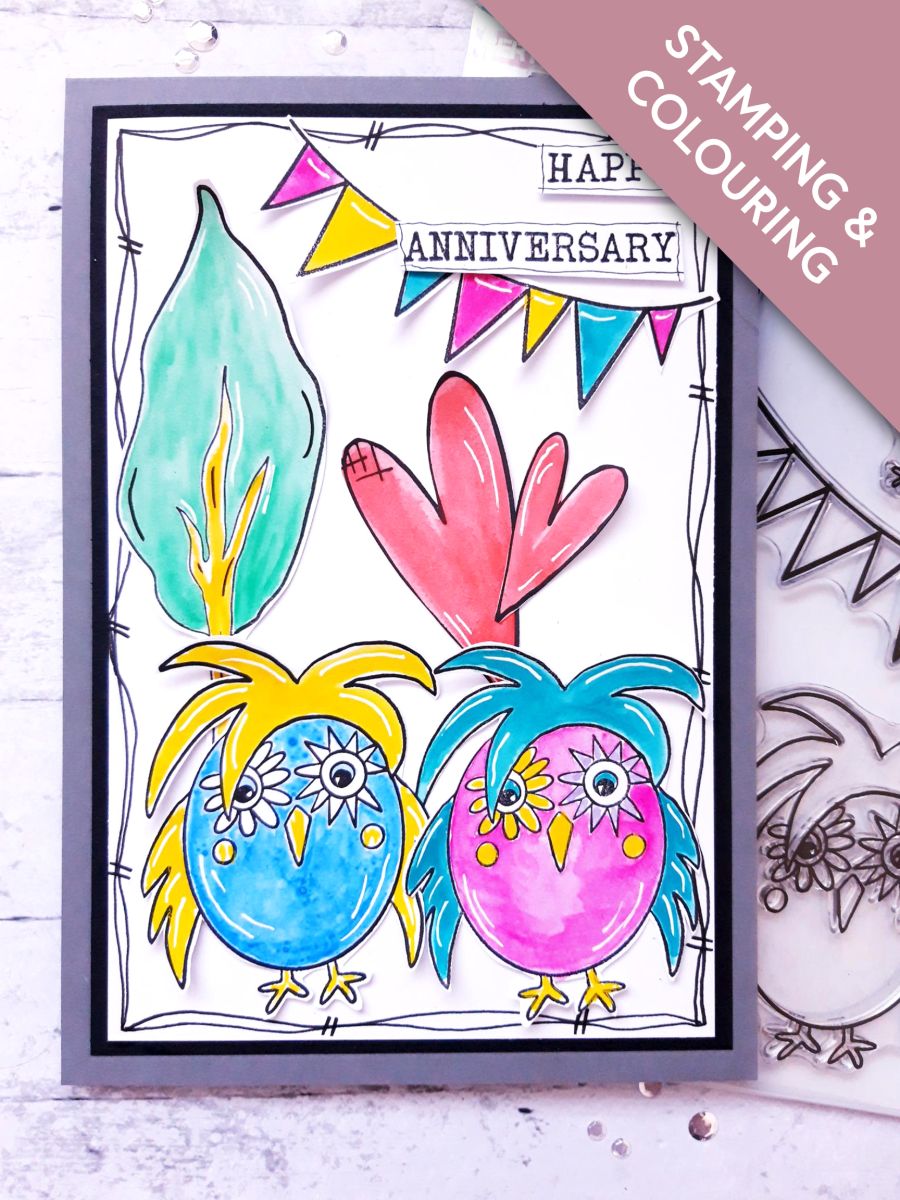
Use a black pen to draw a decorative, wiggly frame, around the white card (7 1/2 x 5").








Prices change straight away. Every language is our own translation, not Google.
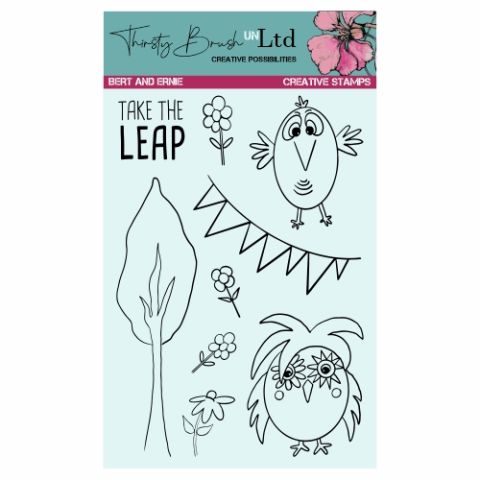 Tv - Thirsty Brush Unltd - A5 Stamp - Bert And ErnieStamps from Thirsty Brush UnLtd Bert And Ernie Creative Stamps€17.99BUY✓ ADDED
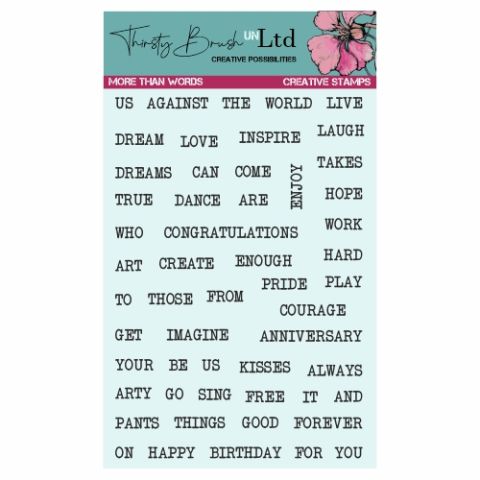 100219 - Htcn - Tv - Thirsty Brush Unltd - A5 Stamp - More Than WordsStamps from Thirsty Brush UnLtd More Than Words Creative Stamps€17.99BUY✓ ADDED
 Eureka 101 Replacement Bar MagnetsEureka 101€10.99BUY✓ ADDED
Use a black pen to draw a decorative, wiggly frame, around the white card (7 1/2 x 5").
Adhere this on to the black card (7 3/4 x 5 1/4").
Adhere this on to the front of your top folding, grey card blank, and set to one side.
Ink up the tree, bunting and Birb stamps, from the Bert And Ernie Creative Stamps set, with the Onyx Black Versafine, and stamp on to the white card, stamping the Birb twice.
Ink up, and stamp, just TWO of the hearts, on the stamp from the Daisy Dream Creative Stamps set.
Cut out all your stamped images, once the Versafine is dry.
Set the leftover white card to one side, for the sentiments to be stamped on, in a later step.
Use your watercolour paints to colour in your cut out elements.
Use a black fineline, and a white gel pen, to add accents and highlights to your coloured elements.
Adhere the tree, and your two Birb's, in place on your prepped card blank. I used foam pads behind the Birbs, for added dimension.
Ahere the bunting across the top right hand corner.
Adhere the larger heart, tucked just behind the Birb, and the smaller one at a jaunty angle, on top.
Set your card to one side.
Ink up the two word stamps, from the More than Words Creative Stamps set, with the Versafine, and stamp on to the white card that you set aside earlier.
Cut up the words and draw a wiggly frame around both, with your black pen.
To finish, adhere the sentiments in the top right hand corner of your card, with foam pads.
Share your make with the Stamps By Me community - and keep this guide for next time.
Prefer the previous layout? Open the old page.



