


Step 1 of 9
Ink up this stamp from the Stand Tall Stamp Collection, with the Memento Tuxedo Black.
Stamp to the left hand side of the white, super smooth card.








Prices change straight away. Every language is our own translation, not Google.
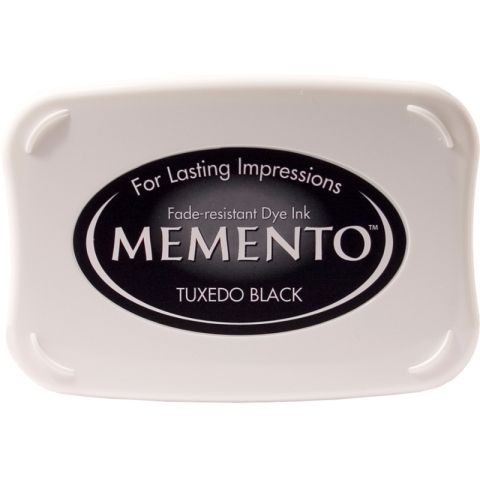 Tuxedo Black Memento Ink PadMemento Ink Pad: Tuxedo Black€6.29BUY✓ ADDED
 Eureka 101 Replacement Bar MagnetsEureka 101€10.99BUY✓ ADDED
Ink up this stamp from the Stand Tall Stamp Collection, with the Memento Tuxedo Black.
Stamp to the left hand side of the white, super smooth card.
Ink up this floral stamp, from the same set, with the Memento.
Stamp it to the right of your first stamped image.
Ink up the first stamp again, and stamp to the right of the other stamped images, at a slightly different height and angle.
Reink the other stamp, and stamp lower down, off the right hand edge of the card.
Ink up another of the stamps, from the same set, with the Memento, and stamp off the left hand edge.
Place a sheet of copier paper, or spare card, under the stamped card you are working on (Alcohol markers bleed through the card, and will mark whatever is underneath).
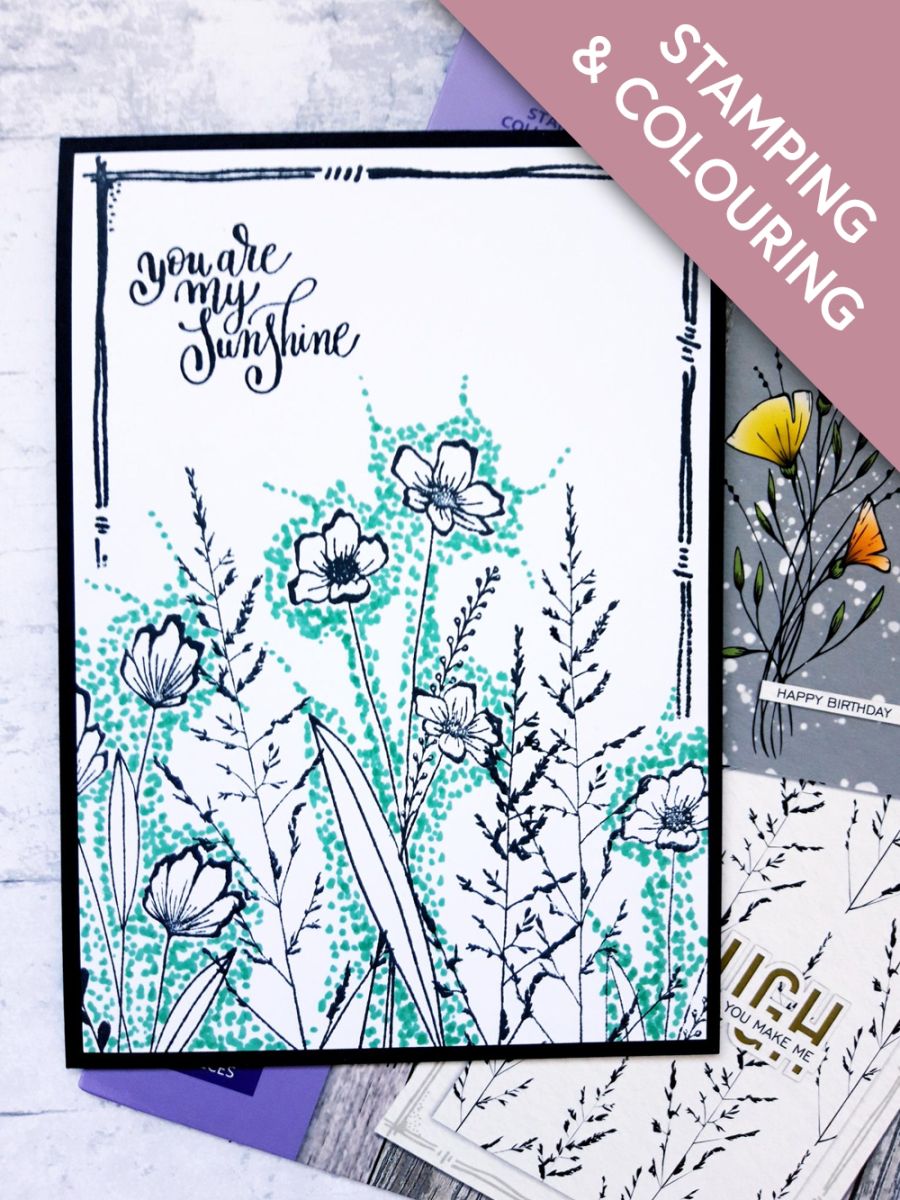
Use your Gossip Alcohol Marker to create "dots" around your stamped image. This is called the Pointillism technique.
The dots should be denser, and closer together, the nearer you are to the image, getting further apart as you move away. You can also create "trails" of dots, using the pattern of your stamped image, as a guide, but this is personal preference.
Take the larger frame stamp, from the Dash Frame Stamp Collection, and place on to your artwork. Note where you will need to ink it up, so it goes around the edge of the card, above your stamped images only.
Ink it up with the Memento, wiping any areas on the frame you dont want the ink to sit, then stamp it in place. Alternatively, you can cover your stamped image up, with a piece of copier paper, before stamping the frame.
Ink up the sentiment, from My Sunshine Lamination Stamp Collection, with the Memento, and stamp to the top left of your artwork.
To finish, adhere on to your black, top folding card blank.
Share your make with the Stamps By Me community - and keep this guide for next time.
Prefer the previous layout? Open the old page.



