


Step 1 of 11
Cut TWO pieces of card 7 x 2", from the 7 x 5" white card.








Prices change straight away. Every language is our own translation, not Google.
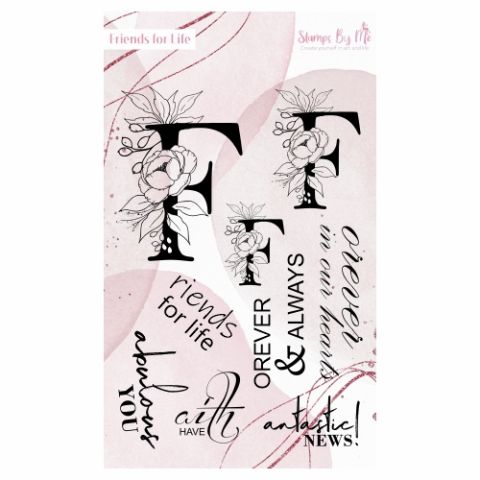 A5 Stamp And Die - Friends For Life
 Eureka 101 Replacement Bar MagnetsEureka 101€10.99BUY✓ ADDED
Cut TWO pieces of card 7 x 2", from the 7 x 5" white card.
Use the Banner tag punch on one end, of both pieces of card.
Punch a hole in the top of each Bookmark, with your hole punch.
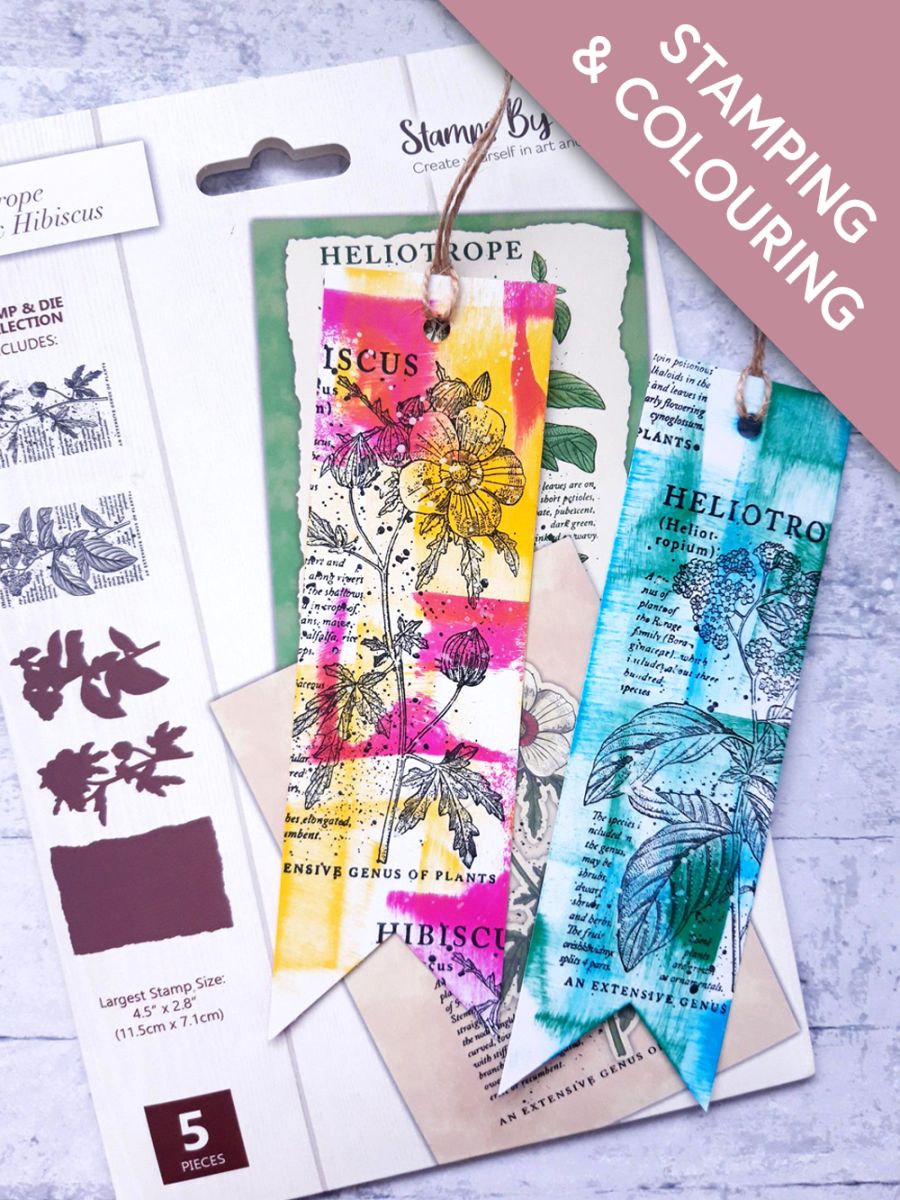
Take ONE bookmark, and "swipe" the Izink Aurore Dye ink pad, randomly in different directions, using different pressures.
Repeat this "swipe" technique, with the Izink Cerise ink pad, until you are happy with the effect.
Repeat this technique, on the second bookmark, using the Izink Mer Du Sud, and Emeraude ink pads.
Dry off the ink on both.
Repeat the "swipe" technique, on the REVERSE side of the Bookmarks.
Ink up one of the floral stamps, from the Heliotrope & Hibiscus Stamp and Die Collection, with the Onyx Black Versafine.
Stamp it off the edge, of ONE of the bookmarks. I also reinked and stamped it coming off the top left corner.
Ink up the other floral stamp, from the same set, and stamp it coming off the edge of your SECOND bookmark.
Again I reinked my stamp, and stamped it coming off the bottom right corner.
As Bookmarks are used on both sides, I chose to stamp the images on the REVERSE, but this is optional. You can leave them with just the inky backgrounds, if preferred.
Use a paintbrush to splatter the White Lace Thirsty Brush Confetti Paint, over your dried, stamped artwork.
If splattering on both sides, ensure the paint is dry first, before turning the bookmarks over.
To finish, cut TWO lengths of twine, approx 6", and tie through the punched holes, on each of the bookmarks.
Alternatively you could tie ribbon, or lace, through them.
Share your make with the Stamps By Me community - and keep this guide for next time.
Prefer the previous layout? Open the old page.



