


Step 1 of 7
Place stencil 1 just off the right hand edge of your card blank.
Blend through with the Shaded Lilac Distress Oxide.








Prices change straight away. Every language is our own translation, not Google.
 Blending Tool RectangleBlending tool€11.49BUY✓ ADDED
 Eureka 101 Replacement Bar MagnetsEureka 101€10.99BUY✓ ADDED
Place stencil 1 just off the right hand edge of your card blank.
Blend through with the Shaded Lilac Distress Oxide.
Line up stencil 2, and blend with the Salvaged Patina Oxide.
Place stencil 3 in place, and blend the Peacock Feathers Oxide through it.
Line up stencil 4, and blend with the Villainous Potion Oxide.
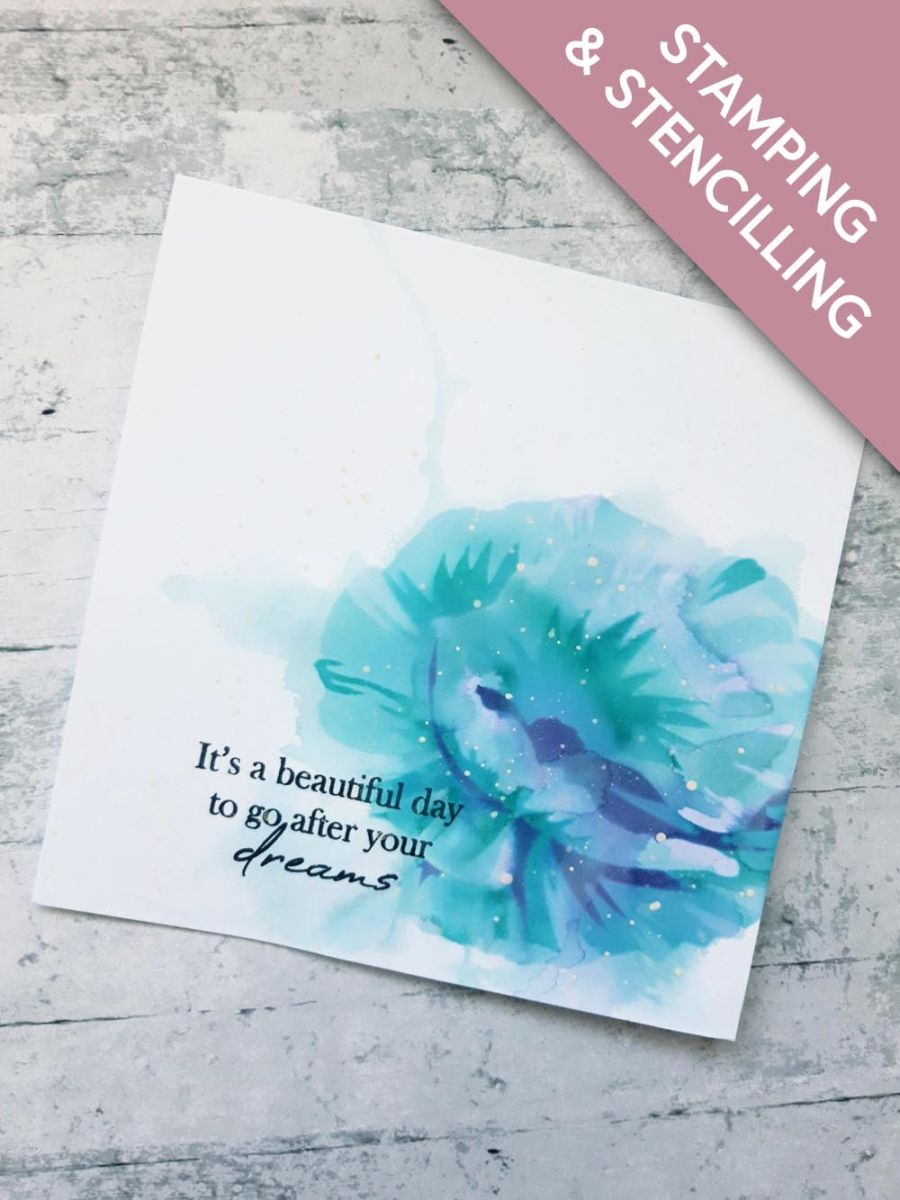
Whilst the ink is still wet, spray water over it, and allow the ink to "bleed", as much or as little, as you want. Mop up any excess with a paper towel.
NB: At this stage, you can now go back in with any of the stencils, and inks, and add more ink to redefine any areas that you want. Alternatively you can leave it as a loose, watercolour image. The choice is yours.
Once you're happy with the final result, allow to dry naturally, if possible.
Add water to your Thirsty Brush Confetti Paint, and splatter it all over your artwork, as little, or as much as you want. I LOVE splats!!
Where possible, allow the Confetti Paint to dry naturally, as it gives a better, textured effect.
To finish, ink up the sentiment stamp, from Go After Your Dreams Lamination Stamp Collection, with the Smoky Gray Versafine, and stamp it bottom left, through your artwork.
Share your make with the Stamps By Me community - and keep this guide for next time.
Prefer the previous layout? Open the old page.



