


Step 1 of 12
Swipe the brown Izink Pigment ink pad, from the Vintage Collection, randomly in from the edges of the white card (6 3/4 x 4 3/4"), as shown here.








Prices change straight away. Every language is our own translation, not Google.
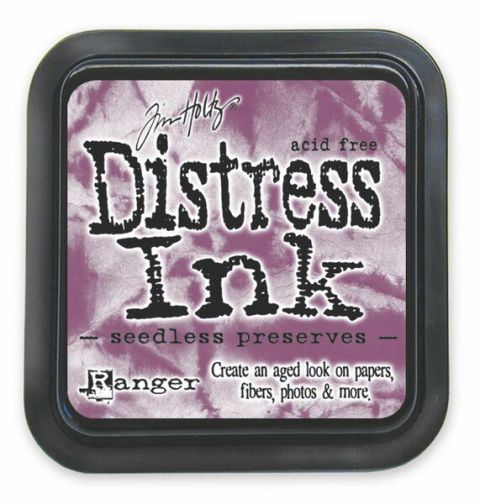 Tim Holtz - Distress - Ink Pads Seedless PreservesDistress Ink: Seedless Preserves
 Eureka 101 Replacement Bar MagnetsEureka 101€10.99BUY✓ ADDED
Swipe the brown Izink Pigment ink pad, from the Vintage Collection, randomly in from the edges of the white card (6 3/4 x 4 3/4"), as shown here.
Repeat step 1, using the pink Izink Pigment ink pad.
Ink up the script stamp, from the Beautiful Notes Stamp Collection, with the brown Izink Pigment ink, and stamp randomly over your background.
Ink up the textured dots stamp, from the same stamp set, with the pink Izink Pigment ink, and stamp randomly on to your background.
Dry the ink thoroughly, as Pigment inks are slow drying, and will smudge.
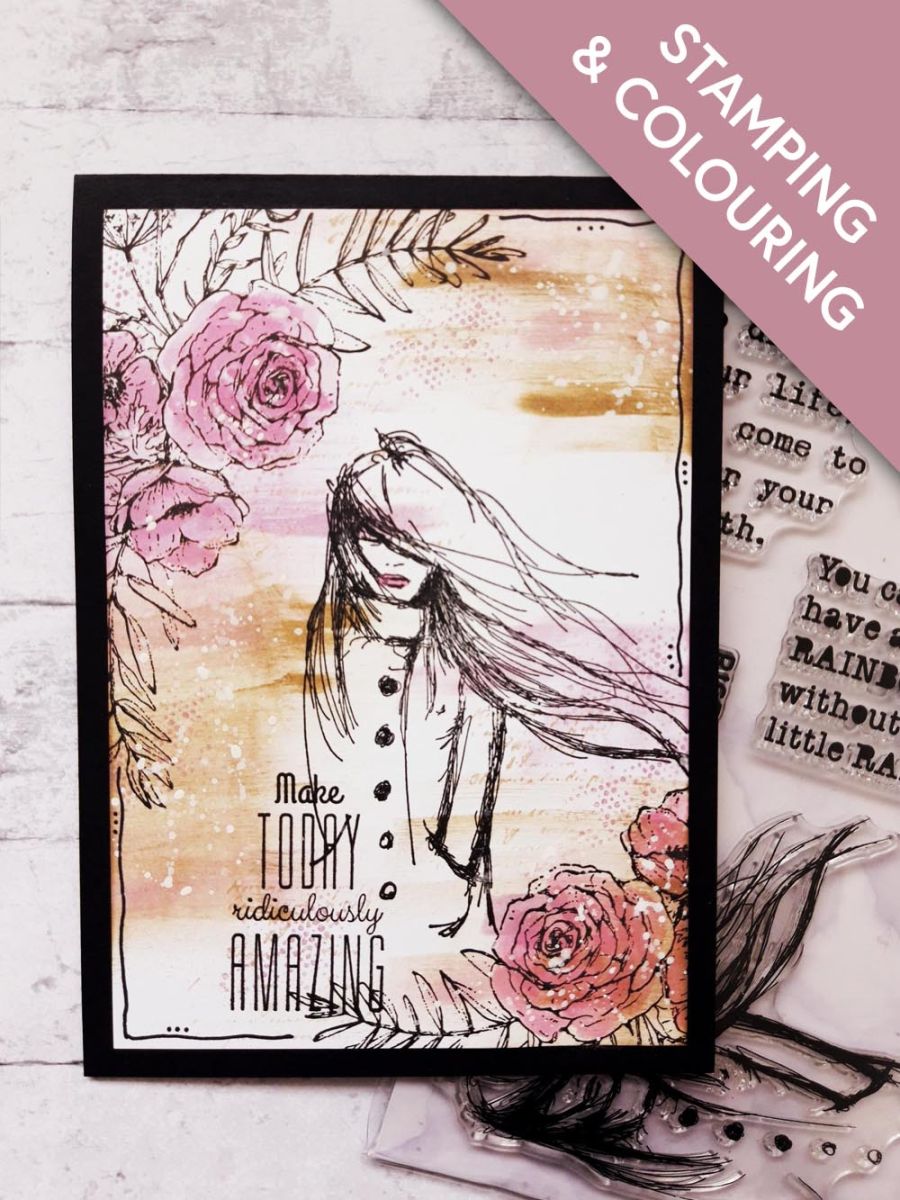
Ink up the floral corner stamp, from the HOPE Stamp Collection, with the Onyx Black Versafine, and stamp in the top left corner of your background.
Ink up this lady, from the Create Together Club Find The Sunshine Stamp Collection, with the Versafine.
Stamp her centrally, but so her hair just falls off the right hand edge, of the card.
Reink the corner floral stamp, and stamp it in the bottom, right corner.
Apply the Seedless Preserves Distress Ink on to your craft/glass mat, and add a little water.
Loosely paint the stamped flower heads.
Once all the ink and paint is dry, add water to the Confetti Paint, and splatter it over your artwork, being as generous as you like, with the splats...I like a lot!!
If possible, allow the Confetti Paint to dry naturally, as it gives a better, textured effect.
Ink up the sentiment, from Find The Sunshine Stamp Collection, with the Versafine, and stamp bottom left, of your artwork.
Adhere your artwork on to your black, top folding card blank.
To finish, use a black pen to draw a decorative, wiggly frame, around your artwork.
Share your make with the Stamps By Me community - and keep this guide for next time.
Prefer the previous layout? Open the old page.



