


Step 1 of 13
Ink up this stamp, from Tomorrow Stamp Collection, with the Onyx Black Versafine.
Stamp in the centre of the white card (7 3/4 x 3 1/2").








Prices change straight away. Every language is our own translation, not Google.
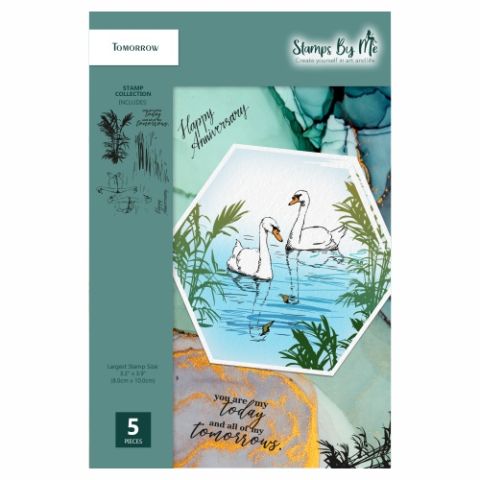 Tv - A5 Reflection Stamp - TomorrowTomorrow Stamp Collection€18.99BUY✓ ADDED
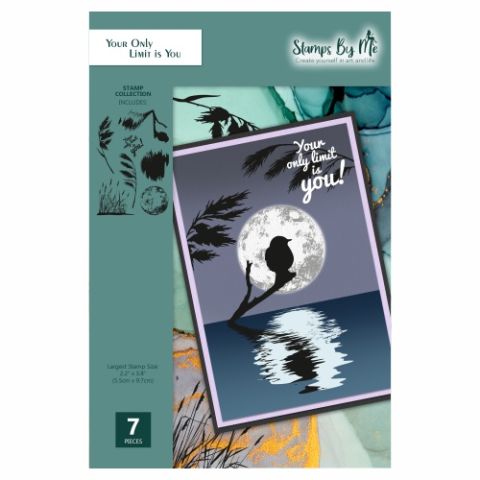 Tv - A5 Reflection Stamp - Your Only Limit Is YouYour Only Limit Is You Stamp Collection€18.99BUY✓ ADDED
 Eureka 101 Replacement Bar MagnetsEureka 101€10.99BUY✓ ADDED
Ink up this stamp, from Tomorrow Stamp Collection, with the Onyx Black Versafine.
Stamp in the centre of the white card (7 3/4 x 3 1/2").
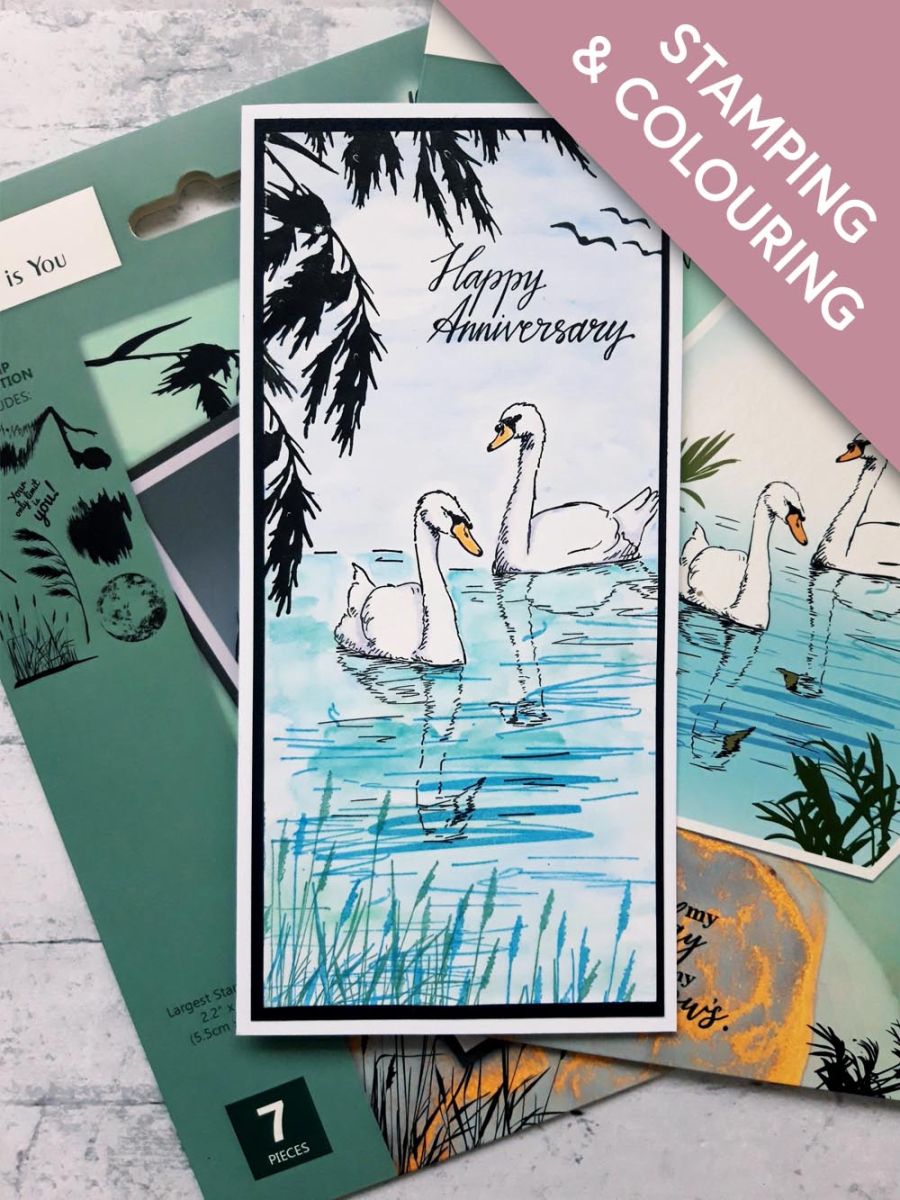
Using your watercolour paints, paint in the water, intensifying the colour where the lines are. They are there to help you with light and shade.
Paint the sky and use your paint brush and a paper towel, to "lift" out colour, to create the effect of a sun. Drag some of the paint across the sun, to create the effect of passing wispy clouds.
Ink up this reflections stamp, with the dark blue Izink Pigment ink pad, and stamp in place, under your swans.
If you are unsure where to stamp it, the images on the packaging will help you. However, this is a very "loose" design, so there is no right or wrong place to stamp it.
Reink the reflections stamp, and stamp it below the other, thus extending your artwork off the bottom edge of the card.
Ink up this grasses stamp, from Your Only Limit Is You Stamp Collection, with the Onyx Black Versafine and stamp coming down from the top left corner. Reink and stamp where required, until you are happy with the design.
Ink up this stamp, from the same set, in the dark green Izink Pigment, and stamp at varying heights, along the bottom.
Ink up the same stamp in the dark blue Izink Pigment, and stamp in amongst the green grasses. This adds depth and dimension to your artwork.
Ink up the sentiment stamp from the Tomorrow Stamp Collection, with the Versafine, and stamp where required.
Ink up this birds stamp, from the Every New Day Stamp Collection, with the Versafine, and stamp them flying in from the right hand edge of the card.
Once your artwork is dry, adhere it on to the black card.
Adhere this on to your white, DL card blank.
Finally, use your HIMI oil pencils to add shadow to your stamped swans.
Tip: I use the white pencil to blend out any harsh edges, and if needed, to tone down the vibrancy of colour.
Share your make with the Stamps By Me community - and keep this guide for next time.
Prefer the previous layout? Open the old page.



