


Step 1 of 13
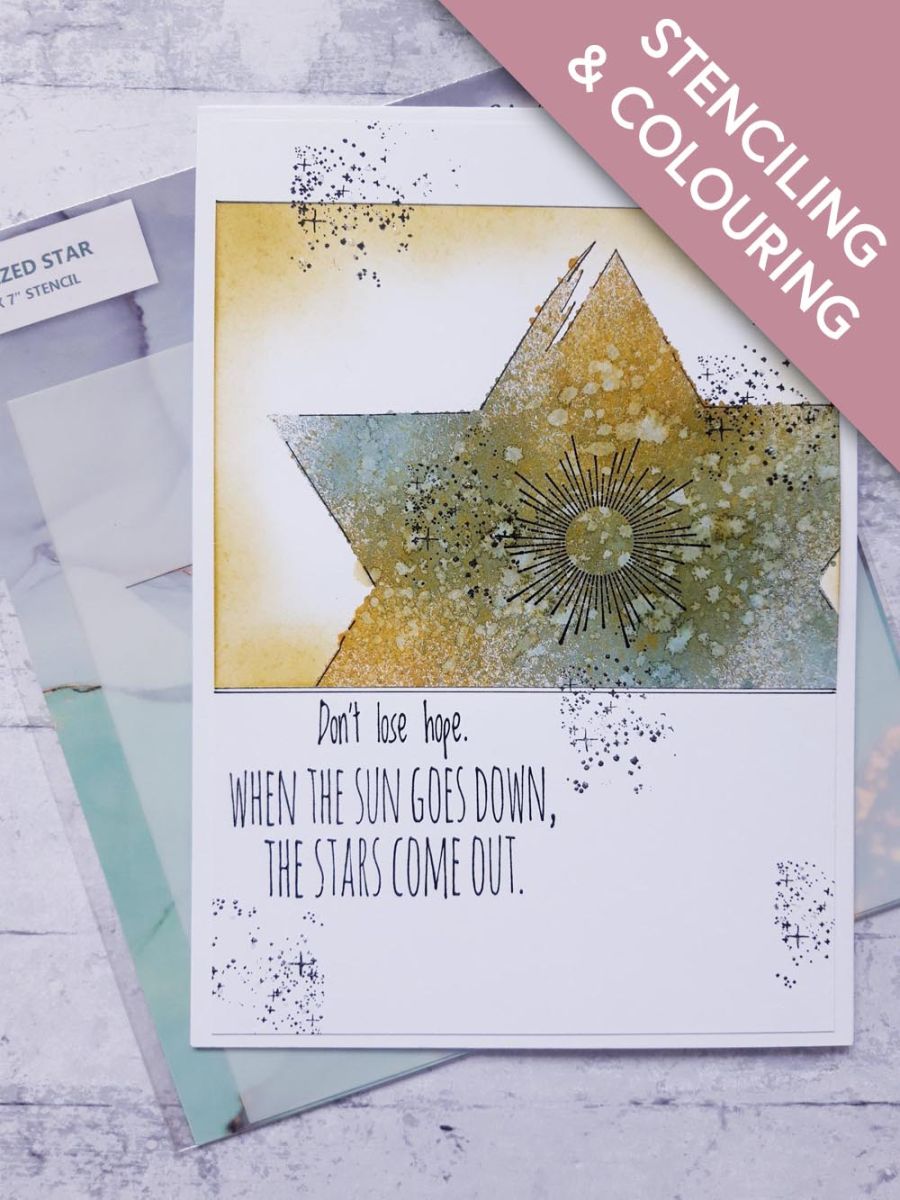
Using the Stylized Star stencil as a guide, use the low tack/masking tape, to mask off a panel near the top of the white card (8 x 5 1/2").








Prices change straight away. Every language is our own translation, not Google.
 Blending Tool RectangleBlending tool€11.49BUY✓ ADDED
 Eureka 101 Replacement Bar MagnetsEureka 101€10.99BUY✓ ADDED
Using the Stylized Star stencil as a guide, use the low tack/masking tape, to mask off a panel near the top of the white card (8 x 5 1/2").
Place the star stencil within the masked off panel, so its near to the top and just off the right hand edge, of the card.
Spray the Izink Butterscotch and Morning Mist within the star, leaving some white spaces.
Use your paint brush to splatter water over the ink. Wait a few seconds, then mop up the excess water and ink, with a paper towel.
Dry off the sprayed ink.
Lightly blend the Izink Pigment ink around the edges of the masked off panel.
The Pigment ink is a slow drying ink, so make sure the ink is completely dry, before moving to the next step.
Carefully remove all the low tack/masking tape.
Place the star stencil back in place and use a fine line, black pen, to draw around random areas of the stencil, to accentuate it's shape.
Use your ruler and black pen to draw a line along the top of the inked panel.
Draw a line along the bottom of the inked panel and a second line just below that.
Ink up the decorative circle/sun stamp, from the same collection, with the Onyx Black Versafine.
Stamp it centrally, within your inked star.
Ink up the sentiment stamp with the Versafine and stamp under the inked panel, to the left of your card.
Ink up the textured star stamp with the Versafine and randomly stamp on and around your artwork.
Once all your artwork is dry, adhere it on to the front of your white, top folding card blank.
To finish add your Stickles wherever you want a bit of glitter and sparkle!
Share your make with the Stamps By Me community - and keep this guide for next time.
Prefer the previous layout? Open the old page.



