


Step 1 of 15
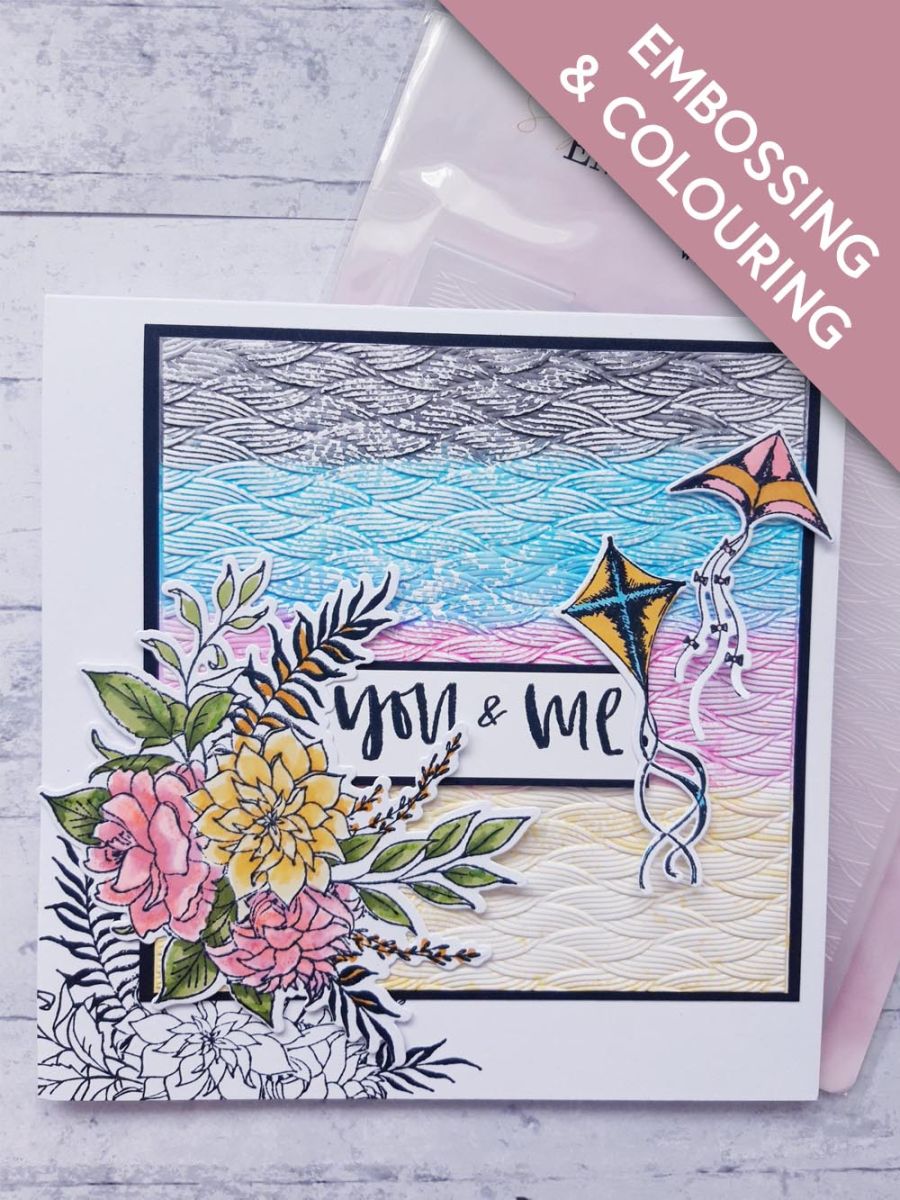
Ink up this floral stamp, from Our Story Stamp and Die Collection, with the Memento ink and stamp on to the super smooth white card.
Use the coordinating outline die to cut it out, using your die cutting machine.








Prices change straight away. Every language is our own translation, not Google.
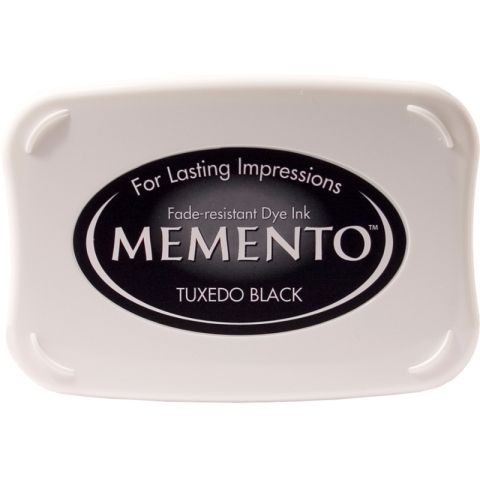 Tuxedo Black Memento Ink PadMemento Ink Pad: Tuxedo Black€6.29BUY✓ ADDED
 Eureka 101 Replacement Bar MagnetsEureka 101€10.99BUY✓ ADDED
Ink up this floral stamp, from Our Story Stamp and Die Collection, with the Memento ink and stamp on to the super smooth white card.
Use the coordinating outline die to cut it out, using your die cutting machine.
Colour it in with your Gossip alcohol markers.
Place the copier paper underneath your card, as the alcohol ink will seep through your card, on to any surfaces below.
Ink up 2 of the kites with the Memento and stamp on to the super smooth card.
Place the coordinating outline dies in place and run through your die cutting machine.
Colour in with your alcohol pens, before setting them to one side.
Swipe the Izink Dye ink pads horizontally, across the DEBOSSED side of your Wicker Basket embossing folder and spritz with water.
Cut some normal white card to 5 3/4 x 5 3/4", place inside your folder and run it through your embossing machine.
Once dry, adhere your embossed background on to black card, cut to 6 x 6".
Set this to one side.
Ink up the same floral stamp, used for your die cut element, with the Memento and stamp coming up from the bottom, left corner of your white card blank.
Adhere your embossed background on to the top right corner, of your stamped card blank, thus allowing the stamped image to be partially visible in the bottom left corner.
Adhere your 3D floral element, with foam pads, in the bottom left corner of your background, ensuring the stamped image is still visible.
Set your card to one side.
Ink up the sentiment stamp, from Our Story Collection, with the Memento and stamp on to white card, cutting it to size.
Adhere the sentiment on to black card and trim to size.
Adhere the sentiment tucked under the floral 3D element, as shown here.
Adhere the die cut kites where required, using foam pads, but allowing the "tails" to hang loose.
Wipe the floral petals over with an anti-static bag. Apply the WOW embossing pen to random areas of the petals, sprinkle the embossing powders over the sticky ink, then ensuring your heat tool is already HOT, heat set the powder, moving the tool as soon as the powder turns.
Alternatively, you can use a sparkle pen, or Stickles, to add a touch of sparkle to the petals.
Share your make with the Stamps By Me community - and keep this guide for next time.
Prefer the previous layout? Open the old page.



