


Step 1 of 7
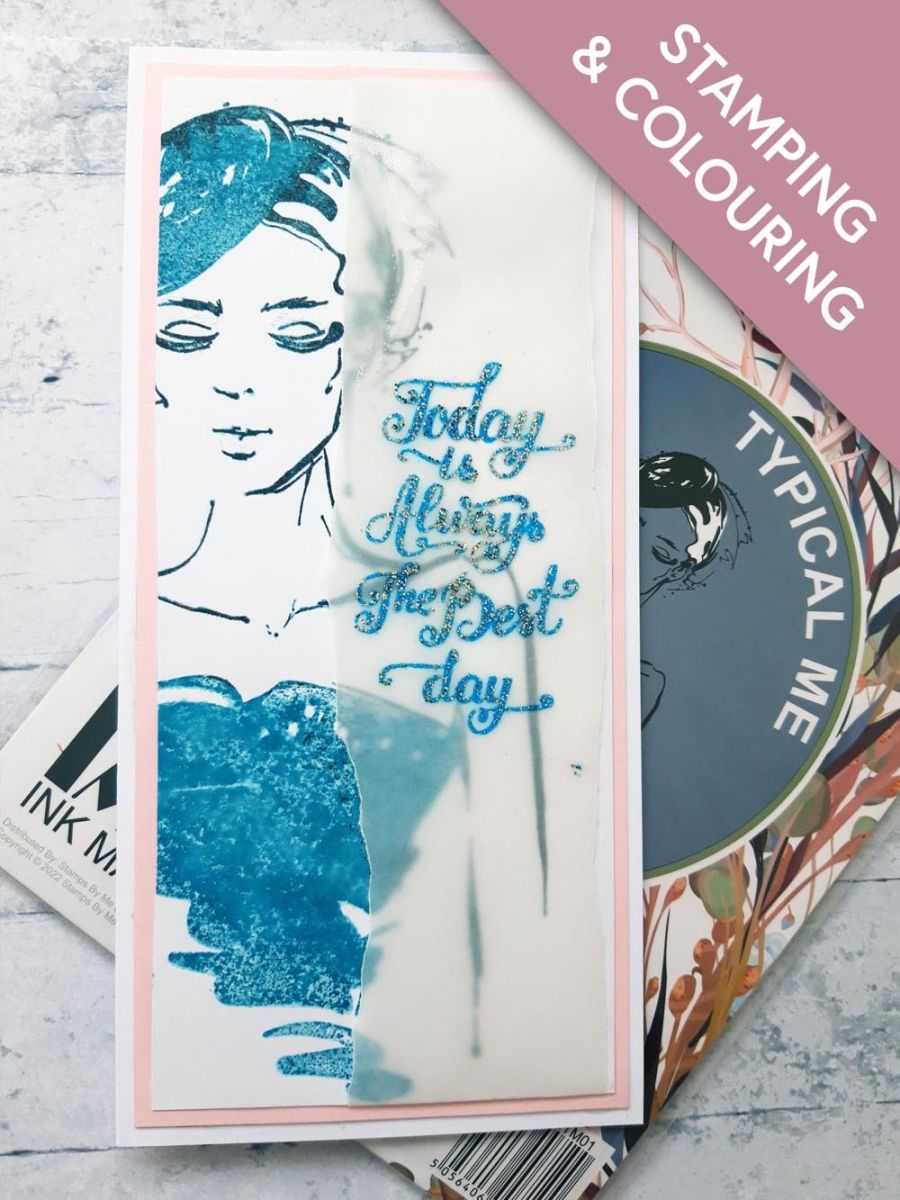
Ink up our lovely Imala lady with the Izink Petrole ink and stamp off the left hand edge of the white card (7 3/4 x 3 1/2").
KEEP THE CARD AND STAMP IN PLACE FOR THE NEXT STEP!!








Prices change straight away. Every language is our own translation, not Google.
 Eureka 101 Replacement Bar MagnetsEureka 101€10.99BUY✓ ADDED
Ink up our lovely Imala lady with the Izink Petrole ink and stamp off the left hand edge of the white card (7 3/4 x 3 1/2").
KEEP THE CARD AND STAMP IN PLACE FOR THE NEXT STEP!!
Randomly ink up areas of the same stamp, with the Versafine and stamp over your image. This adds shadow and dimension to your artwork.
Set to one side to dry.
Wipe over your vellum strip with your anti-static bag.
Ink up the sentiment stamp, from Live Your Story Lamination Stamp Collection, with the WOW embossing ink and stamp about halfway down the vellum. Sprinkle the WOW powder over your stamped sentiment, then get your heat tool good and hot, before heat setting the powder.
Ensure you move the heat tool as soon as the powder starts to turn so as to avoid burning your vellum and powder.
Place the vellum strip down the right hand side of your stamped card. Tuck the ends over top and bottom and secure on the reverse of the card, with tape.
Adhere your artwork on to the pink card.
Adhere this on to your DL card blank.
To finish, trace the veil on to the vellum, with your Stickles. For added sparkle apply more Stickles to her eyelids and lips.
Share your make with the Stamps By Me community - and keep this guide for next time.
Prefer the previous layout? Open the old page.



