tap a picture to see it big · tap DONE as you go - this device remembers
Step 1 of 9
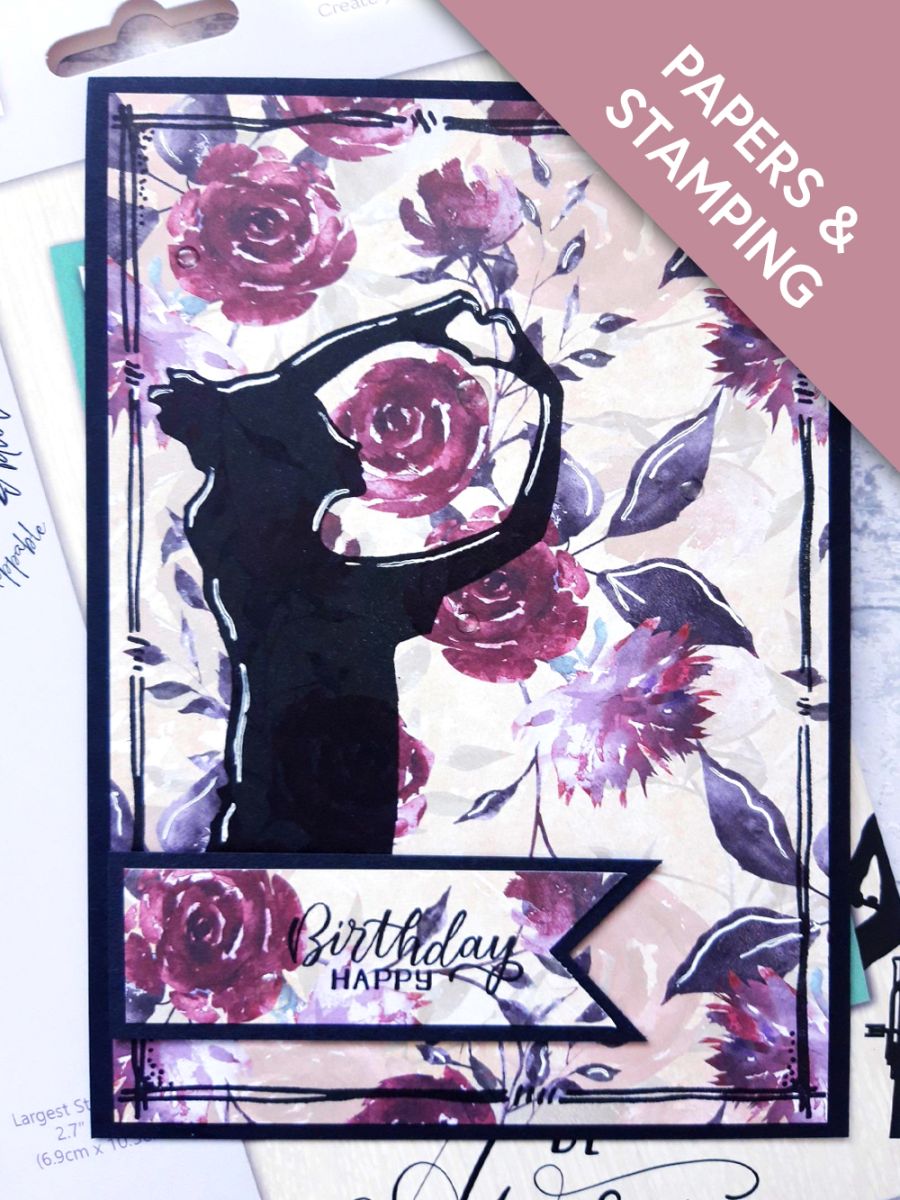
Tear this decorative sheet from the Happy Times paper pack and cut two pieces. One at 6 3/4 x 4 3/4" and the second at 3 1/4 x 1".
Ink up the largest Dash Frame stamp, with the Onyx Black Versafine and stamp on to the largest of the trimmed papers.
Step 2 of 9
Ink up this beautiful stamp from the Unstoppable Stamp Collection, with the Versafine and stamp centrally, to the left of the decorative paper.
Set to one side.
Step 3 of 9
Use the banner tag punch on one end of both the black card (3 1/2 x 1 1/4") and the smaller, trimmed decorative paper, you set aside earlier.
Step 4 of 9
Ink up the sentiment stamp, from the Celebrate and Create Lamination Stamp Collection, with the Versafine.
Stamp on to the decorative paper banner.
Step 5 of 9
Adhere this on to the black card banner.
Step 6 of 9
Adhere your stamped decorative paper, on to the front of your black, top folding card blank.
Step 7 of 9
Adhere the banner underneath your stamped image, flush with the left hand edge of the decorative paper. Leave the tails of the banner loose, to add movement to your card.
Step 8 of 9
Use a white gel pen to add accents and highlights, to both your stamped image and the images on the decorative paper.
Step 9 of 9
To finish, add clear adhesive gems randomly, on to the florals of your decorative paper.
You made it!
Share your make with the Stamps By Me community - and keep this guide for next time.
Hello! I'm Toni's AI craft helper - I know the projects from Toni's shows, our guides and everything in the shop. Ask me anything, like "which dies go with this stamp set?" or "what do I need to start ink blending?"
An AI helper (not Toni herself), answering from Toni's shows and our shop - please check the product page before you buy.