


Step 1 of 10
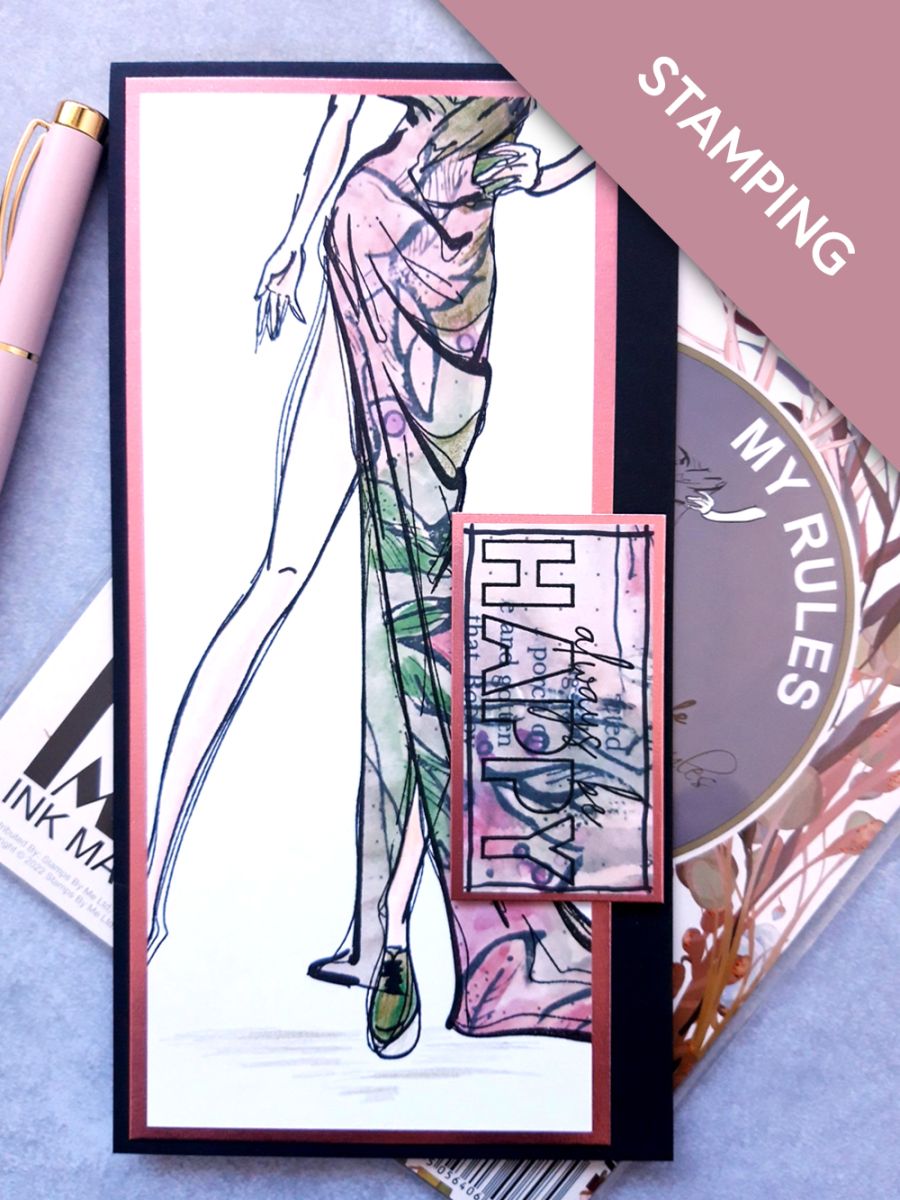
Ink up the stamp from My Rules, with the Onyx Black Versafine and stamp on to the white card (7 3/4 x 3 1/2")








Prices change straight away. Every language is our own translation, not Google.
 Eureka 101 Replacement Bar MagnetsEureka 101€10.99BUY✓ ADDED
Ink up the stamp from My Rules, with the Onyx Black Versafine and stamp on to the white card (7 3/4 x 3 1/2")
Tear out this decorative sheet, from the Imala Collage A4 paper pad.
Reink My Rules and stamp the dress section of the stamp, on to the floral side panel, of the decorative paper.
Fussy cut the dress and adhere it on to your stamped image, as seen here.
Keep the remaining decorative paper to one side, for a later step.
Use your HIMI oil pencils to add colour to her skin and shoe. You can also add colour to the decorative paper dress, to add depth of colour, light and shade.
Adhere your artwork on to the pearlised, Blush card.
Adhere to the front left, of your black card blank and set to one side.
Ink up the sentiment with the Versafine and stamp on to the decorative paper you set aside earlier.
Trim to size, then use a black pen to draw a decorative frame around the sentiment.
Adhere the stamped sentiment on to the pearlised Blush card and trim to size.
Adhere to the right hand edge of your card.
To finish, "ground" your image with one of the olive green oil pencils.
Share your make with the Stamps By Me community - and keep this guide for next time.
Prefer the previous layout? Open the old page.



