


Step 1 of 10
Apply masking tape around the edges of the Carta card, to create a panel as seen here.








Prices change straight away. Every language is our own translation, not Google.
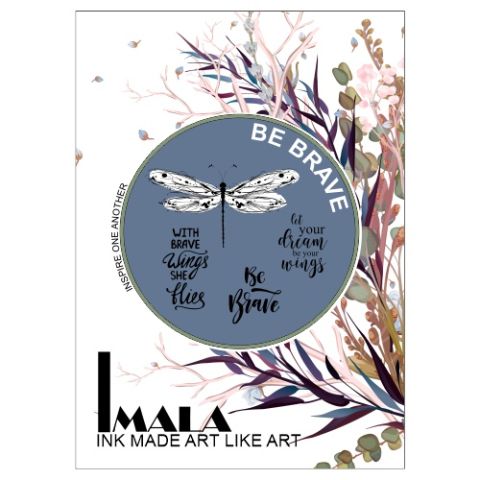 Imala - A5 Stamp - Be BraveImala Be Brave Stamp Collection€20.00BUY✓ ADDED
 Blending Tool RectangleBlending tool€11.49BUY✓ ADDED
 Eureka 101 Replacement Bar MagnetsEureka 101€10.99BUY✓ ADDED
Apply masking tape around the edges of the Carta card, to create a panel as seen here.
Spray the masked panel liberally with water.
Apply a little of each of the Premium inks on to your glass mat, then pick up each colour, one at a time and pounce the ink randomly in to the panel, allowing the ink to do it's own thing. You can add more ink, until you are happy with your background.
Splatter drops of water over the background, wait a few seconds before dabbing the excess water off with a paper towel, then dry off the inks with a quick blast from your heat tool.
Lay the Cascading Numbers stencil over your background, then randomly blend the Magenta with your blending tool.
Give the ink a quick blast with the heat tool, to dry it off.
Add splatters of the White Lace Confetti ink and the Golden Shimmer Pearl Mist, over your background. If possible allow them to dry naturally, to give a more intense effect.
However, ensure the background is completely dry before proceeding to the next step.
Carefully remove the masking tape, to reveal your inky panel.
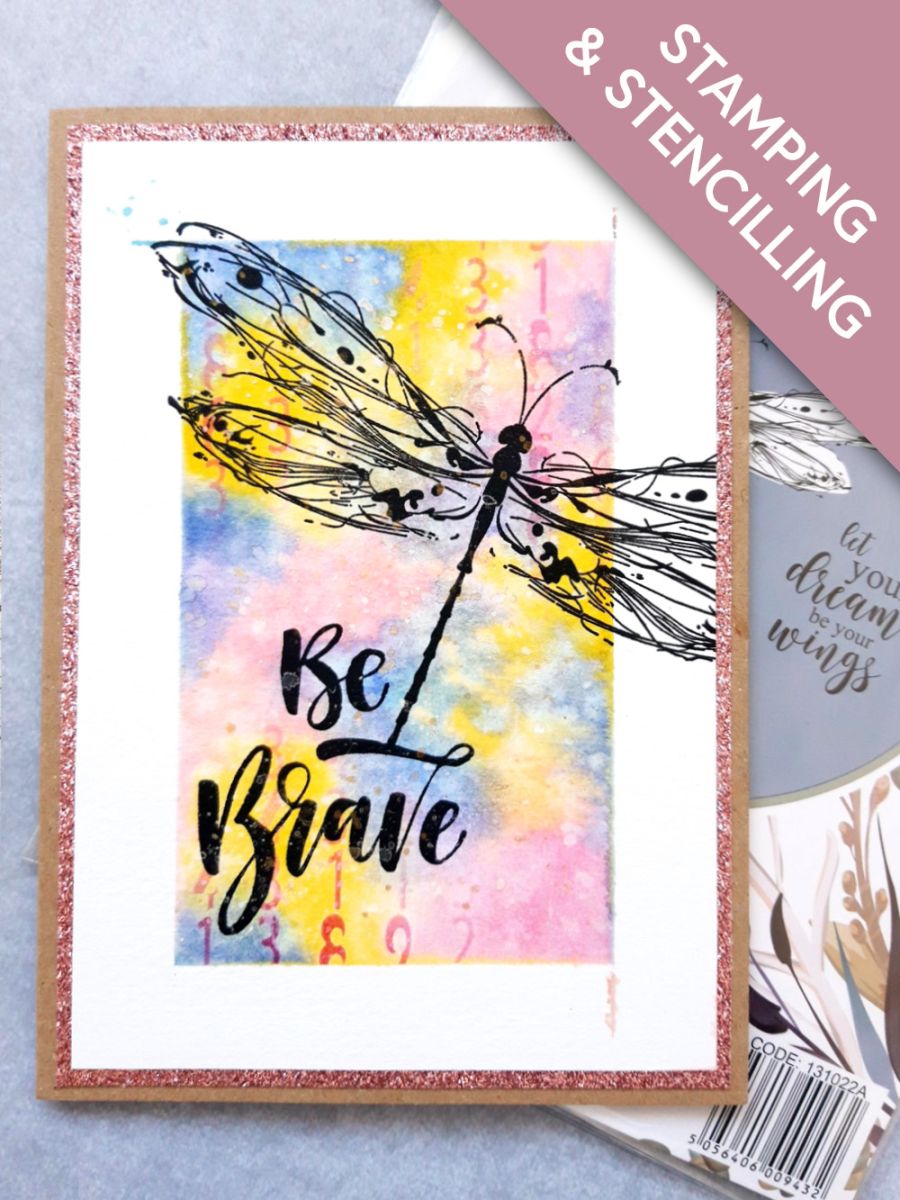
Ink up the gorgeous dragonfly, from Imala Be Brave, with the Onyx Black Versafine and stamp it going off the right side edge, of the card.
Ink up the sentiment stamp with the Versafine and stamp in the bottom left corner of the inky panel.
Adhere your artwork on to the blush glitter card.
Adhere on to your 7 x 5" kraft card blank, to finish
Share your make with the Stamps By Me community - and keep this guide for next time.
Prefer the previous layout? Open the old page.



