


Step 1 of 8
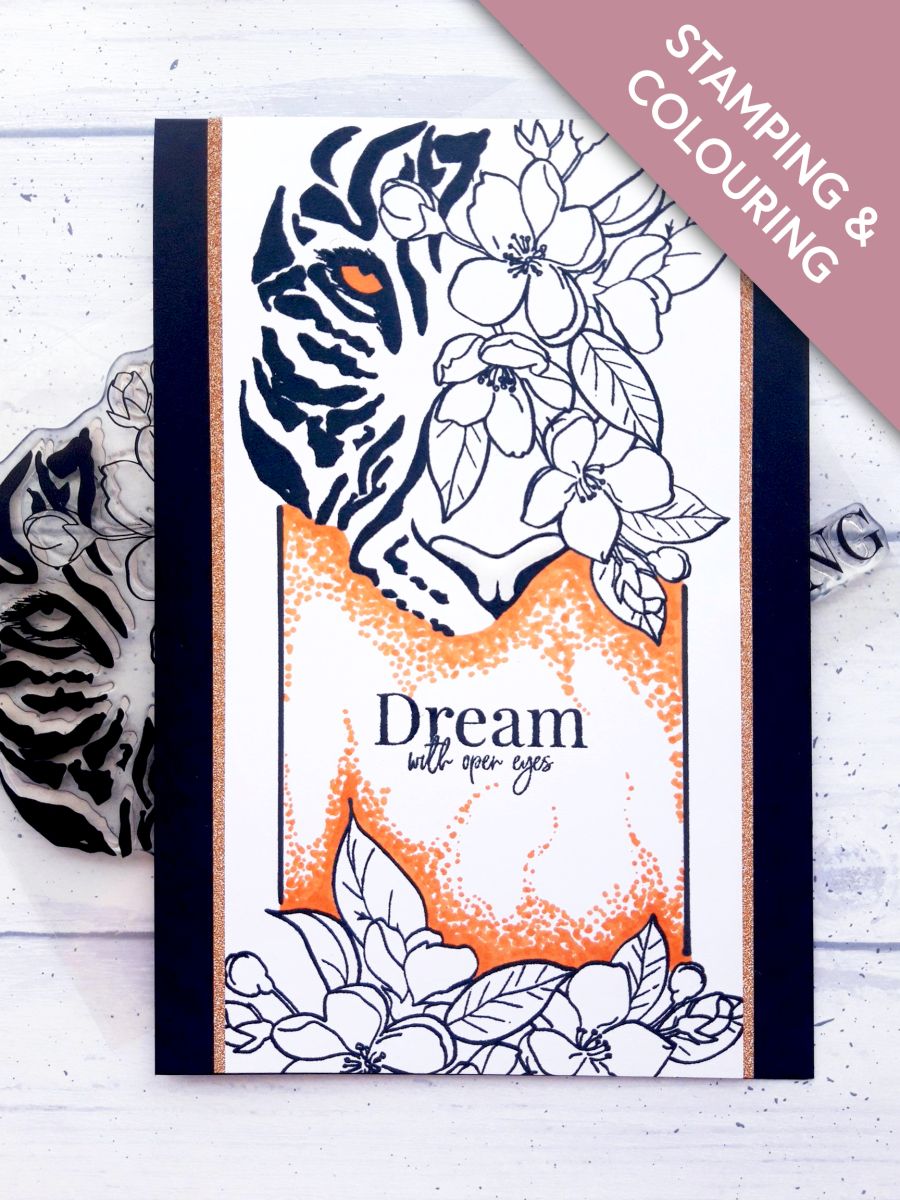
Ink up the stamp in the Memento and stamp the image just off the top edge of the white cardstock.
Ink it up again and stamp just the floral part, along the bottom edge of the white cardstock.








Prices change straight away. Every language is our own translation, not Google.
 Cardstock WhiteWhite cardstock ( 8 1/4 x 4 1/4")€5.65BUY✓ ADDED
 Imala - A5 Stamp - Feel Beautiful€17.99BUY✓ ADDED
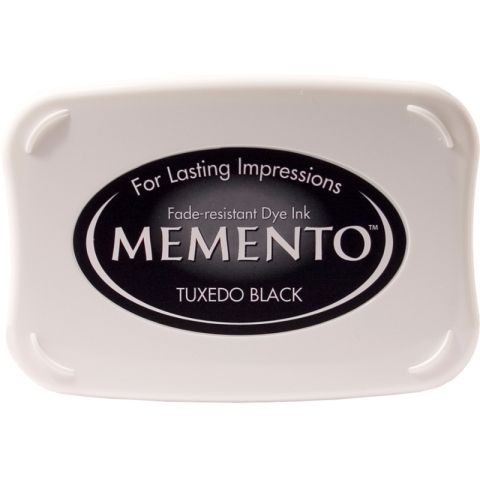 Tuxedo Black Memento Ink PadMemento Ink Pad: Tuxedo Black€6.29BUY✓ ADDED
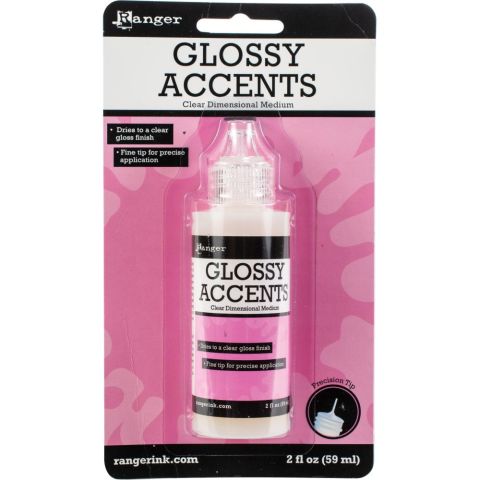 Glossy Accents€13.75BUY✓ ADDED
 Eureka 101 Replacement Bar MagnetsEureka 101€10.99BUY✓ ADDED
Ink up the stamp in the Memento and stamp the image just off the top edge of the white cardstock.
Ink it up again and stamp just the floral part, along the bottom edge of the white cardstock.
Ink up the sentiment stamp, from the Possibility stamp and die set, in the Memento, and stamp in the centre of your design.
Using a ruler and a black alcohol marker, draw a line 1/2" in from the sides of the cardstock, between the top and bottom stamped images.
Using an orange alcohol marker (I used Gossip Orange YR23), colour around the images using the pointillism technique. You use "dots" to create colour, using more dots around the edges of the stamped images, fading out to less dots as you move away from it. You can also create trails of dots to add effect to your design.
Colour in the Tiger's eye using the same Orange marker.
Mat your artwork on to the Gossip glitter cardstock, adhering it flush top and bottom, with an equal gap left down both sides.
Mat this on to your top folding card blank, adhering it flush top and bottom, with an equal gap left down both sides.
Apply the Glossy Accents to the Tiger's eye and nose, to create extra dimension.
Share your make with the Stamps By Me community - and keep this guide for next time.
Prefer the previous layout? Open the old page.



