


Step 1 of 10
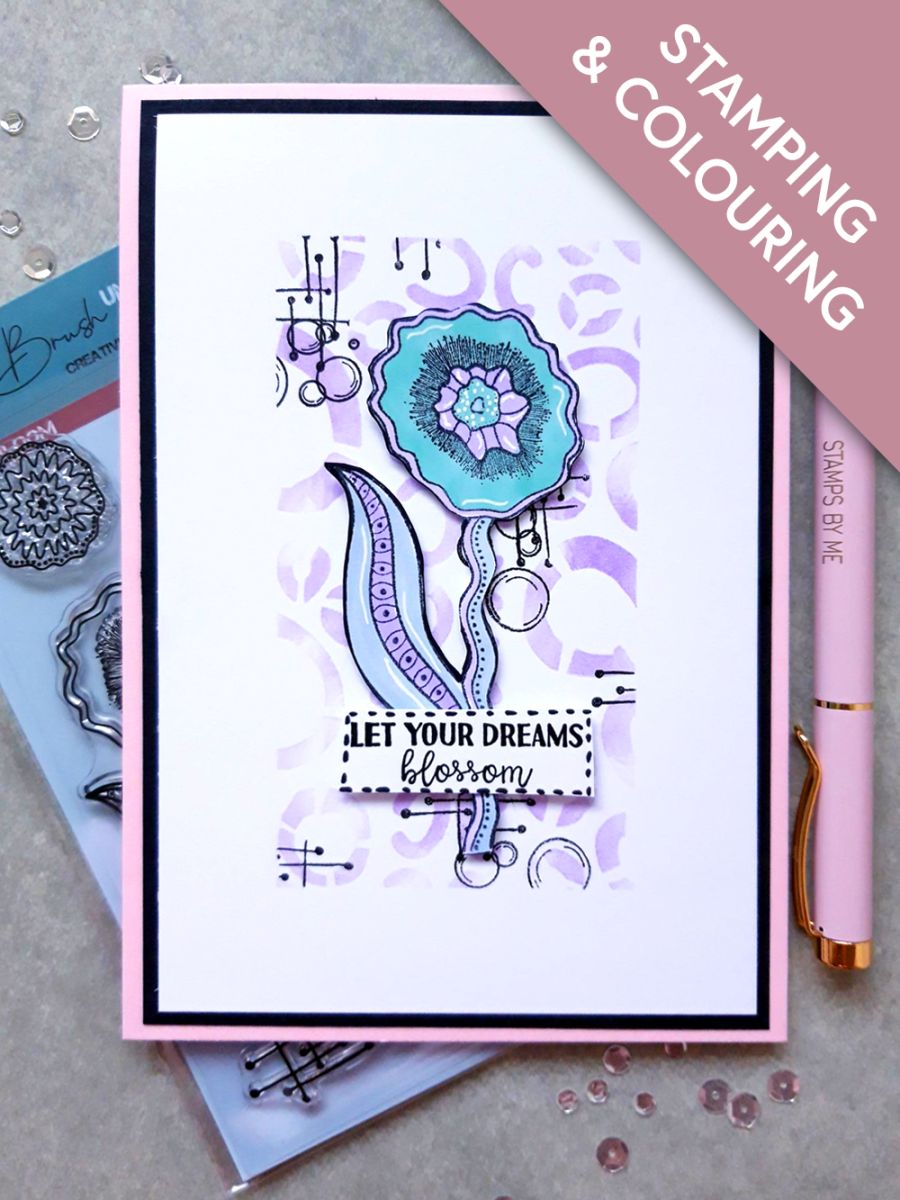
Apply masking tape along the sides of ONE piece of the white card, cut to 6 1/2 x 4 1/2", to create a panel, as seen here.








Prices change straight away. Every language is our own translation, not Google.
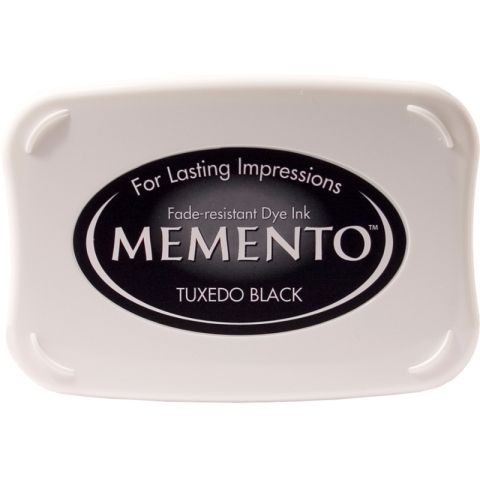 Tuxedo Black Memento Ink PadMemento Ink Pad: Tuxedo Black€6.29BUY✓ ADDED
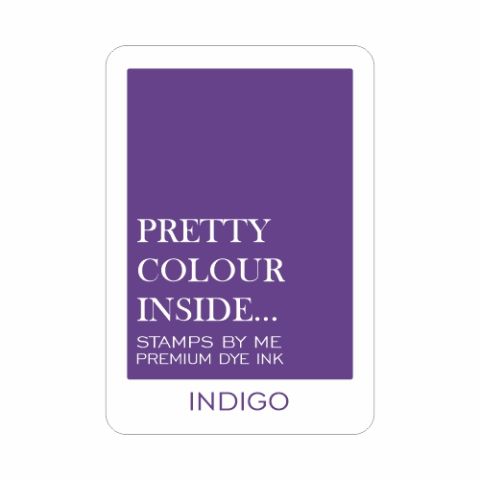 Stamps By Me - Premium Dye Ink Pad - IndigoPremium Dye ink Pad: Indigo
 Blending Tool RectangleBlending tool€11.49BUY✓ ADDED
 Eureka 101 Replacement Bar MagnetsEureka 101€10.99BUY✓ ADDED
Apply masking tape along the sides of ONE piece of the white card, cut to 6 1/2 x 4 1/2", to create a panel, as seen here.
Place the Thirsty Brush Broken Circles stencil on top of the masked off panel.
Apply a swipe of the Indigo dye ink on to your glass mat. Add a little water, to dilute the intensity of the colour, then use a blending tool to blend lightly through the stencil.
Ink up the dots/dashes stamp from the Rainbow Bloom stamp set and the bubbles stamp from the Every Flower stamp set, with the Memento. Stamp randomly on to your background, ensuring you take random images off the edge of the panel. Overlap some, to give fluidity to your design.
Once the ink is completely dry, carefully peel off the masking tape.
Adhere your background on to the black card.
Adhere this on to your pink card blank and set to one side.
Ink up this floral stamp, from the Rainbow Bloom set, with the Memento and stamp on to the other sheet of white card, cut to 6 1/2 x 4 1/2". Set remaining card to one side.
Placing a sheet of copy paper under your stamped card, to protect your work surface, colour in with your Gossip alcohol pens.
Fussy cut, then use a white gel pen to add accents and highlights to your floral element.
Using foam pads, adhere on to your background, then set to one side.
Ink up the sentiment stamp, from the Every Flower set, with the Memento and stamp on to the white card you set aside.
Cut around your sentiment then use a black pen to create a decorative frame.
To finish, adhere your sentiment across the bottom of your floral element, with foam pads.
Share your make with the Stamps By Me community - and keep this guide for next time.
Prefer the previous layout? Open the old page.



