tap a picture to see it big · tap DONE as you go - this device remembers
Step 1 of 11
Create inky backgrounds on the 4 pieces of card, by swiping each of the Premium Dye inks on to your glass mat, adding a little of the Pearlywinks glitter pearl mist to each colour, then picking up the ink. Allow to dry naturally or use a heat tool to speed things up!
Step 2 of 11
Use a black pen to draw a decorative frame around each panel.
Step 3 of 11
Adhere each of the four panels on to the black card, as seen here and set to one side.
Step 4 of 11
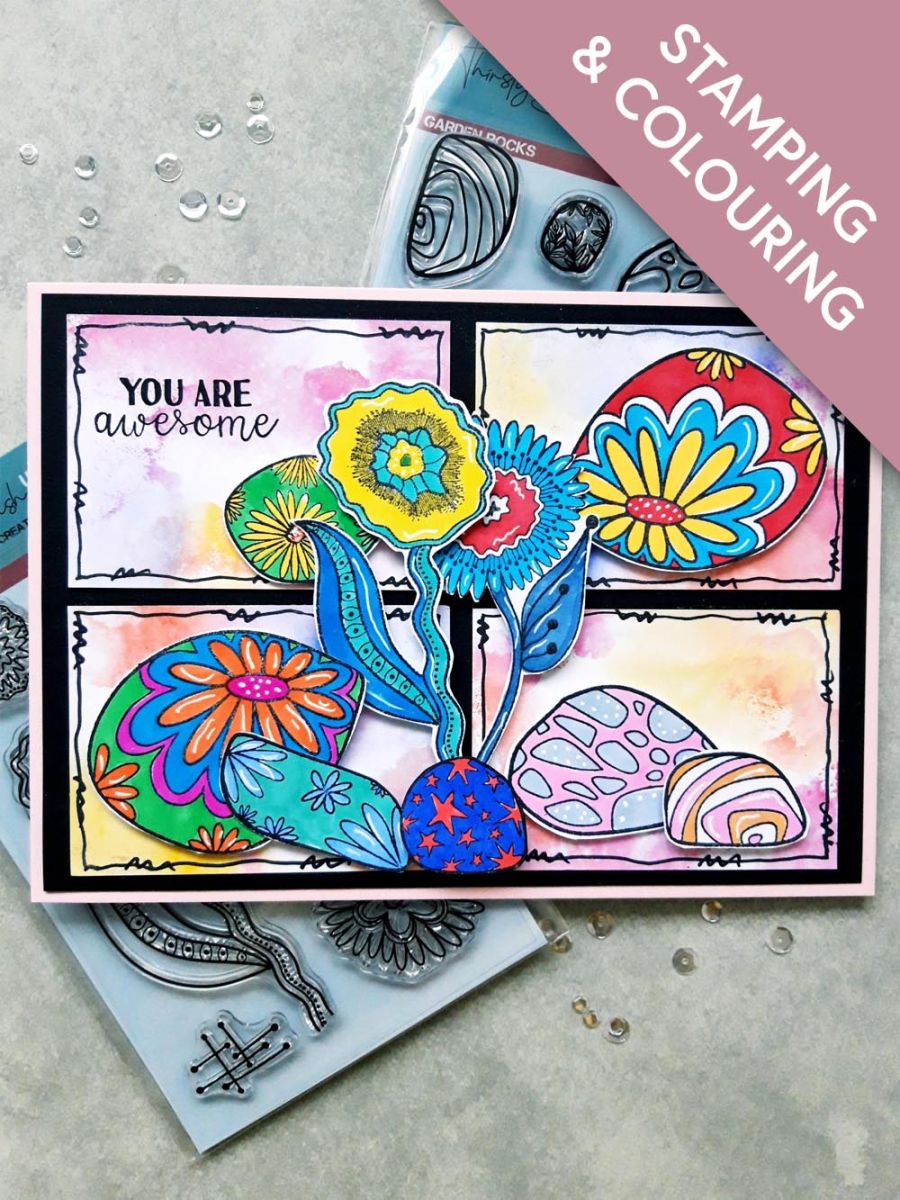
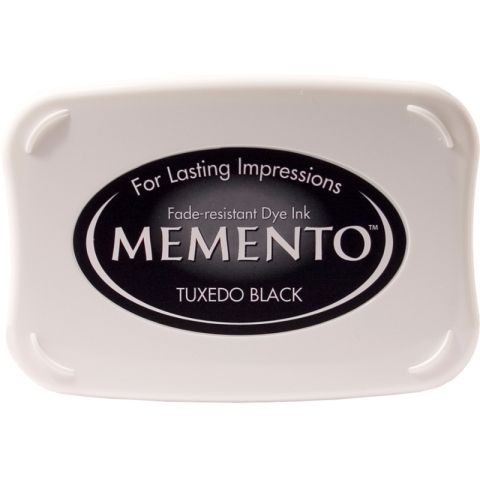
Ink up a selection of the Garden Rock stamps with the Memento and stamp on to the A4 white card. Fussy cut and colour in with your Gossip alcohol pens.Alcohol ink bleeds through the card so encsure you pop a sheet of copy paper or scrap card underneath, to protect your work surface.
Step 5 of 11
Ink up a couple of the flowers from the Rainbow Blooms set, with the Memento and stamp on to the remaining white card. Fussy cut and colour as before.
Step 6 of 11
Use a white gel pen to add accents and highlights to your coloured elements.
Step 7 of 11
Adhere a few of the rocks on to your panels, setting TWO of them to one side for later and keeping the top left panel clear, as seen here. Use both wet glue and foam pads, to create dimension to your design.
Step 8 of 11
Ink up the sentiment stamp from the Tulip Hugs set, with the Memento and stamp in the top left corner of the top left panel.
Step 9 of 11
Adhere your 2 coloured flowers up the centre of your inky panels, with wet glue and/or foam pads.
Step 10 of 11
Adhere one of the coloured rocks, set aside earlier, tucked behind the floral elements in the top left panel. Adhere the other one, with foam pads, at the base of the flowers.
Step 11 of 11
Matt on to the front of your pink card blank, to finish.
You made it!
Share your make with the Stamps By Me community - and keep this guide for next time.
Hello! I'm Toni's AI craft helper - I know the projects from Toni's shows, our guides and everything in the shop. Ask me anything, like "which dies go with this stamp set?" or "what do I need to start ink blending?"
An AI helper (not Toni herself), answering from Toni's shows and our shop - please check the product page before you buy.