tap a picture to see it big · tap DONE as you go - this device remembers
Step 1 of 9
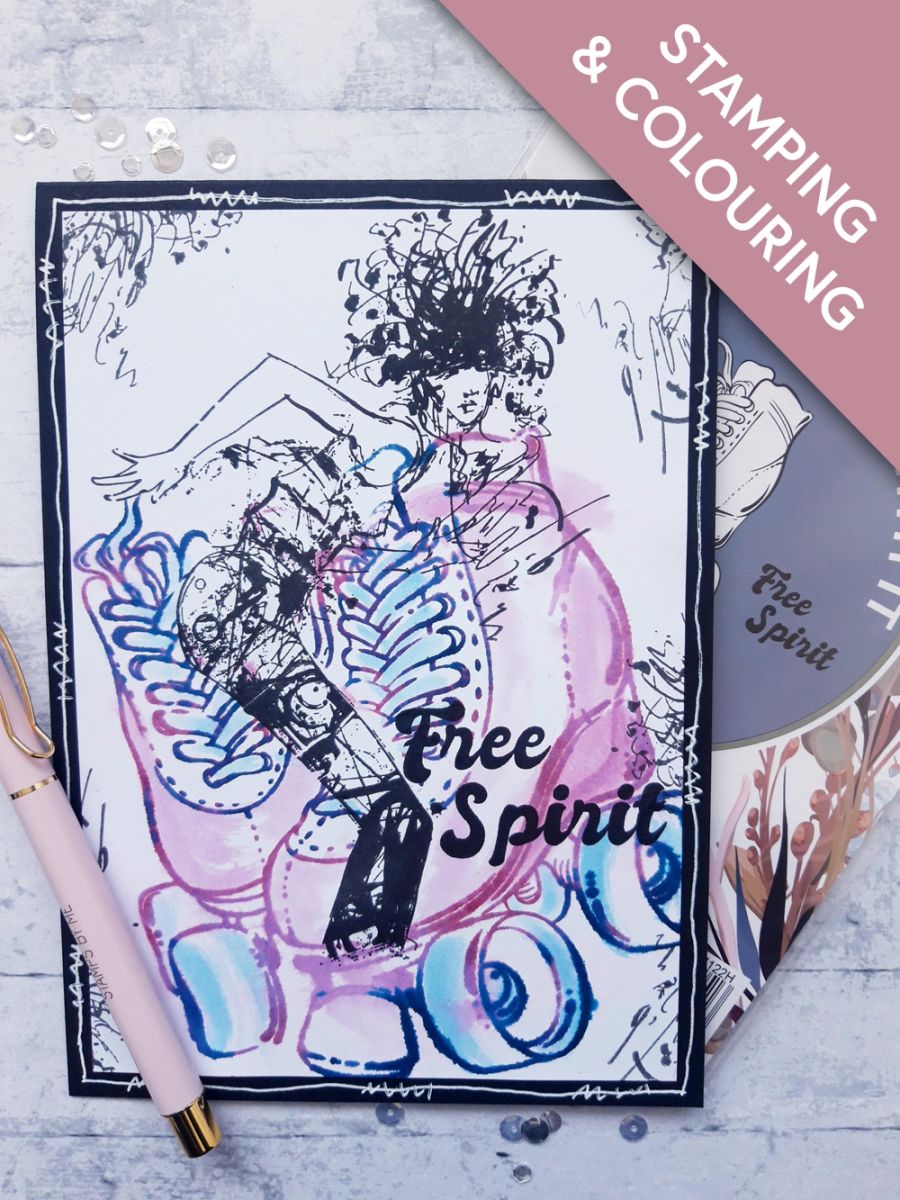
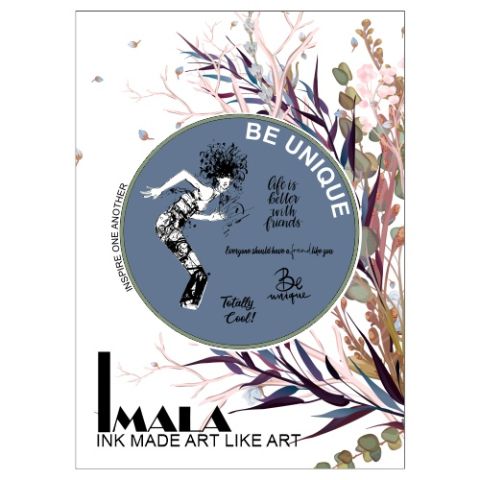
Ink up our free sprit lady, from the Imala Be Unique Stamp Collection, with the Midnight hybrid and stamp on to your masking sheet or copy paper.
Fussy cut then place on to the white card, cut to 8 x 5 1/2", thinking about the placement of your roller boots.
Step 2 of 9
Ink up the roller boots with the Fandango, spritz with water and stamp over your mask. Spray the stamped image with water allowing the ink to bleed, before mopping up any excess with a paper towel.
Reink the stamp randomly, with Tiffany, spritz lightly with water and stamp. This will give definition to areas of your artwork.
Step 3 of 9
Whilst the ink is still wet, use a paint brush to watercolour areas of your artwork as required. You can add more ink to intensify the colours, shading etc, if you prefer. The effect you're looking for is loose watercolouring.
Step 4 of 9
Remove your mask and thoroughly dry your artwork with a heat tool.
Step 5 of 9
Reink our lady with the Midnight hybrid ink and stamp in position.
Step 6 of 9
Reink the texured, scribble art areas of the same stamp, inluding her hair and stamp randomly around the edges of the card, to add some interest and framing to your artwork.
Step 7 of 9
Adhere your artwork on to the black card blank.
Step 8 of 9
Use a white gel pen to draw a decorative, wiggly frame around the edges of your black card blank.
Step 9 of 9
Finally, ink up the sentiment with Midnight and stamp on to your artwork.
You made it!
Share your make with the Stamps By Me community - and keep this guide for next time.
Hello! I'm Toni's AI craft helper - I know the projects from Toni's shows, our guides and everything in the shop. Ask me anything, like "which dies go with this stamp set?" or "what do I need to start ink blending?"
An AI helper (not Toni herself), answering from Toni's shows and our shop - please check the product page before you buy.