


Step 1 of 11
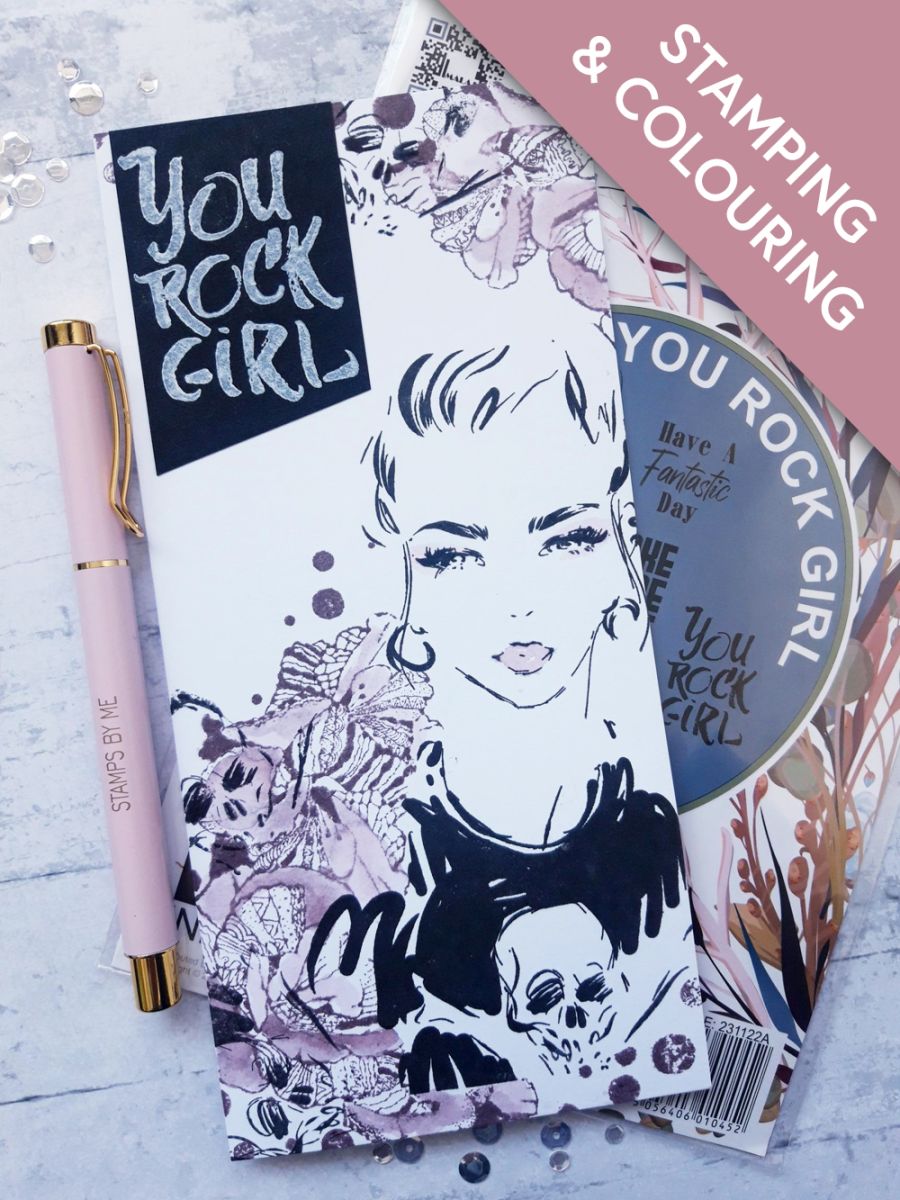
Ink up this stamp with the Midnight hybrid ink and stamp on to the masking sheet or copy paper, then fussy cut, keeping as close to the lines as possible.








Prices change straight away. Every language is our own translation, not Google.
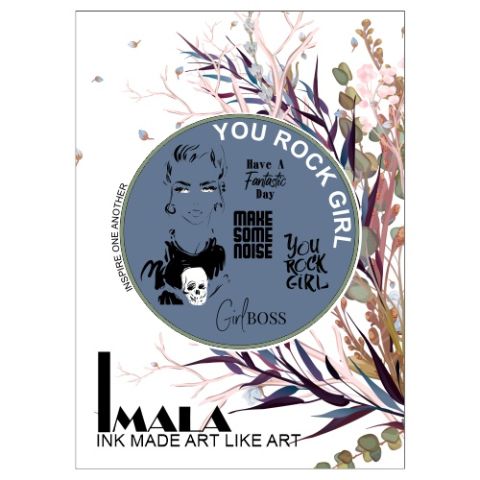 Imala - A5 Stamp - You Rock GirlImala You Rock Girl Stamp Collection€17.99BUY✓ ADDED
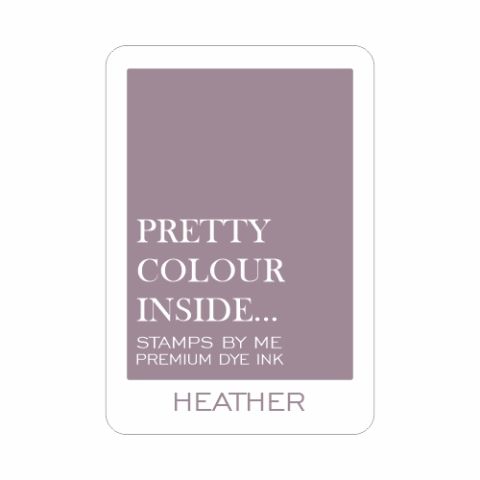 Stamps By Me - Premium Dye Ink Pad - HeatherSBM Premium Dye Ink pad: Heather
Ink up this stamp with the Midnight hybrid ink and stamp on to the masking sheet or copy paper, then fussy cut, keeping as close to the lines as possible.
Place your mask just off the right hand edge of your white, DL card blank.
Ink up this beautiful stamp from the Wildflower set, with the Heather ink, spritz lightly with water and stamp around the left side and slightly overlapping, our mask.
Whilst the ink is still wet, use a paint brush to pull out the ink to create a loose, watercolour effect. You can go in and add a little more ink, to intensify areas, thus creating depth and dimension.
Re-ink the Wildflower stamp with the Heather, spritz and stamp in the top right corner. Again, draw the wet ink out with a paint brush.
Carefully remove your mask before drying the ink with a heat tool.
Re-ink our rock girl with the Midnight and stamp within the masked off area.
You want to re-ink the stamp with Midnight but this time we are just inking up the "Skull", within the image. Dab off any ink you get on other areas of the stamp, with a paper towel but don't worry if you miss any! The idea is to give a distressed, textured look to your artwork. Stamp the skull randomly on to the floral images on your card, as many times as you wish, until you are happy with the result!
Set your card to one side.
Ink up the sentiment stamp with the Cotton pigment ink and stamp on to the black card. Pigment ink is very slow drying, so best blast it dry with your heat tool.
I wanted to trim my sentiment at a jaunty angle, but you can trim it flush if you prefer.
Adhere your sentiment in the top left corner of your card.
Apply a tiny bit of the Heather on to your glass mat, add water and paint her lips and eye shadow, as required, to finish your card.
Share your make with the Stamps By Me community - and keep this guide for next time.
Prefer the previous layout? Open the old page.



