


Step 1 of 10
Having chosen a decorative paper from the Funky Fossil Midnight Garden paper Pad, tear two pieces and adhere to the bottom left and top right corners of the white card (6 3/4 x 4 3/4"), as seen here.








Prices change straight away. Every language is our own translation, not Google.
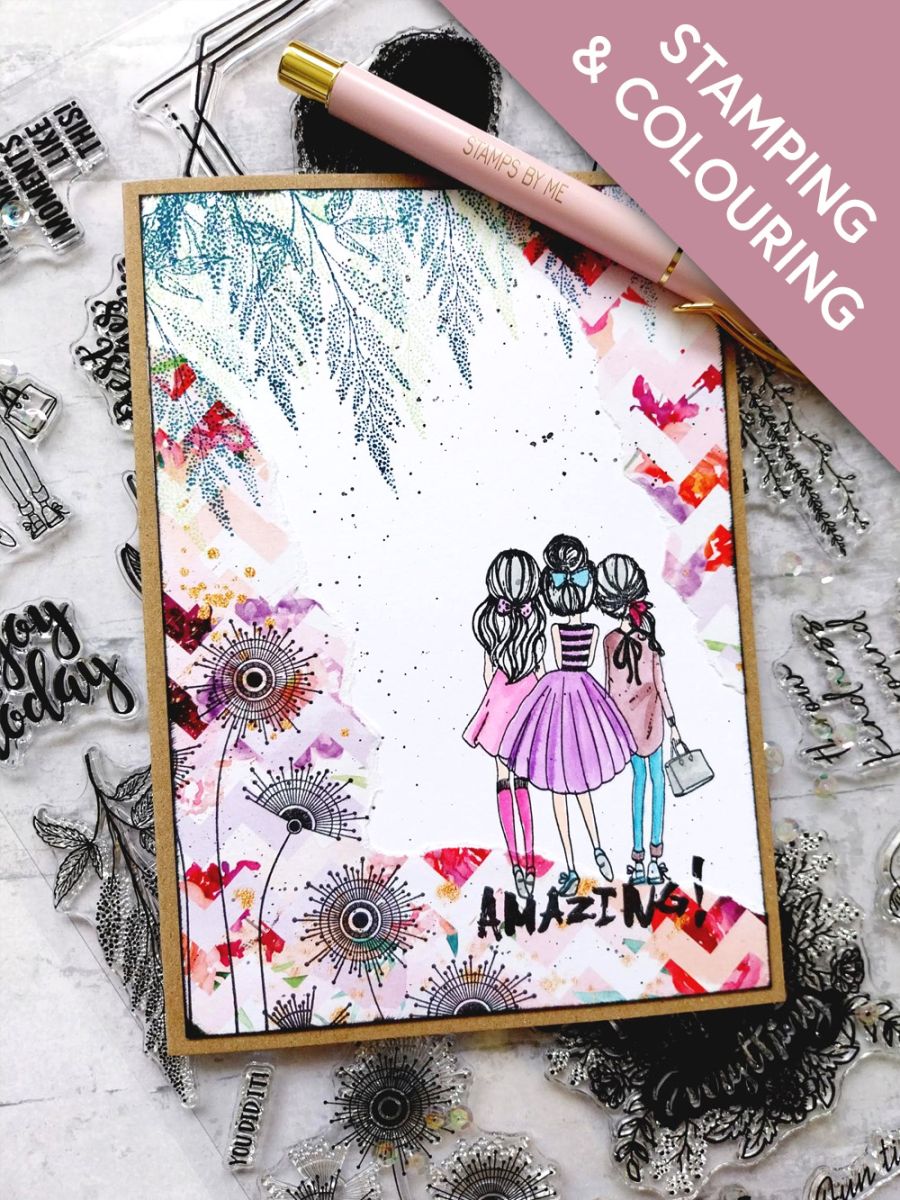
Having chosen a decorative paper from the Funky Fossil Midnight Garden paper Pad, tear two pieces and adhere to the bottom left and top right corners of the white card (6 3/4 x 4 3/4"), as seen here.
Ink up this foliage stamp from the Enjoy Today set, with Tiffany and stamp it coming down from the top left corner. Stamp multi times using first and second generation stamping, to achieve perspective to your artwork.
Tip: First and second generation stamping is when you ink a stamp, then stamp it 2 or 3 times WITHOUT reinking it. This creates faded images that look further away, thus creating perspective.
Repeat the previous step, this time using Limeade.
Ink up the 3 friends stamp with the Midnight hybrid ink and stamp bottom right.
Using your paint brush and your premium dye inks, paint your stamped friends as required.
Tip: I like to apply a little of each of the inks, on to my glass mat then mix with water. This also allows me to blend and create new shades.
Ink up the "Amazing" sentiment stamp with Midnight and stamp it below the friends. This will "ground" your image, so it doesn't look like it's "floating".
Ink up this floral stamp with Midnight and multi-stamp coming up from the bottom left corner.
Swipe your Midnight ink pad along the edges of the card, giving your artwork a frame and drawing the eye in to the design.
Pop a little of the Midnight on to your glass mat, add water and splatter over your artwork. I like lots of splats...but the choice is yours!!
Once the artwork is completely dry, adhere to the front of your kraft card blank.
Share your make with the Stamps By Me community - and keep this guide for next time.
Prefer the previous layout? Open the old page.



