


Step 1 of 17
Tear a panel from one of the texured decorative papers and trim to 7 1/2".








Prices change straight away. Every language is our own translation, not Google.
Tear a panel from one of the texured decorative papers and trim to 7 1/2".
Tear another coordinating panel, from a different textured paper but slightly narrower than the first. Trim to 7 1/2", as before.
Adhere the narrower panel on top of the wider one and use your fingers to scrunch and lift the torn edges.
Cut down this decorative Daisy sheet to 7 1/2" square, then adhere your torn, decorative paper panel across the bottom third of the paper.
Swipe around the edges of your paper with the Midnight hybrid ink pad.
Once the ink is dry, adhere to your 8" square white card blank and set to one side.
Cut a small piece of white and black card stock, from the A4 sheets, slightly bigger than the "Family" sentiment stamp and die.
Ink up the stamp with the Midnight and stamp on to the white card. Place the detailed die over your stamped image and the layering die on to the black card. Run both through your die cutting machine.
Adhere the stamped, white die cut on top of the black, die cut mat and set to one side.
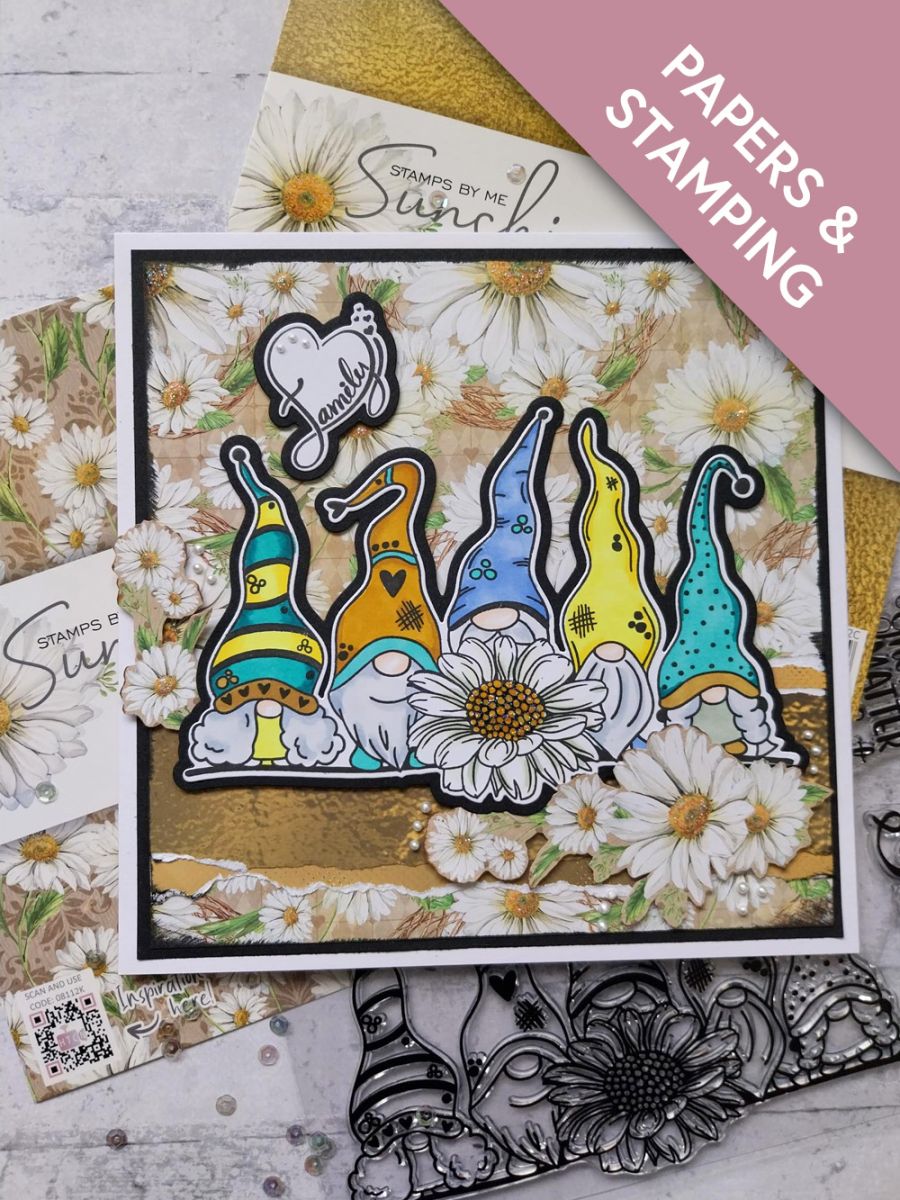
Ink up the cute Gnomes stamp with Midnight and stamp on to the remaining white card.
Place the detailed die over your stamped image and the coordinating layering die, on to the remaining black card. Run both through your die cutting machine.
Use your alcohol pens to colour in your stamped image.
TIP: Pop a sheet of copy paper underneath, as alcohol pens will bleed through the card and this may damage the work surface underneath.
Use foam pads to adhere your cute Gnomes on to your card.
Remove this sheet from the paper pack and fussy cut some of the elements.
Use wet glue and/or foam pads, to add some of the 3D elements to the bottom right of the Gnomes.
Use wet glue to adhere the other 3D elements, tucking them behind the left edge of the cute Gnomes.
Adhere the die cut "Family" sentiment, with foam pads, to the top left of your artwork.
Add a bit of glitter and sparkle to the centres of the stamped and fussy cut Daisies, with your Ranger Stickles.
Finally, add the Ranger Liquid Pearl Drops around your artwork.
Share your make with the Stamps By Me community - and keep this guide for next time.
Prefer the previous layout? Open the old page.



