


Step 1 of 10
Adhere the white 5 1/2" square card on to the white 5 3/4" square card and then on to the front of your 6 x 6" card blank. Set your card to one side.








Prices change straight away. Every language is our own translation, not Google.
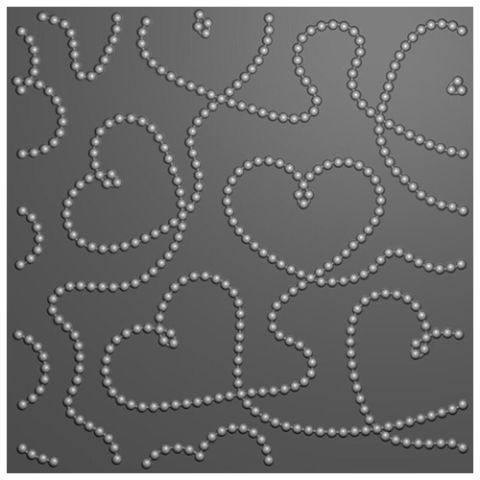 Signature Watercolour Hd3d Embossing Folder - Beautiful BeadsHD3D Beautiful Beads Embossing Folder€12.99BUY✓ ADDED
Adhere the white 5 1/2" square card on to the white 5 3/4" square card and then on to the front of your 6 x 6" card blank. Set your card to one side.
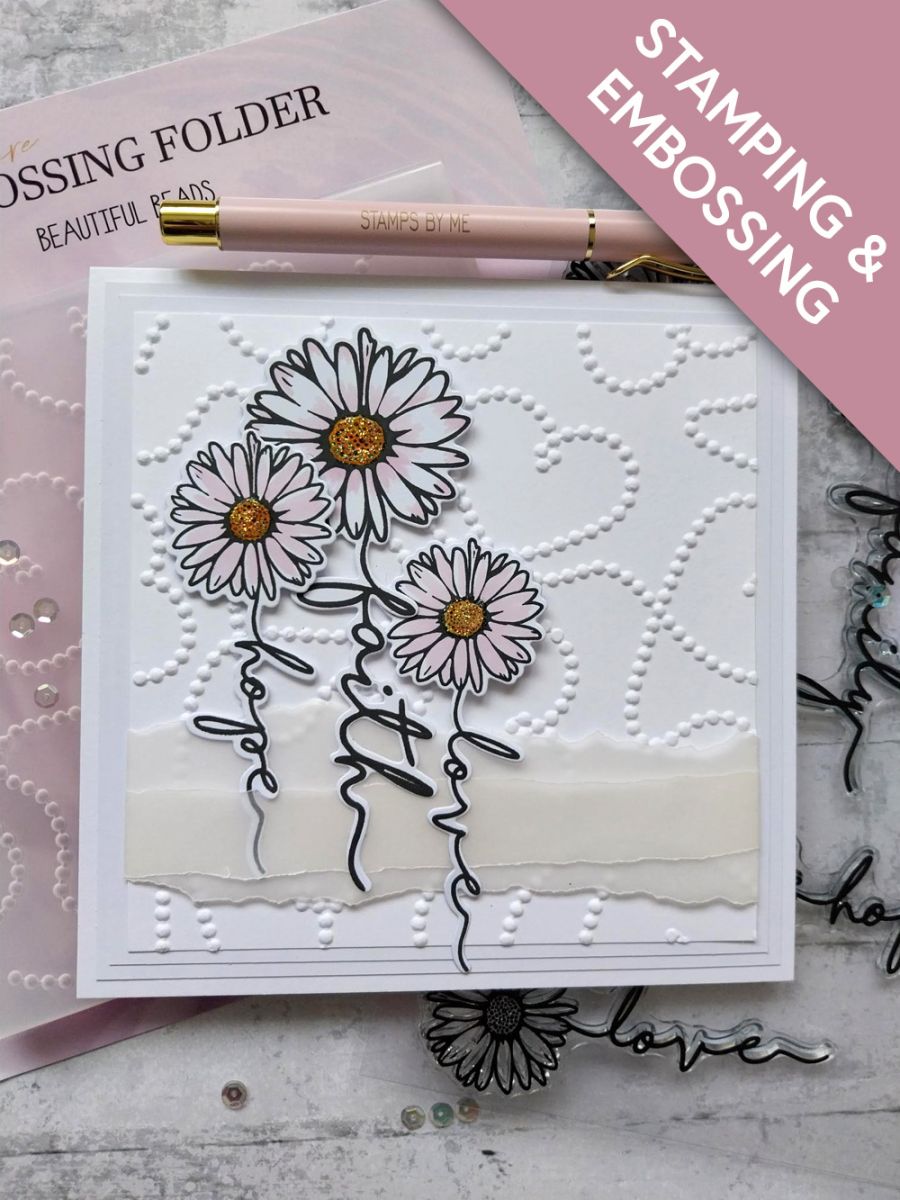
Place the white card cut to 5 1/4" square, in your HD3D Beautiful Beads embossing folder and run it through your machine.
Tear two panels of vellum, one wider than the other and both a bit wider than your embossed card.
Place the widest vellum panel across the bottom third of the embossed card. Tuck the vellum over the sides of the card and secure on the reverse, with double sided adhesive tape.
Lay the narrower vellum panel on top of the first, fold over the edges and secure on the reverse, as before.
Adhere this on to your layered card blank and set to one side.
Ink up the Faith, Hope and Love Daisy stamps, with the Midnight ink and stamp on to a piece of white card. Use the coordinating dies to cut them out.
Colour your die cut Daisies with your alcohol pens, popping a sheet of copy paper underneath. This prevents any damage to the work surface, when the alcohol ink bleeds through the card.
Tip: To achieve the look of "white" flowers, add a little colour at the base and tips of the petals, with a very pale grey, blue or lilac...or in this case...pink!
Adhere the "Faith" die cut just in from the left side, level with the bottom of the vellum panel.
Adhere the "Hope" element to the left of the first but tucking the stem under the narrower vellum panel.
Adhere the "Love" element to the right, so the bottom of the stem kisses the bottom of your card blank.
Add Stickles to the centre of the Daisies, to finish.
Share your make with the Stamps By Me community - and keep this guide for next time.
Prefer the previous layout? Open the old page.



