


Step 1 of 12
Swipe the Heather ink pad over the debossed side of the Imala Damask Textile embossing folder and spritz with water.








Prices change straight away. Every language is our own translation, not Google.
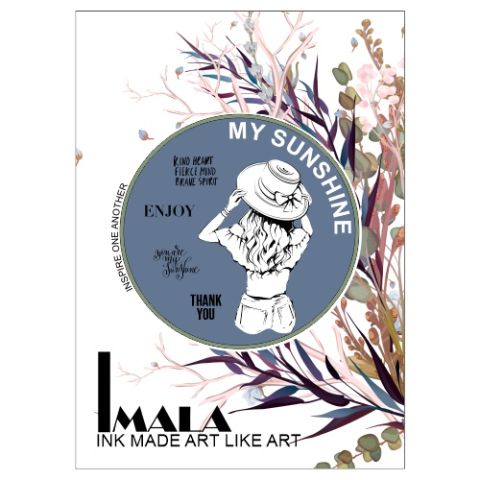 Imala - A5 Stamp - My Sunshine€17.99BUY✓ ADDED
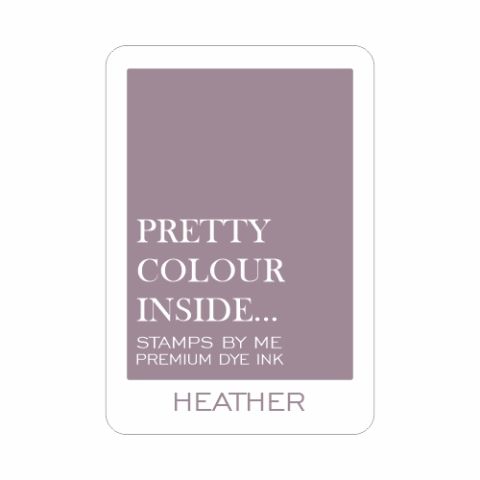 Stamps By Me - Premium Dye Ink Pad - HeatherSBM Premium Dye Ink Pad: Heather
 Blending Tool RectangleBlending tool€11.49BUY✓ ADDED
Swipe the Heather ink pad over the debossed side of the Imala Damask Textile embossing folder and spritz with water.
Place the 6 1/2" square white card face down, on the inked side of the folder and lightly press all over the card.
Carefully lift it off to reveal your printed background, then blast dry with your heat tool.
Using a blending tool, apply the Peacock Feathers around the edges of your printed card, blending it with your printed background.
Again, blast the ink dry with your heat tool.
Tear this printed paper from the Funky Fossil Rainbow Watercolour paper pad and trim to 6 3/4" square. Set any remaining paper to one side.
Adhere your printed background on to the decorative paper.
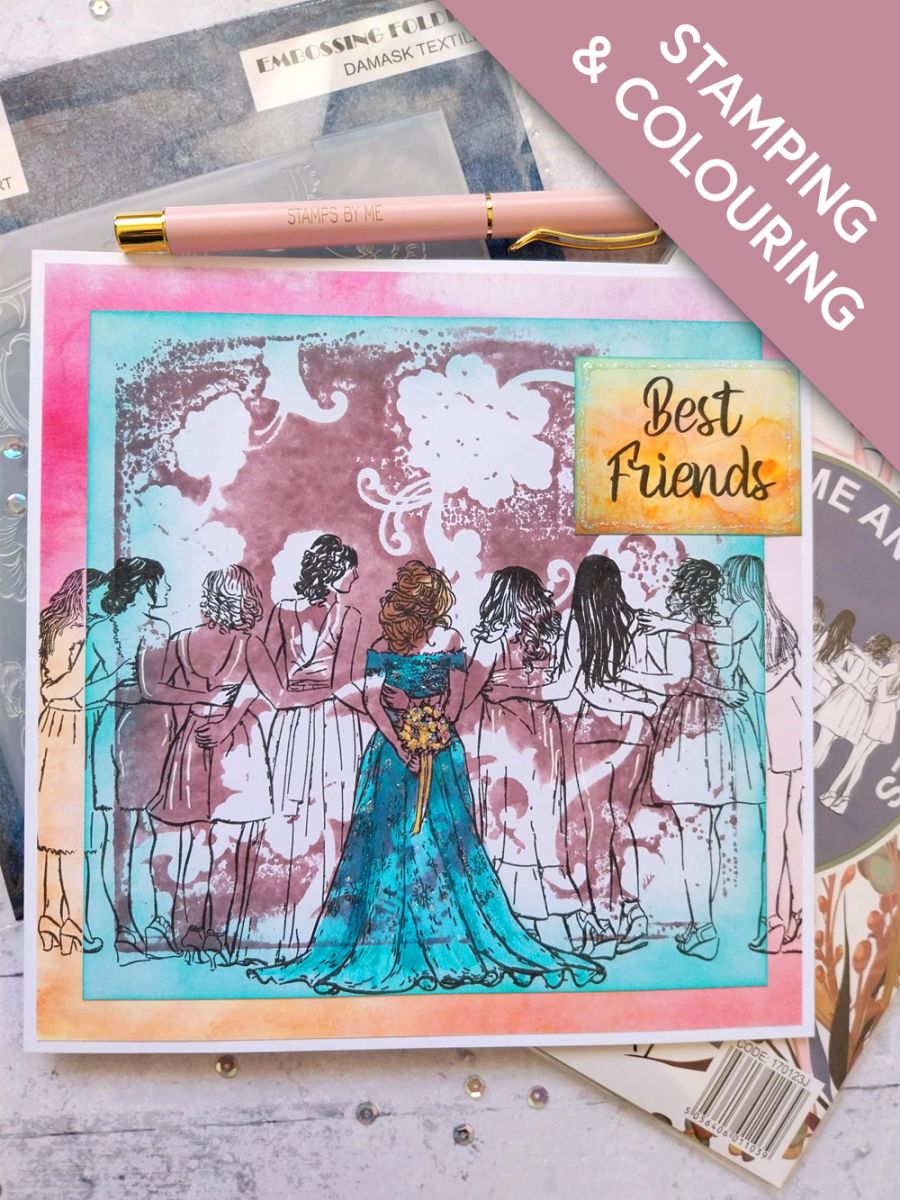
Ink the Me And My Girls stamp with the Midnight and stamp across your layered background.
NB: You may need to apply a little more pressure where the paper meets the card, to get a crisp, clear stamped image.
Colour in the "Bride" with your watercolour paints. You can colour all the girls in if you wish, but with a "busy" background, I wanted my centre lady/Bride to "pop".
Set to one side.
Ink up the "Best Friends" sentiment stamp, from Imala With The Boys, with the Midnight ink and stamp on to the Rainbow Watercolour paper you set aside earlier. Trim to size.
Adhere your sentiment to the right of your artwork, flush with the edge of your paper.
Adhere your artwork on to your 7 1/2" square, white card blank.
Use your Ranger Stickles to add glitter and sparkle down the folds of the gown and on the floral bouquet.
To finish, go round the edges of your sentiment panel, with the Stickles, to create a sparkly, glitter border.
Share your make with the Stamps By Me community - and keep this guide for next time.
Prefer the previous layout? Open the old page.



