


Step 1 of 7
Remove this decorative sheet from the Funky Fossil Watercolour Rainbow paper pack and trim to 7 3/4 x 5 1/4".








Prices change straight away. Every language is our own translation, not Google.
 Blending Tool RectangleBlending tool€11.49BUY✓ ADDED
Remove this decorative sheet from the Funky Fossil Watercolour Rainbow paper pack and trim to 7 3/4 x 5 1/4".
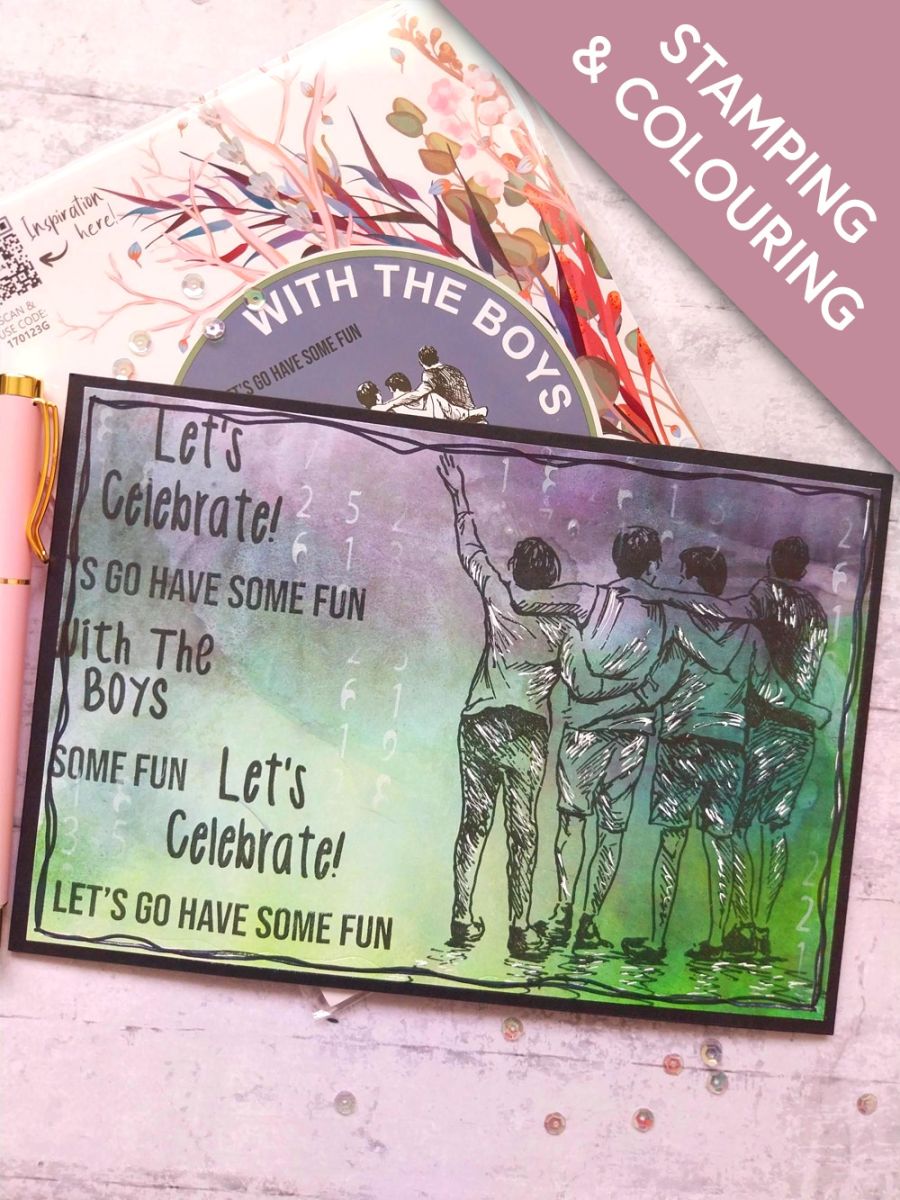
Ink up our Imala boys with the Midnight hybrid ink and stamp to the right of the paper, placed in landscape view.
Once the ink is completely dry, use your Imala white gel pen to add accents and highlights to the stamped image.
Ink up the sentiment stamps, from the boys collection, with Midnight and stamp them one at a time, staggered and coming in from the left hand edge of the paper.
Once the ink is dry, place the Cascading Numbers stencil over your artwork and using a blending tool, apply the Cotton ink randomly through the stencil.
Dry the Cotton ink thoroughly, as it is a slow drying ink and will smudge!
Adhere your artwork on to your black, landscape card blank.
Finally use a black pen to create a wiggly, decorative frame around your artwork.
Share your make with the Stamps By Me community - and keep this guide for next time.
Prefer the previous layout? Open the old page.



