tap a picture to see it big · tap DONE as you go - this device remembers
Step 1 of 10
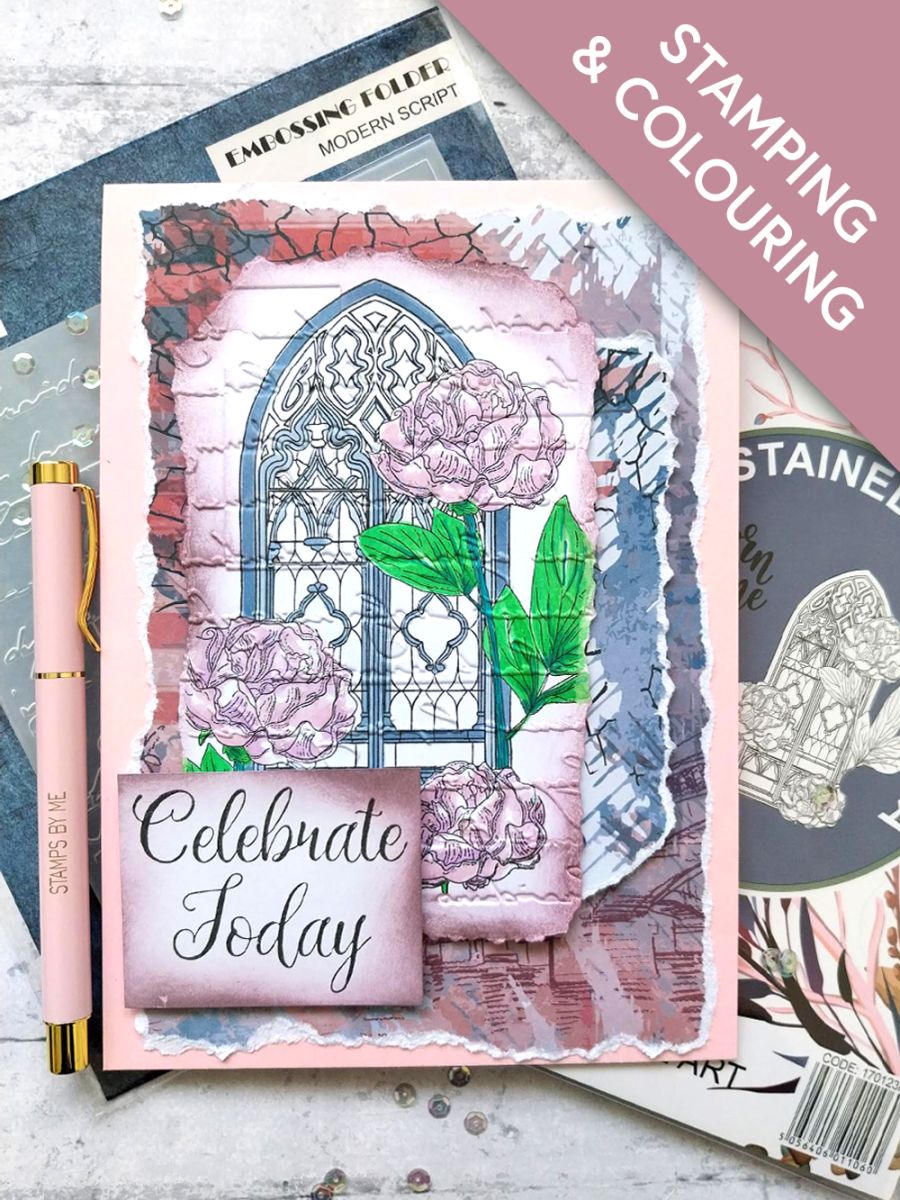
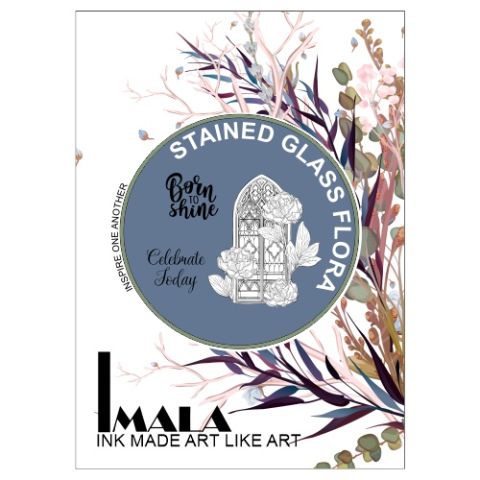
Ink the Stained Glass Window stamp with the Midnight hybrid ink and stamp on to the white card, cut to 7 x 5".
Use your alcohol pens to colour it in, placing a sheet of copy paper underneath to protect your work surface from the ink that bleeds through the card.
Step 2 of 10
Tear the card around your coloured image, as seen here.
Step 3 of 10
Place your card inside the Imala Modern Script embossing folder and run it through your machine.
Step 4 of 10
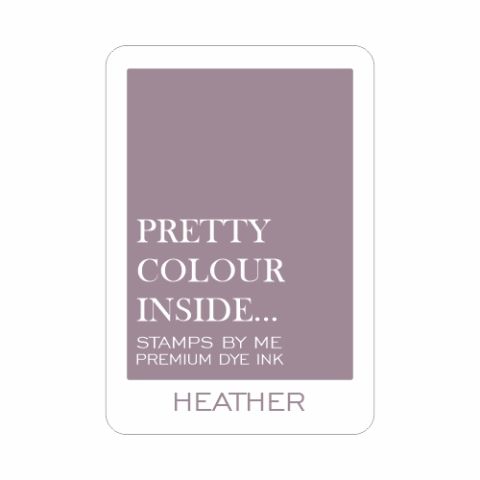
Use a blending tool to apply the Heather around the edges of your embossed artwork, then set aside.
Step 5 of 10
Choose a paper from the Imala A4 Collage paper pad and tear to size, so it will fit on the front of your card blank. Set aside any remaining paper.
Ink up the Imala Crackle stamp with the Midnight and randomly stamp on to your paper, before adhering to the front of your pink, card blank.
Step 6 of 10
Tear a panel from the remaining paper you set aside, or from a coordinating sheet.
Randomly stamp the crackle, in Midnight, on to the torn panel before adhering to the right of your card.
Step 7 of 10
Adhere your coloured, torn topper to the centre of your card with wet glue, or foam pads for added dimension.
Step 8 of 10
Ink up the sentiment with Midnight, stamp on to the white card and trim to size.
Using a blending tool, apply the Heather around the edges, fading out the intensity as you move inwards.
Step 9 of 10
Adhere your sentiment, with foam pads, to the bottom left of your artwork.
Step 10 of 10
Use the Stickles to add a touch of sparkle to the petals.
You made it!
Share your make with the Stamps By Me community - and keep this guide for next time.
Hello! I'm Toni's AI craft helper - I know the projects from Toni's shows, our guides and everything in the shop. Ask me anything, like "which dies go with this stamp set?" or "what do I need to start ink blending?"
An AI helper (not Toni herself), answering from Toni's shows and our shop - please check the product page before you buy.