


Step 1 of 9
Cut TWO pieces of card, each measuring 2 1/2 x 6".
Use the banner tag punch on one end of each bookmark.








Prices change straight away. Every language is our own translation, not Google.
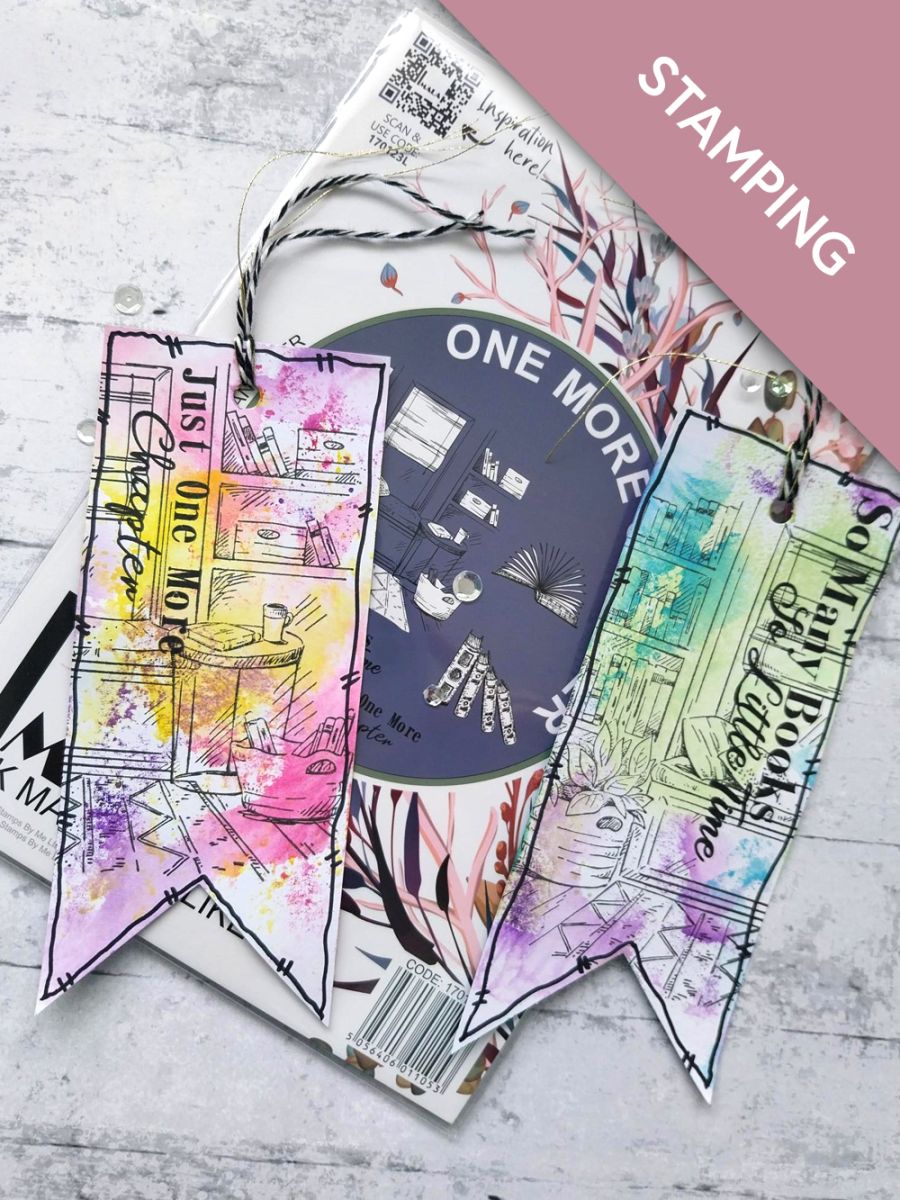
Cut TWO pieces of card, each measuring 2 1/2 x 6".
Use the banner tag punch on one end of each bookmark.
Punch a hole in both bookmarks.
Apply a little of the Sherbet, Magenta and Indigo ink on to your glass mat. Spritz with water, then smoosh one bookmark through each of the colours, to create your first inky background. You can dry in between each colour, to avoid them mixing, if you so wish.
Repeat the same with the other bookmark but this time use the Limeade, Tiffany and Indigo.
Dry both bookmarks thoroughly with your heat tool.
Repeat the previous step on the REVERSE of the bookmarks. You can of course, keep the reverse white but the choice is yours.
Again, give the bookmarks a quick blast with your heat tool.
Ink up this beautiful stamp from One More Chapter, with the Midnight hybrid ink and stamp off the edge of one of the bookmarks. Re-ink and stamp a different part of the stamp, on the second bookmark.
Repeat on the REVERSE of the bookmarks, if you have chosen to decorate them.
Ink up each of the sentiments, from the same collection and stamp on to the front of the bookmarks, where desired.
Use a black pen to draw a decorative, wiggly frame around your artwork.
Finally, tie twine, gold thread, ribbon, as preferred, through the punched holes.
Share your make with the Stamps By Me community - and keep this guide for next time.
Prefer the previous layout? Open the old page.



