


Step 1 of 9
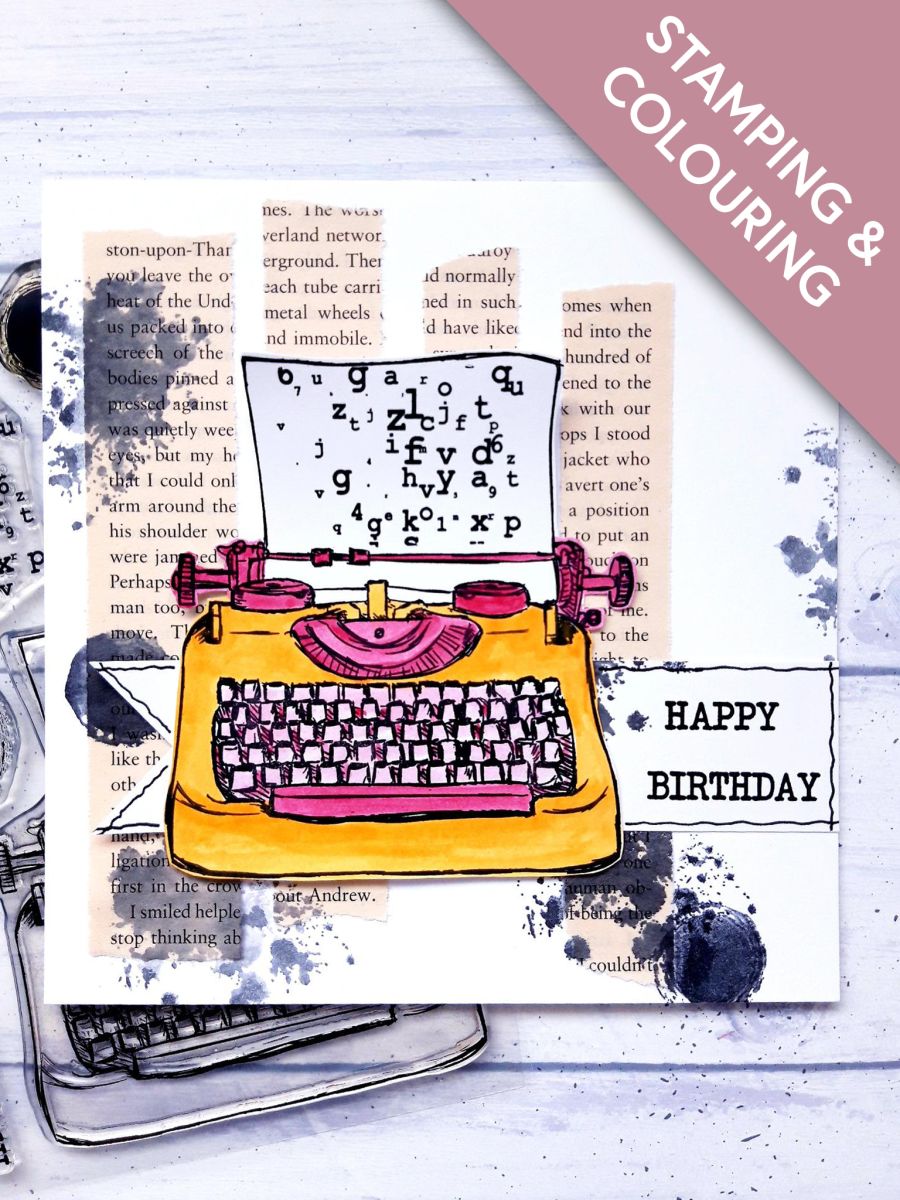
Ink up the Typewriter stamp with Onxy Black Versafine, stamp on to the square white cardstock, and cut it out.








Prices change straight away. Every language is our own translation, not Google.
 Cardstock WhiteWhite cardstock (5 1/2 x 5 1/2")€5.65BUY✓ ADDED
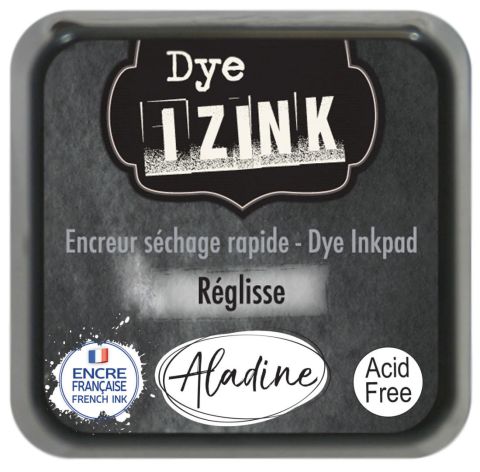 IZINK DYE BASED INK PAD 5 X 5CM - REGLISSE 050821iIzink Dye Ink Pad: Reglisse€3.99BUY✓ ADDED
 Eureka 101 Replacement Bar MagnetsEureka 101€10.99BUY✓ ADDED
Ink up the Typewriter stamp with Onxy Black Versafine, stamp on to the square white cardstock, and cut it out.
Ink up the random alphabet letters stamp, in the Versafine, and stamp on to the paper scroll.
Pop a little drop of the Izink Pigments on to a craft or glass mat.
Add a little water and paint your typewriter, using a paintbrush.
Set to one side to dry.
Tear 4 strips, of different lengths and widths, from an old book page and adhere on to the front of your card blank.
Ink up the texture stamps, with the Izink Reglisse, spritz with water and stamp randomly over the torn book strips, and card blank. Ensure some stamped images go off the edge of the card.
Use the tag banner punch on one end of the white cardstock (6 3/4 x 1 1/2").
Ink up the sentiment stamp in the Onyx Black Versafine and stamp on the right hand side of the tag, as shown here.
Ink up one of the texture stamps, with the Izink Reglisse, spritz with water and stamp off the edge of the tag. You can add more splats if desired.
Adhere the tag, with wet glue, flush to the right hand edge of the card blank.
To finish, adhere your typewriter, with foam pads, so it sits on top of the tag, with the sentiment visible on the right.
Share your make with the Stamps By Me community - and keep this guide for next time.
Prefer the previous layout? Open the old page.



