


Step 1 of 12
Using scraps or sheets of the papers, from the Classic Celebration paper pack, cut TWELVE squares, each measuring 1 1/2" square.








Prices change straight away. Every language is our own translation, not Google.
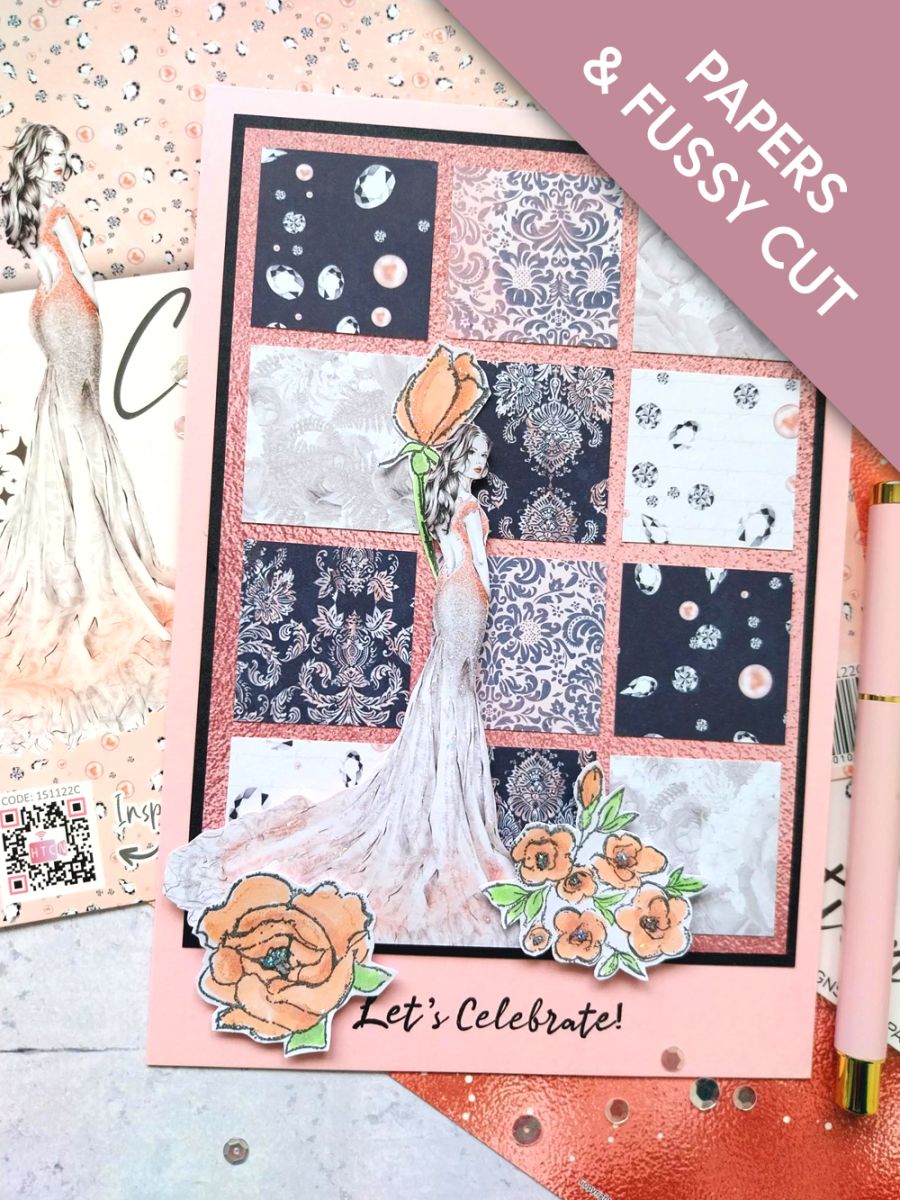
Using scraps or sheets of the papers, from the Classic Celebration paper pack, cut TWELVE squares, each measuring 1 1/2" square.
Remove this paper from the Paperchain Textured pack and cut to 6 3/4 x 5"
Adhere the paper squares randomly, on to the textured paper, as seen here.
Adhere this on to the black card cut to 7 x 5 1/4".
Stamp the sentiment with the Midnight Hybrid, in the centre and at the bottom of your pink, top folding card blank.
Adhere your patchwork artwork on to your pink card blank, then set aside.
Fussy cut one of the right-facing ladies, from the Classic Celebration papers.
Stamp and die cut a few of the florals, from Let's Celebrate and colour in with your alcohol markers. Pop a sheet of copy paper underneath, when colouring your images in, to protect your work surface from the ink that bleeds through the card.
Adhere your lady with wet glue or foam pads, to the left of your card.
Use foam pads to adhere some of the die cut florals around the bottom of her gown.
Adhere one of the stemmed flowers so it curves around the back of our lady.
To finish, add a touch of sparkle to the gown and florals, with your Stickles.
Share your make with the Stamps By Me community - and keep this guide for next time.
Prefer the previous layout? Open the old page.



