tap a picture to see it big · tap DONE as you go - this device remembers
Step 1 of 10
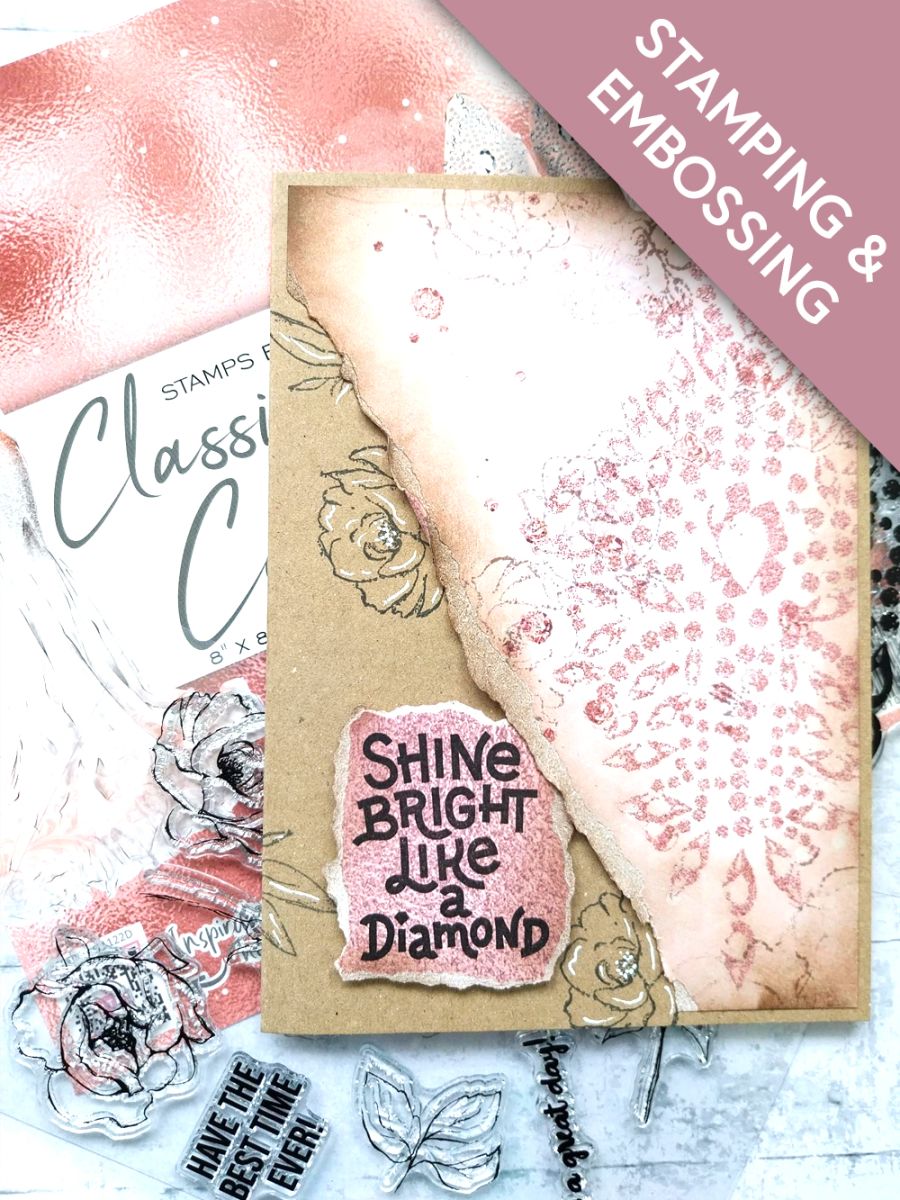
Remove this decorative sheet from the Classic Celebration Textured pack and trim to 6 3/4 x 4 3/4".
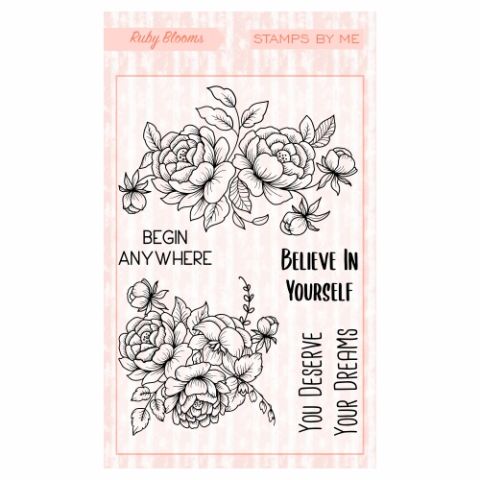
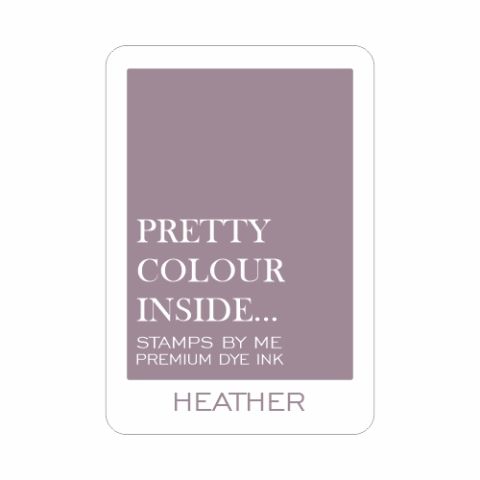
Ink up one or two of the little floral stamps, from Let's Celebrate, with Heather and randomly stamp on to the paper, using first and second generation stamping...this means not re-inking the stamp but stamping it again, to give a lighter result.
Step 2 of 10
Blend the Heather around the edges of the paper.
Step 3 of 10
Once the ink is dry, wipe over with an anti-static bag.
Ink up the large jewelled Diamond stamp with the sticky embossing ink and stamp just off the right edge of the paper. Cover with the Brown Berry embossing powder then heat set with your heat tool. Ensure your heat tool is hot before you set the powder, as this will help minimise warping the paper.
Step 4 of 10
Tear diagonally, across the paper, from the top left side to the bottom right side, as shown here.
Step 5 of 10
Blend the Heather along the torn edge, then pop to one side.
Step 6 of 10
Ink up the same floral stamps with Midnight and using your torn paper as a guide, randomly stamp on the left side of your kraft card blank.
Step 7 of 10
Adhere your embossed, torn panel on to the front of your card blank, then pop to one side.
Step 8 of 10
Ink up the sentiment stamp with Midnight and stamp on to a piece of textured paper, from the paper pack, then tear around it.
Step 9 of 10
Adhere with foam pads, to the bottom left of your card blank.
Step 10 of 10
To finish, use your Imala white gel pen to add accents and highlights to the florals stamped on the kraft card.
You made it!
Share your make with the Stamps By Me community - and keep this guide for next time.
Hello! I'm Toni's AI craft helper - I know the projects from Toni's shows, our guides and everything in the shop. Ask me anything, like "which dies go with this stamp set?" or "what do I need to start ink blending?"
An AI helper (not Toni herself), answering from Toni's shows and our shop - please check the product page before you buy.