


Step 1 of 9
Place the 5 1/2" white, square cardstock inside your embossing folder and run it through your machine.








Prices change straight away. Every language is our own translation, not Google.
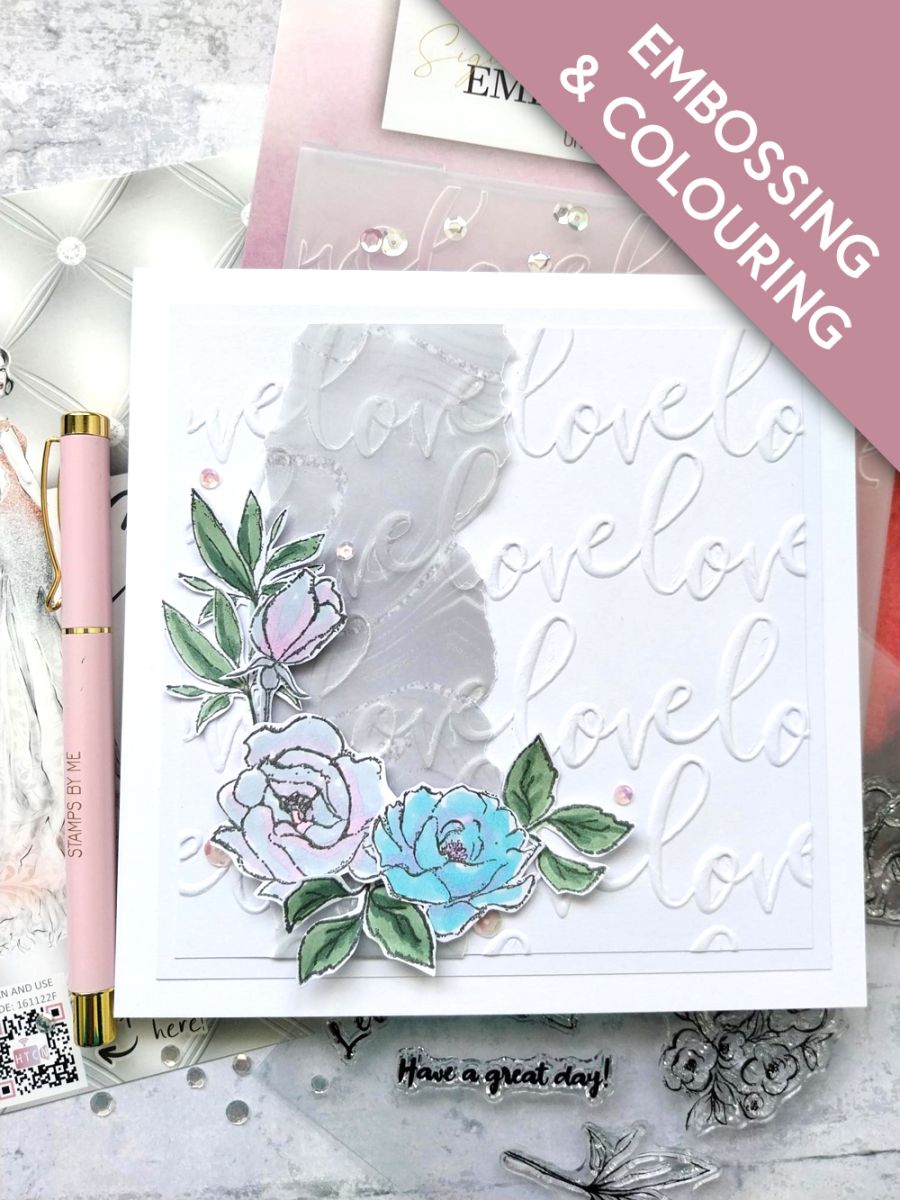
Place the 5 1/2" white, square cardstock inside your embossing folder and run it through your machine.
Remove this gorgeous vellum from the Classic Celebration Vellum pack.
Tear a panel of vellum, as wide as you wish and fold about a cm over, at the top. Place inside the embossing folder, slightly to the left and run it through your embossing folder.
Tip: Look at the photo in the next step, so you can see what you're aiming for and where you want to place your panel, within the folder.
Line up your embossed vellum with the embossed card. Tuck the top and bottom ends over the card and adhere on the reverse with double sided tape or a tape runner.
Adhere this on to the white card cut to 5 3/4" square.
Adhere this on to your white card blank.
Stamp a selection of florals and foliage from Let's Celebrate, with the Midnight hybrid ink, on to a piece of white card. Use the coordinating dies to cut them out, before colouring in with your Gossip alcohol pens. Pop a sheet of copy paper or scrap card underneath, to prevent the ink bleeding through the card and damaging your work surface.
Use a combination of wet glue and foam pads to adhere your 3D elements around the bottom left corner of your card.
To finish, add sequins on, around and tucked just under your 3D elements.
Share your make with the Stamps By Me community - and keep this guide for next time.
Prefer the previous layout? Open the old page.



