


Step 1 of 7
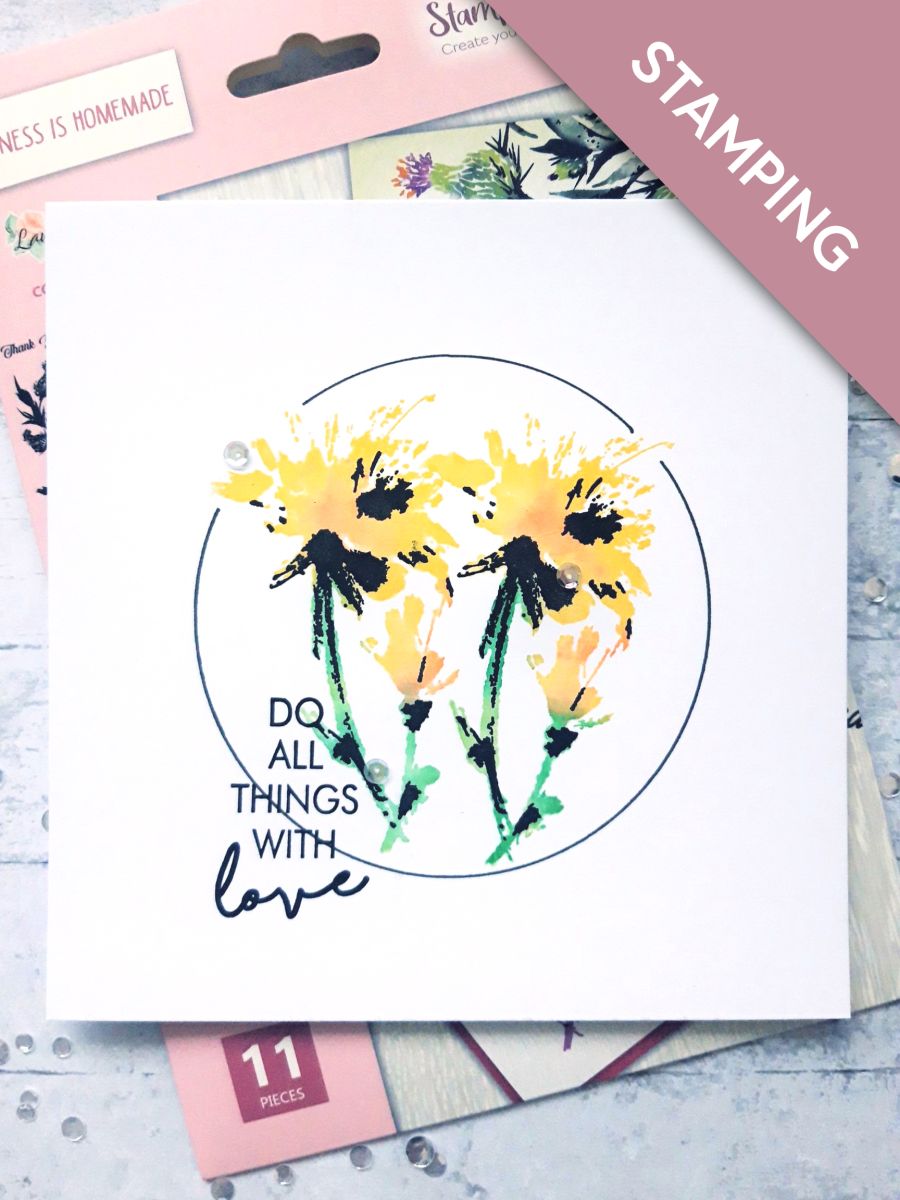
Ink up the stem of the solid floral stamp, from the Happiness Is Homemade Lamination Stamp Collection, with the Izink Menthe and Emeraude inks.
Spritz with water and stamp, just to the right, of the centre of your card blank.








Prices change straight away. Every language is our own translation, not Google.
 Eureka 101 Replacement Bar MagnetsEureka 101€10.99BUY✓ ADDED
Ink up the stem of the solid floral stamp, from the Happiness Is Homemade Lamination Stamp Collection, with the Izink Menthe and Emeraude inks.
Spritz with water and stamp, just to the right, of the centre of your card blank.
Ink up the petal area, of the same stamp, with the Izink Aurore and Rosee inks.
Spritz with water and stamp in position on to your stamped image (You can combine steps 1 and 2 and ink the complete floral image up with all colours, at the same time. Go with whichever you feel more comfortable doing).
Repeat these steps again, stamping a second flower to the left of the first image. You can make the 2 flowers different colours, if you so wish.
Ink up the coordinating detailed stamp, with the Onyx Black Versafine and stamp in place, over the first flower.
Repeat, stamping over the second stamped image.
Place your circle stencil, or mask, in place over your stamped image.
Use a black pen to draw round the stencil, to create a frame around your floral image.
Ink up the sentiment, from the same stamp set, with the Onyx Black Versafine.
Stamp bottom left of your artwork.
Add some sequins on to your artwork to finish.
Share your make with the Stamps By Me community - and keep this guide for next time.
Prefer the previous layout? Open the old page.



