tap a picture to see it big · tap DONE as you go - this device remembers
Step 1 of 11
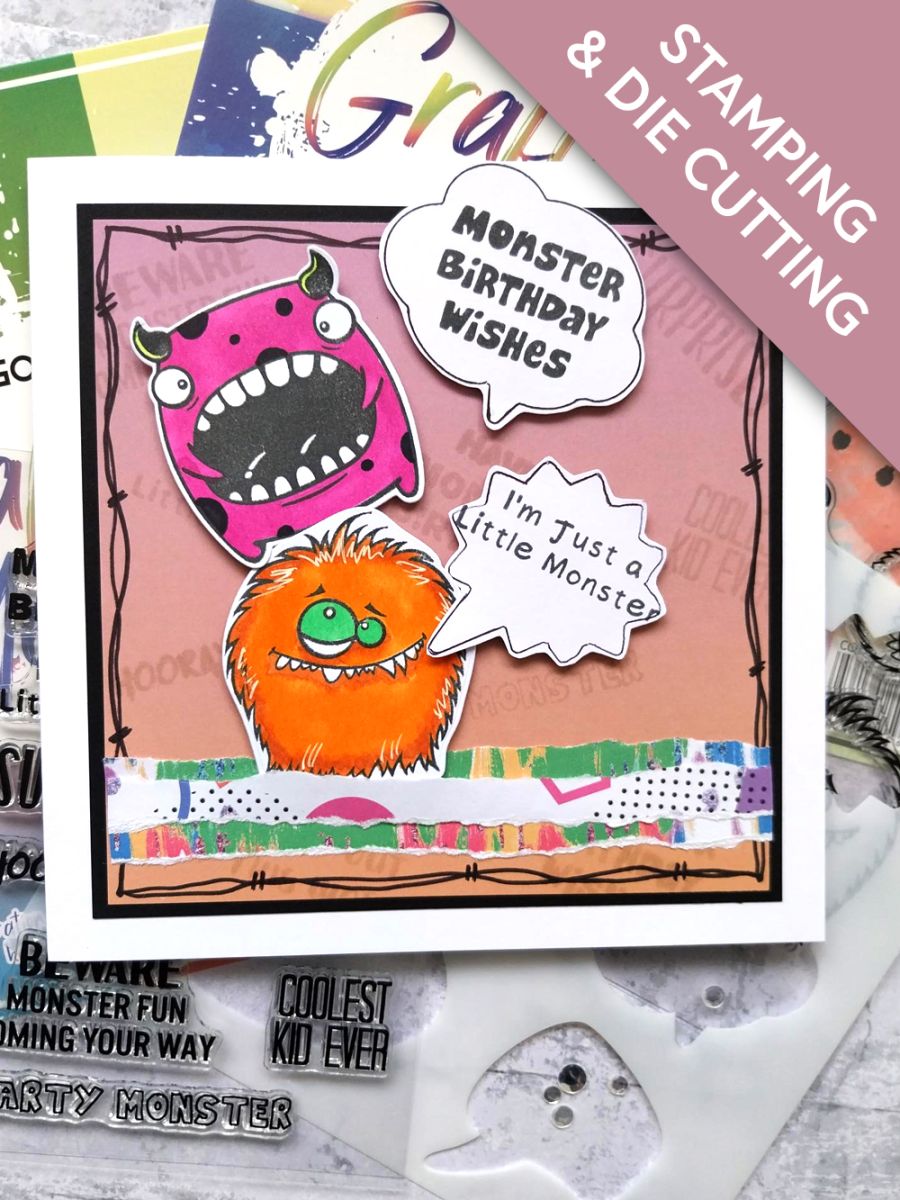
Remove this ombre paper from the Graffiti Monster Foundation pack and cut to 5 3/4" square.
Stamp a selection of sentiments, from the stencil and stamp set, on to your ombre paper with our no-line ink pad. It gives a delicate watermark effect!
Step 2 of 11
Use a black pen to draw a decorative, wiggly frame around the stamped paper.
Step 3 of 11
Tear 2 strips of paper, from the Graffiti Monster patterned paper pad, 5 3/4" in length and one strip wider than the other.
Step 4 of 11
Adhere the widest strip across the bottom third of the stamped paper and the narrower strip on top.
Step 5 of 11
Adhere this on to the black card cut to 6 x 6" and then on to the front of your white, 7" square card blank.
Step 6 of 11
Stamp these 2 cheeky characters with the Midnight hybrid ink, on to a piece of white card. Use the coordinating dies to cut them out.
Colour them in with your alcohol pens, placing a sheet of copy paper underneath. This will protect your work surface from the alcohol ink that bleeds through the card.This is perfectly normal!
Step 7 of 11
Use a black and white gel pen to add accents and highlights to your characters, as required. I decided to add a "spotty" look to one of my cheeky monsters!
Step 8 of 11
Adhere them down the left side of your background, so one is standing on the other's head! Use a combination of wet glue and foam pads, to add dimension to your card.
Step 9 of 11
Draw around 2 of the stencil speech bubbles, on to a piece of white card, then fussy cut.
Step 10 of 11
Stamp these sentiments, in the Midnight ink, in the middle of your speech bubbles.
Step 11 of 11
To finish your project, adhere each sentiment with foam pads, adjacent to each monster.
You made it!
Share your make with the Stamps By Me community - and keep this guide for next time.
Hello! I'm Toni's AI craft helper - I know the projects from Toni's shows, our guides and everything in the shop. Ask me anything, like "which dies go with this stamp set?" or "what do I need to start ink blending?"
An AI helper (not Toni herself), answering from Toni's shows and our shop - please check the product page before you buy.