tap a picture to see it big · tap DONE as you go - this device remembers
Step 1 of 11
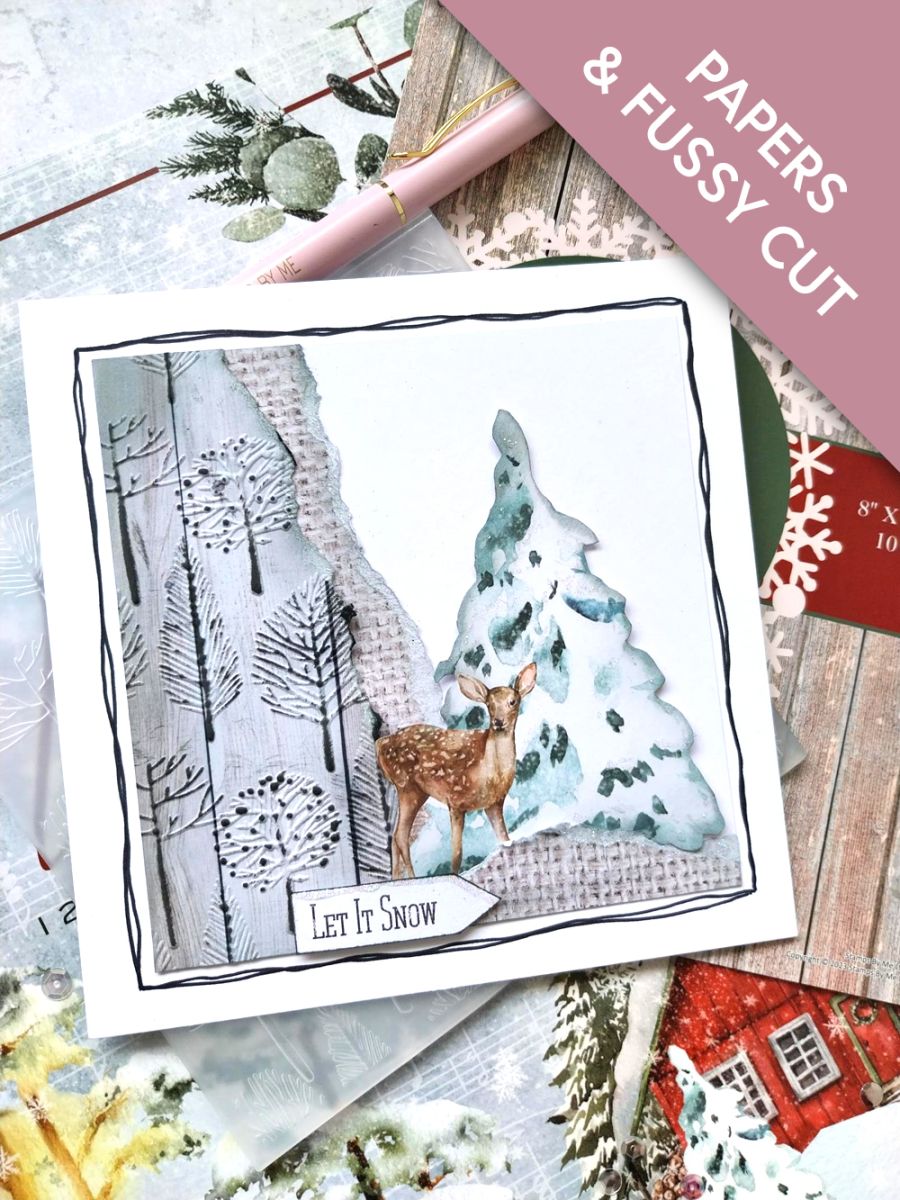
Choose a paper from the Winter Story Foundation Pack, tear a panel and adhere down the left side of your 6 x 6" white cardstock, as seen here. You want it to cover roughly half of the card, on a diagonal angle. Scrunch up the torn edge to add dimension.
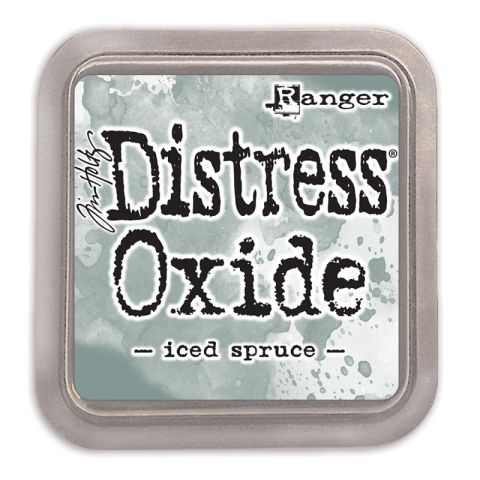
Use a blending tool to blend the Iced Spruce down the side and along the top and bottom of the texured paper.
Set the remaining paper to one side, to use in a later step.
Step 2 of 11
From a DIFFERENT texure paper, tear a panel that is slightly smaller in width than the first.
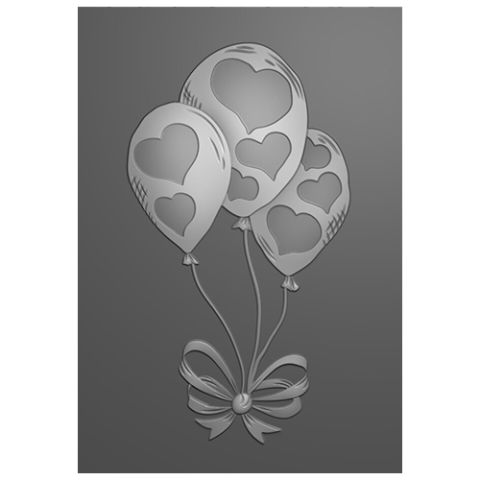
Place it inside your Autumn Breeze embossing folder and run it through your machine. Blend the Iced Spruce Oxide around the edges.
Step 3 of 11
Gently wipe your Midnight ink pad over the raised, embossed areas of your paper.
Step 4 of 11
Adhere on top of the other paper panel, scrunching the torn edge as before.
Step 5 of 11
Fussy cut this beautiful fir tree and Fawn, from the Winter Story Embellishment Pack, blending a little of the Iced Spruce around the edges of the tree.
Step 6 of 11
Tear a small piece from the textured paper, you set aside earlier.
Step 7 of 11
Adhere the fir tree and Fawn as seen here, before gluing the torn paper in front, to "ground" your layout. Scrunch the top torn edge, as before.
Step 8 of 11
Cut out this sentiment banner from the embellishment pack topper sheet. Swipe the Midnight ink pad around the edges.
Step 9 of 11
Adhere to the bottom of your artwork with foam pads.
Step 10 of 11
Adhere your artwork on to your 7" square, white card blank.
Use a black pen to draw a decorative, wiggly frame around the card.
Step 11 of 11
To complete your card, use the Stickles to add glitter and sparkle where required.
You made it!
Share your make with the Stamps By Me community - and keep this guide for next time.
Hello! I'm Toni's AI craft helper - I know the projects from Toni's shows, our guides and everything in the shop. Ask me anything, like "which dies go with this stamp set?" or "what do I need to start ink blending?"
An AI helper (not Toni herself), answering from Toni's shows and our shop - please check the product page before you buy.