tap a picture to see it big · tap DONE as you go - this device remembers
Step 1 of 11
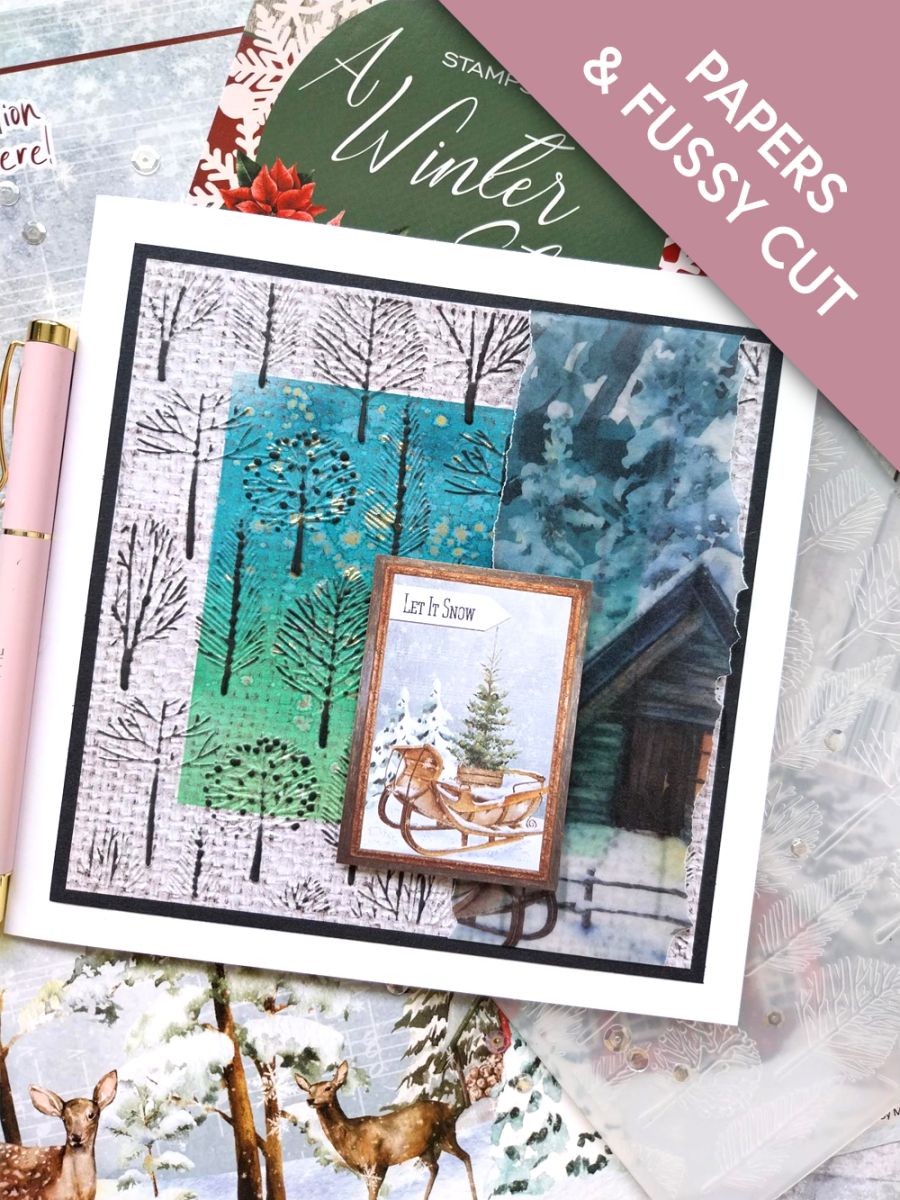
Remove this paper from the Winter Story Foundation Pack and trim to 5 3/4" square. Alternatively, use any texture paper from the Winter Story Paper Collection or from your crafty stash.
NB: You can use smaller card blanks and for our USA crafters, you can adapt your project using your Winter Story HSN collection, to fit the sizes you are working with.
Step 2 of 11
Use your masking tape to create a centre panel, on your background paper.
Step 3 of 11
Blend the Hedgerow, Limeade and Tiffany inks within the panel.
Swirl your Pearlywinks Golden Shimmer Mist, to activate the mica. Spray a little on to your glass mat, before using a paint brush to add splats over your inky panel.
Step 4 of 11
Once the ink is dry, carefully remove your masking tape.
Step 5 of 11
Place inside your Autumn Breeze HD3D embossing folder and run it through your machine.
For our USA crafters, you can use any of your own embossing folders from your crafty stash.
Step 6 of 11
Lightly rub your Midnight Hybrid ink pad over the raised, embossed areas of your design.
Step 7 of 11
Remove this gorgeous, crispy winter vellum design, from the Winter Story Vellum Pack.
Step 8 of 11
Tear a vertical panel from the vellum sheet, incorporating the enchanting cabin and sleigh.
Place down the right side of your embossed background, tuck the excess vellum over the top and bottom of the paper and adhere on the back with double-sided tape or a tape runner.
Step 9 of 11
Adhere your artwork on to black card and then on to the front of your card blank.
Step 10 of 11
Cut out this whimsical, festive topper, from the Winter Story Embellishment Pack. Adhere with foam pads, just off the left edge of the vellum panel
Step 11 of 11
To complete your project, use your Stickles to add that look of a sparkling, crisp winter's day.
You made it!
Share your make with the Stamps By Me community - and keep this guide for next time.
Hello! I'm Toni's AI craft helper - I know the projects from Toni's shows, our guides and everything in the shop. Ask me anything, like "which dies go with this stamp set?" or "what do I need to start ink blending?"
An AI helper (not Toni herself), answering from Toni's shows and our shop - please check the product page before you buy.