tap a picture to see it big · tap DONE as you go - this device remembers
Step 1 of 10
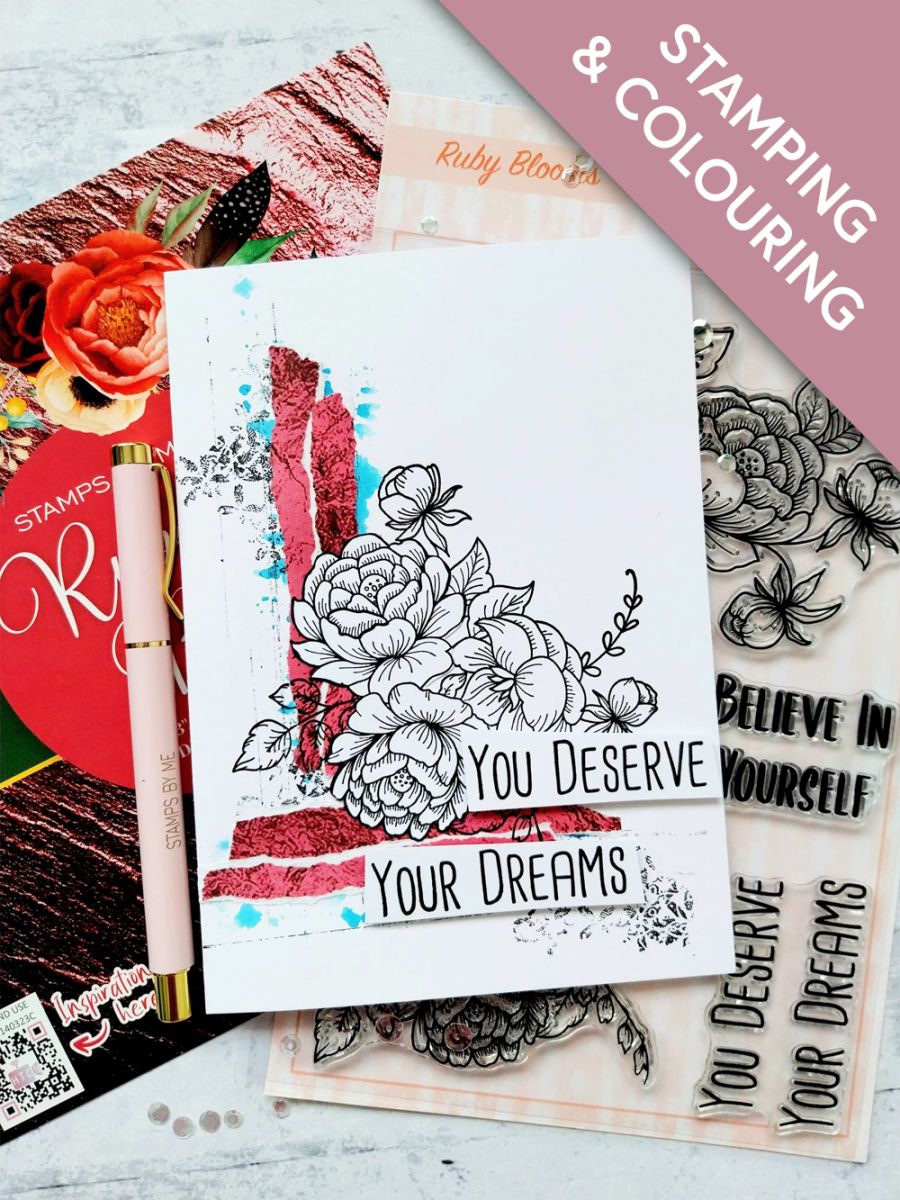
Apply a little of the Tiffany ink on to your glass mat and spritz with water. Dab the edge of your gift/bank card in to the ink, then apply this to the front of your card blank, repeating this several times to create an "L" shape in the bottom left corner.
Step 2 of 10
Using the same technique, apply the Midnight ink to your gift card and add a few random lines to your "L" shaped inky design.
Step 3 of 10
Use the Midnight to ink up the texture stamp, from the SBM Box Magazine kit and stamp randomly on to your inky background, keeping within the "L" shaped layout.
Step 4 of 10
Remove this paper from the Ruby Blooms Foundation pack and tear 4 random strips, as seen here.
Step 5 of 10
Adhere 2 vertically and 2 horizontally, on to your "l" shaped layout.
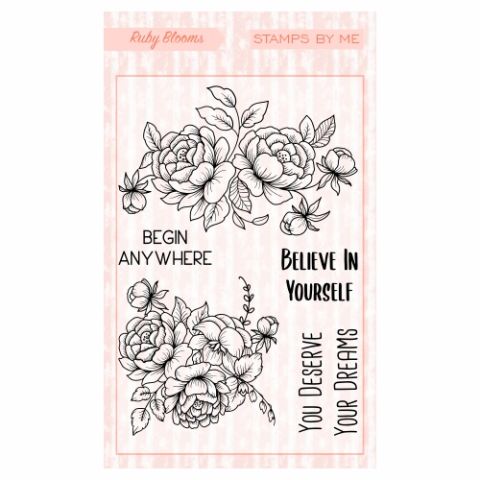
Ink up the floral stamp from the Ruby Blooms set, with the Midnight ink and stamp over your background.
Step 6 of 10
Stamp it again, on to a piece of white card.
Step 7 of 10
Fussy cut TWO of the large bloom heads, as seen here.
Step 8 of 10
Use foam pads to adhere them on top of your stamped artwork.
Step 9 of 10
Stamp the sentiment in the Midnight, on to white card and cut in to TWO pieces.
Step 10 of 10
Adhere across your artwork to finish.
You made it!
Share your make with the Stamps By Me community - and keep this guide for next time.
Hello! I'm Toni's AI craft helper - I know the projects from Toni's shows, our guides and everything in the shop. Ask me anything, like "which dies go with this stamp set?" or "what do I need to start ink blending?"
An AI helper (not Toni herself), answering from Toni's shows and our shop - please check the product page before you buy.