tap a picture to see it big · tap DONE as you go - this device remembers
Step 1 of 9
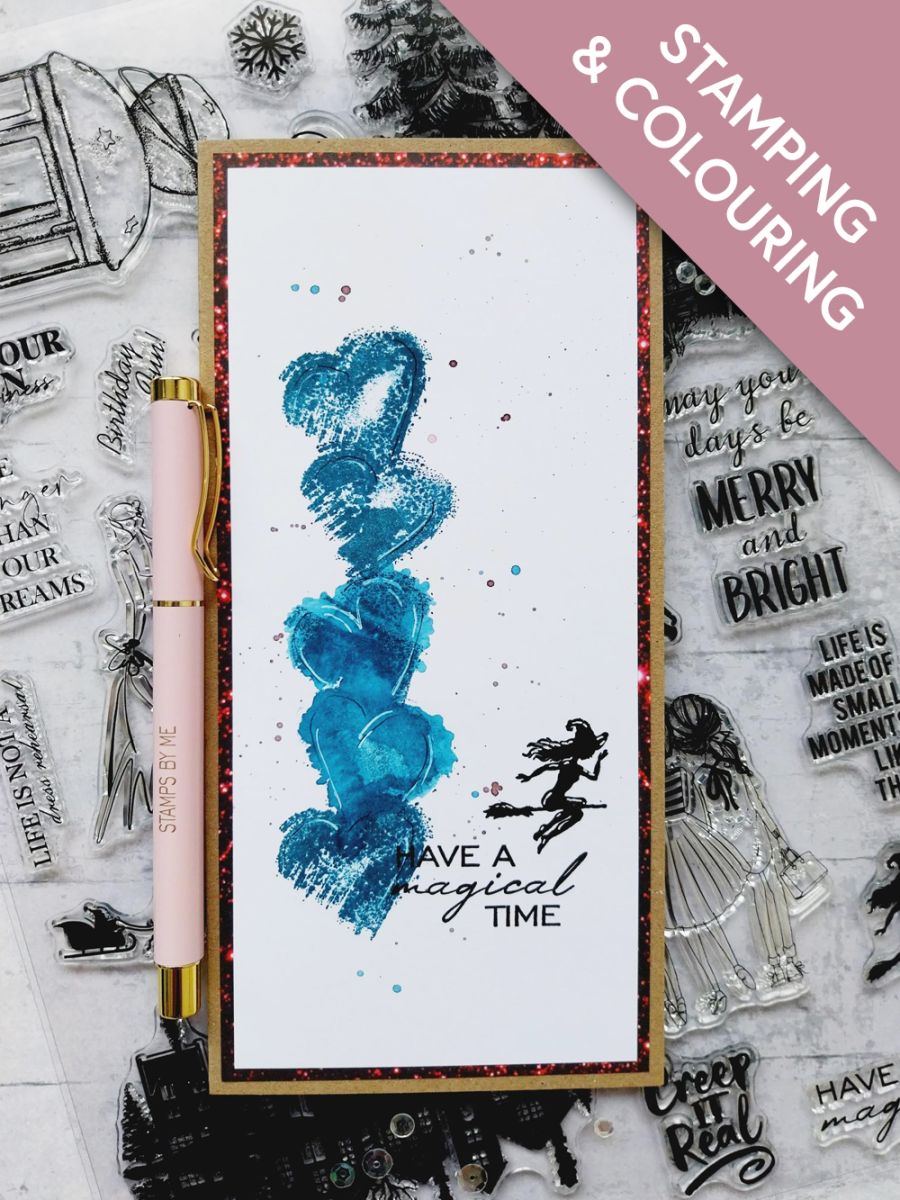
Ink up this textured heart from The Instant Artist, with the Tiffany ink. Spritz the stamp with water and stamp towards the bottom left side, of the white card trimmed to 7 1/2 x 3 1/2".
Repeat to create a tower of hearts going up the side of the card, ensuring you change the orientation each time.
Step 2 of 9
Once the ink is completely dry, use a white gel pen and black fine line pen to add definition, accents and highlights to each heart, thus differentiating them from each other.
Step 3 of 9
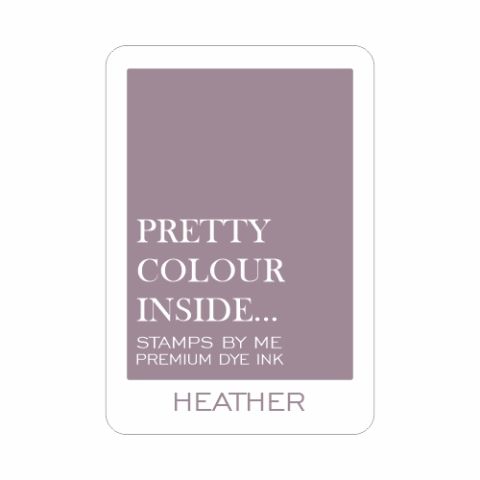
Pop a little Heather and Tiffany on to your glass mat. Add water and use a paint brush to splatter the ink over your artwork.
Step 4 of 9
Once your artwork is dry, stamp this sentiment, from The Instant Artist set, with the Midnight Hybrid ink.
Step 5 of 9
Stamp our enchanting witch, flying over the sentiment!
Step 6 of 9
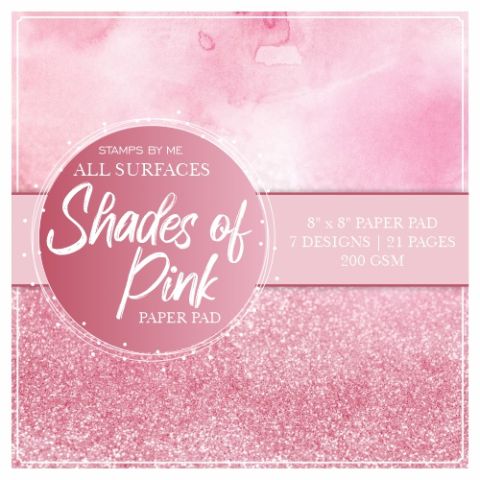
Remove this beautiful paper, from the All Surfaces Burgendy pack and trim to 7 3/4 x 3 3/4".
Step 7 of 9
Adhere your artwork on to the patterned paper.
Step 8 of 9
Adhere this to the front of your DL kraft card blank.
Step 9 of 9
To finish off your project, use the white gel pen to add accents and highlights to the stamped image.
You made it!
Share your make with the Stamps By Me community - and keep this guide for next time.
Hello! I'm Toni's AI craft helper - I know the projects from Toni's shows, our guides and everything in the shop. Ask me anything, like "which dies go with this stamp set?" or "what do I need to start ink blending?"
An AI helper (not Toni herself), answering from Toni's shows and our shop - please check the product page before you buy.