


Step 1 of 10
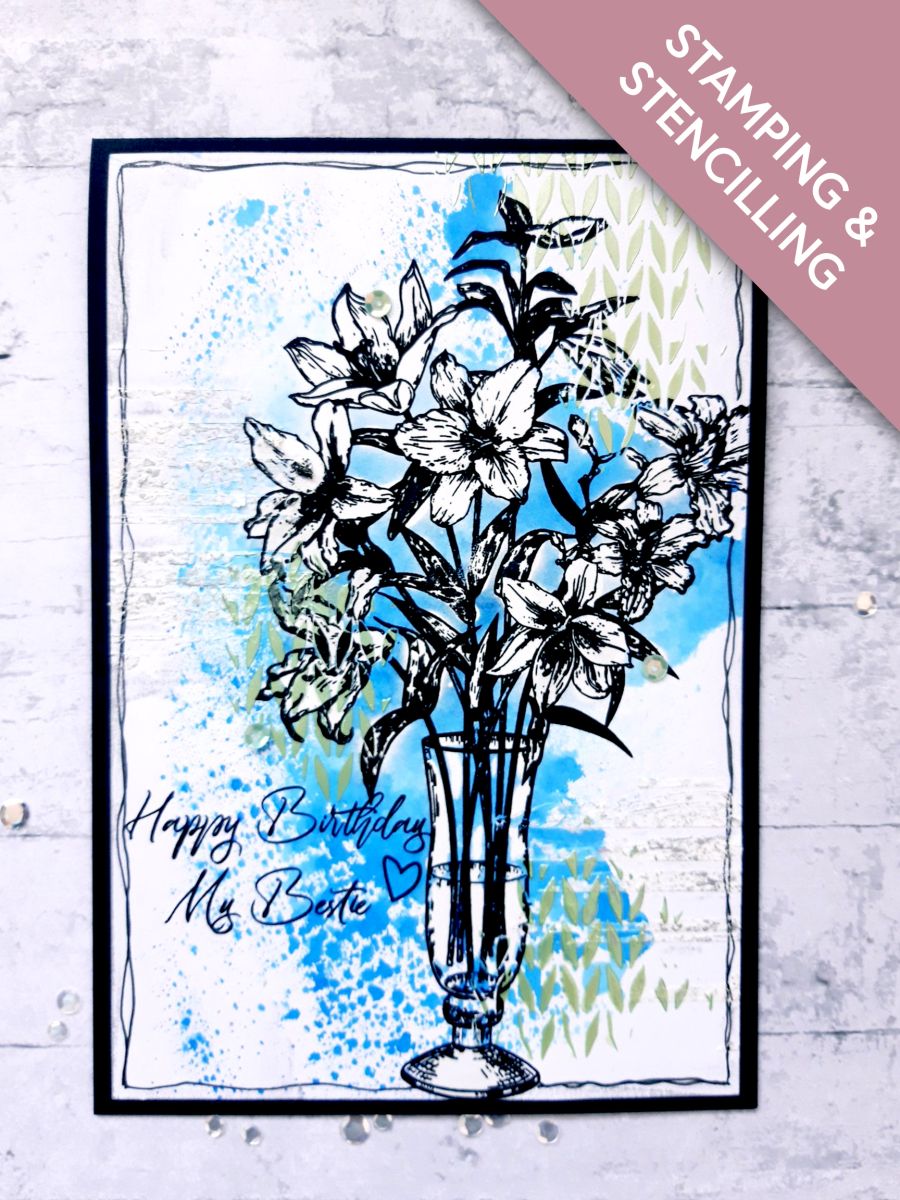
Spray some of the Izink Blue Moon on to a glass or craft mat.
Spritz with a little water.
Pick up the ink on to the white cardstock, to create a background.
Dry thoroughly.








Prices change straight away. Every language is our own translation, not Google.
 Cardstock WhiteWhite cardstock (8 x 5 1/2")€5.65BUY✓ ADDED
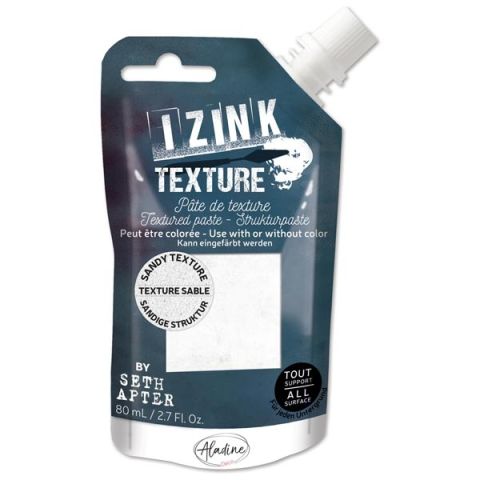 Izink - Texture Paste - Sandy 80ml 030821€5.99BUY✓ ADDED
 Eureka 101 Replacement Bar MagnetsEureka 101€10.99BUY✓ ADDED
Spray some of the Izink Blue Moon on to a glass or craft mat.
Spritz with a little water.
Pick up the ink on to the white cardstock, to create a background.
Dry thoroughly.
Place the stripey stencil from the Creative box, over your inked background.
Blend the Izink Flakey Paste randomly through the stencil, off the top left side of the background.
Apply more Flakey Paste off the bottom right side of the background.
Dry thoroughly before proceeding to the next step.
Place the Knit Stencil over your background.
Apply the Izink Vert D'Eau Pearly Paste randomly through the stencil, off the left side, bottom right and top right edges of your background. The idea is to create a distressed, random effect, so don't be too particular.
Dry all your artwork completely, before moving on to the next step.
Using your ring finger, gently apply some gilding wax over the flakey paste.
Buff off with a soft cloth, to get a good shine.
Ink up the vase image, from the Imala Changes Stamp set, in the Onyx Black Versafine.
Stamp on to your background, slightly off the right hand edge of your artwork.
Dry ink before proceeding to the next step.
Apply some water to a couple of the flowers, wait for a few seconds then "lift" out the ink with a paper towel. This is known as the faux bleaching technique.
Repeat this technique to lift out the colour from all the flowers and/or leaves, and the vase/water, to make your image stand out.
Ink up the sentiment, from the Lamination Smile Everyday Stamp Collection, in the Onyx Black Versafine.
Stamp to the bottom left of the vase.
Use a black pen to draw a decorative wiggly frame around your artwork.
Glue your artwork on to the front of your top folding card blank.
Add sequins around your artwork, to finish.
Share your make with the Stamps By Me community - and keep this guide for next time.
Prefer the previous layout? Open the old page.



