


Step 1 of 10
Cut TWO pieces of white card 7 1/4 x 5 1/4" and 6 x 5".
Spray the Izink sprays on to your glass mat before smooshing both pieces of card in the ink. Blast the ink dry with your heat tool.








Prices change straight away. Every language is our own translation, not Google.
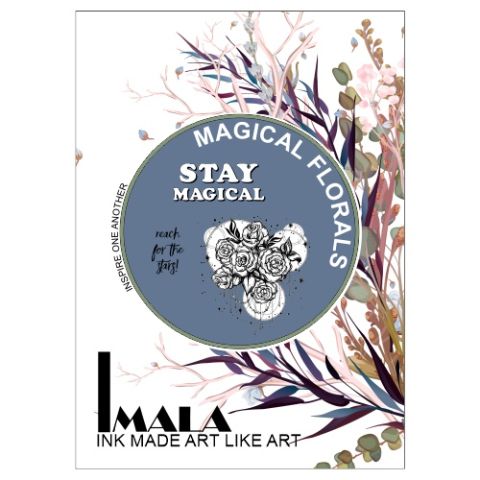 Imala - A5 Stamp - Magical FloralsImala Stay Magical A5 Stamp Set€17.99BUY✓ ADDED
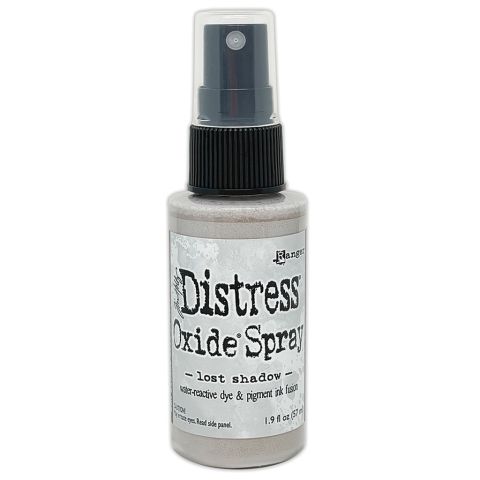 Tim Holtz - Distress - Oxide Spray Lost ShadowDistress Oxide: Lost Shadow€9.85BUY✓ ADDED
Cut TWO pieces of white card 7 1/4 x 5 1/4" and 6 x 5".
Spray the Izink sprays on to your glass mat before smooshing both pieces of card in the ink. Blast the ink dry with your heat tool.
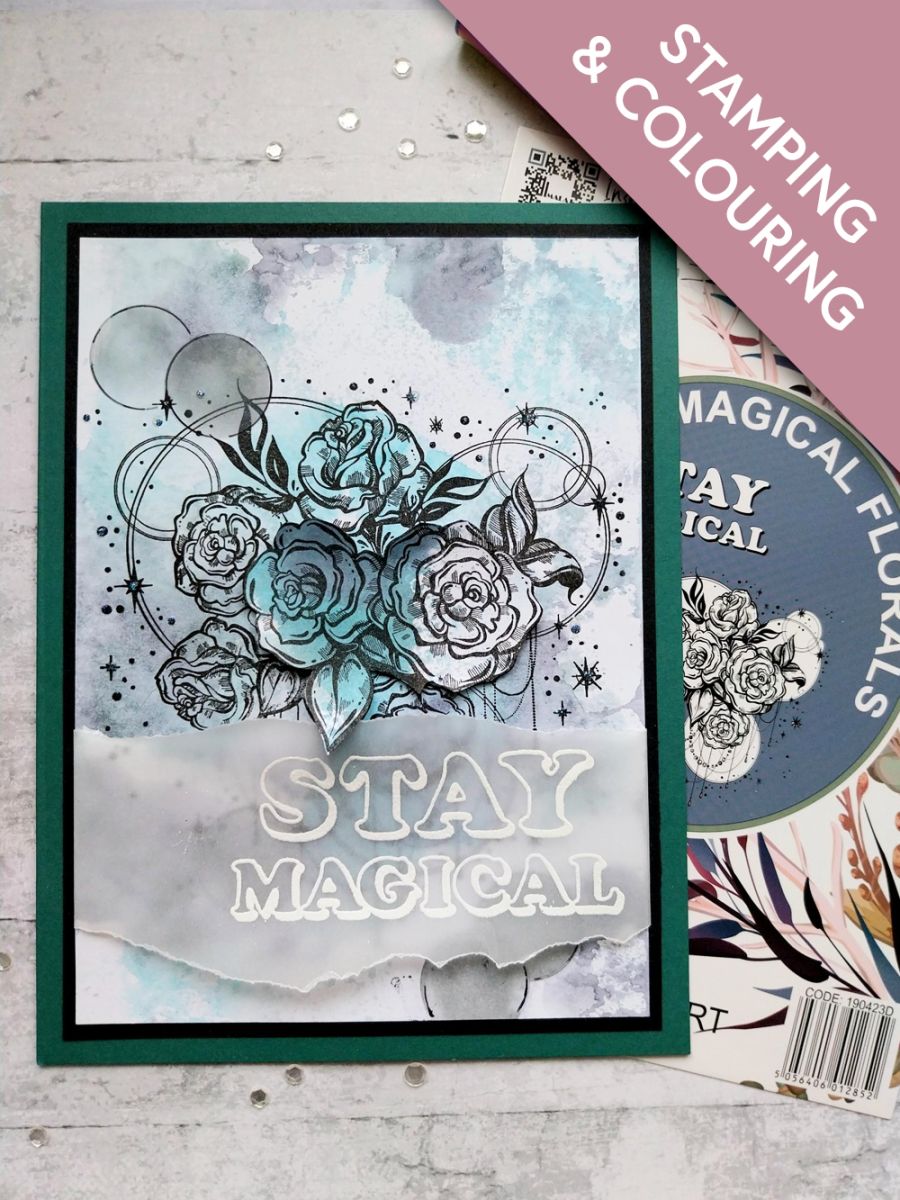
Stamp the design in Midnight, in the centre of the largest piece of inked card.
Re-ink and stamp on to the other piece of inked card, focusing on the floral element areas of the design.
Fussy cut these flowers, from the smaller inked panel.
Use the smaller Imala circle stencil and a black pen, to add extra circles to your artwork. Use the Lost Shadow Oxide to paint them before setting your artwork to one side, to dry.
Tear a strip of vellum slightly wider than your inked card and deep enough to take this sentiment.
Wipe over the vellum with the anti-static bag before stamping the sentiment along the centre, in the WOW embossing ink.
Apply the WOW powder over the sticky ink, get your heat tool good and hot, then heat set the powder.
Place the vellum panel across your artwork and secure on the reverse.
Use foam pads to line up and adhere your fussy cut flowers, in place.
Mat on to black card cut to 7 1/2 x 5 1/2".
Mat on to your teal card blank before using your Stickles. to add a touch of sparkle to your artwork.
Share your make with the Stamps By Me community - and keep this guide for next time.
Prefer the previous layout? Open the old page.



