


Step 1 of 8
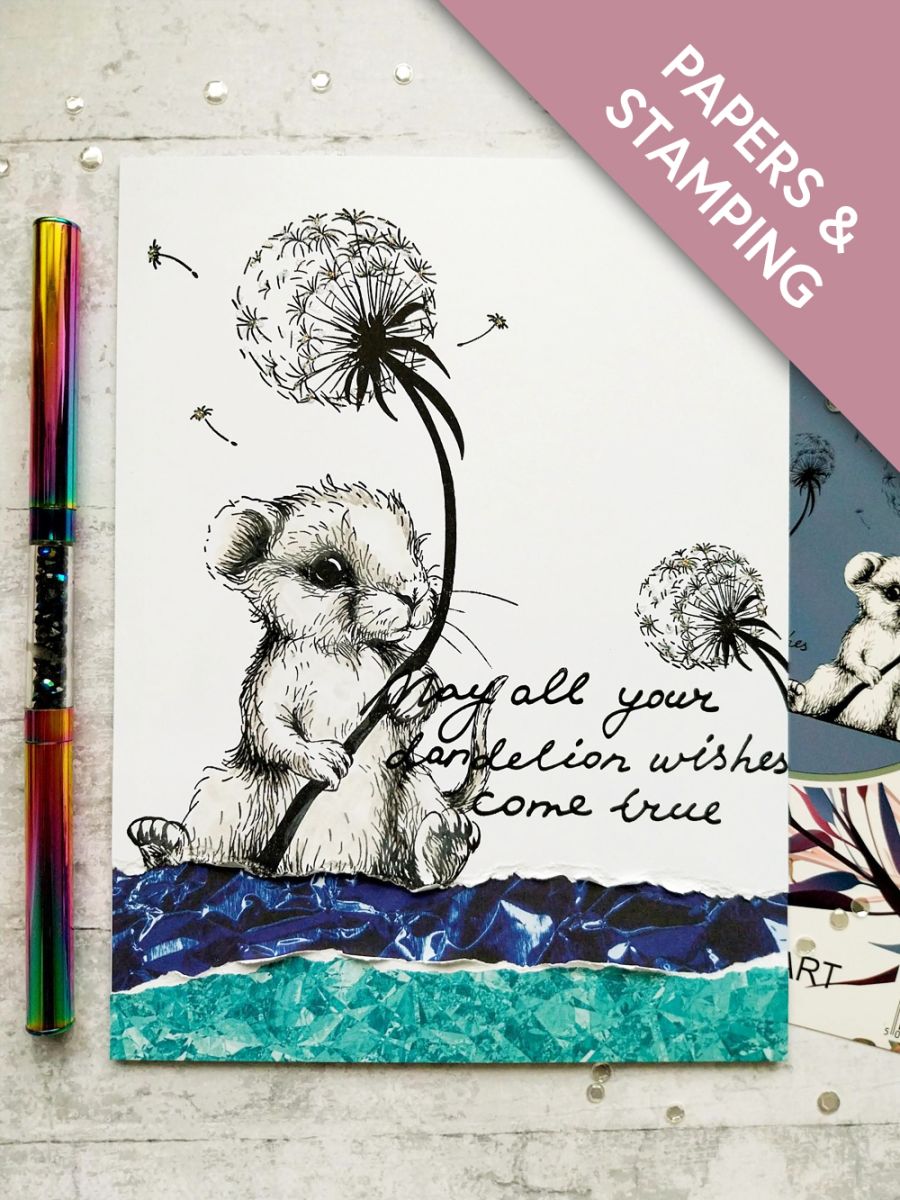
Cut a piece of white card 6" in width and tear across the bottom so your image will fit in length.








Prices change straight away. Every language is our own translation, not Google.
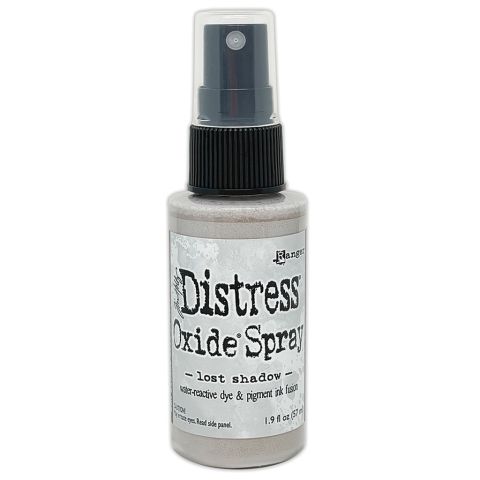 Tim Holtz - Distress - Oxide Spray Lost ShadowDistress Oxide: Lost Shadow€9.85BUY✓ ADDED
Cut a piece of white card 6" in width and tear across the bottom so your image will fit in length.
Stamp your adorable Harold in Midnight, so he's just coming off the bottom of the card.
Use your HIMI oil pencils to colour in your image.
Stamp the sentiment in Midnight, to the bottom right of the image, before popping to one side.
Trim this texture paper, from the Royal Blue paper pad, to 6 x 3" and adhere across the bottom of your card blank.
Trim this paper from the Teal pad to 6 x 1 1/4", then tear along the length. Adhere on top of the blue paper, flush with the bottom of the card blank. Scrunch up the torn edge, to create more texture.
Adhere the stamped card on to your card, flush with the top and sides of the card blank, again scrunching the torn edge.
To finish, use the Stickles to add a touch of sparkle to the Dandelions.
Share your make with the Stamps By Me community - and keep this guide for next time.
Prefer the previous layout? Open the old page.



