tap a picture to see it big · tap DONE as you go - this device remembers
Step 1 of 10
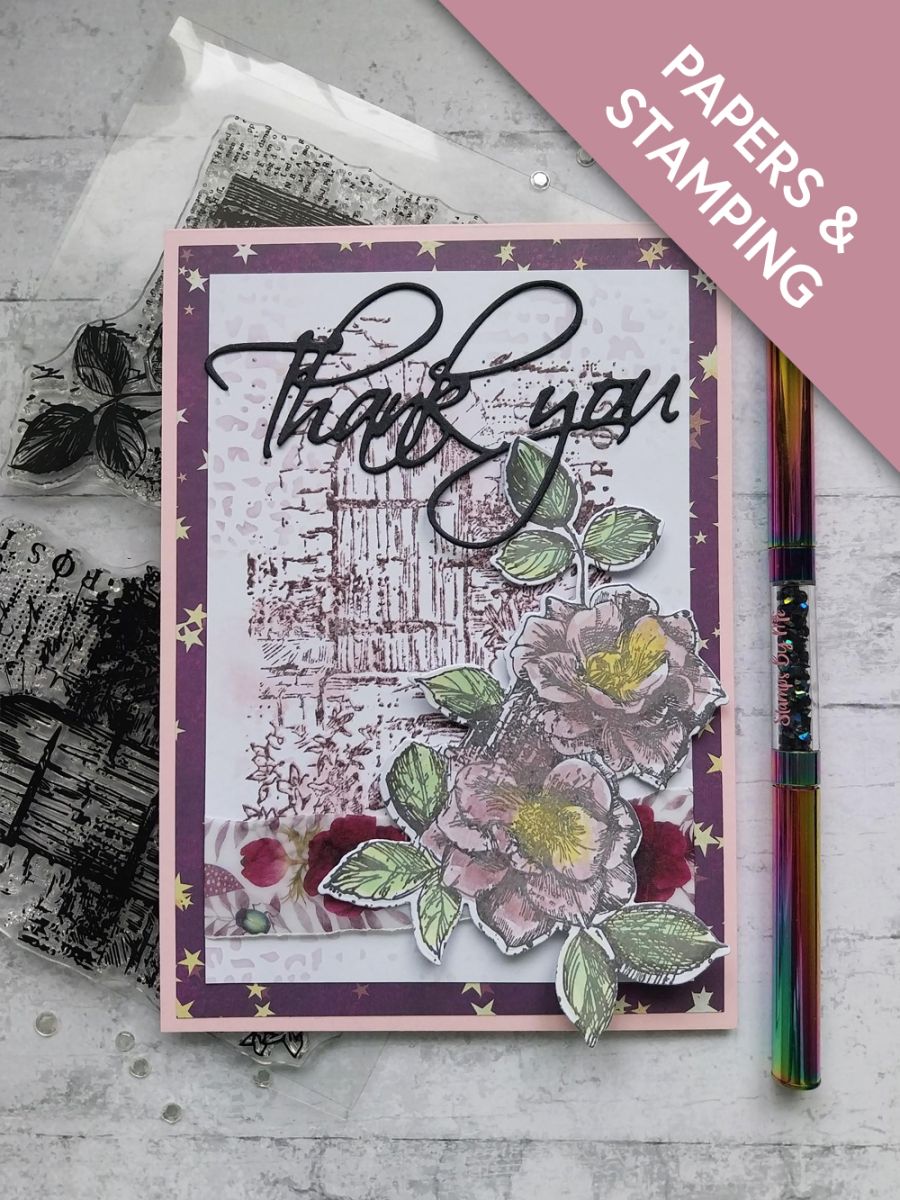
Cut white card to 6 1/4 x 4 1/4". Using your Eureka 101,ink up this beautiful stamp with Heather, spritz the stamp with water and stamp in the centre of the white card. DO NOT MOVE the stamp or card at this stage.....
Spritz the stamped image with water and allow the ink to "bleed". Mop up any excess water and allow the ink to dry naturally or blast with a heat tool if you're impatient like me!!
Step 2 of 10
Once your artwork is dry, stamp back over the image with the Smokey Grey Versafine.
Step 3 of 10
Randomly blend the Heather through the Grunge stencil, adding a touch of texture to your artwork.
Step 4 of 10
Tear a panel of vellum from the Ruby Blooms Vellum pack, place across the bottom third of your artwork and secure the overhanging vellum on the reverse of the card, with double-sided tape or a tape runner.
Step 5 of 10
Cut this decorative paper, from the Happy Haunting paper pack, to 6 3/4 x 4 3/4".
Step 6 of 10
Mat your artwork on to the decorative paper and then on to your pink card blank. Pop to one side.
Step 7 of 10
Stamp this image on to white card, in the grey Versafine.
Step 8 of 10
Fussy cut the floral aspect of the image and paint using your Premium dye ink pads and a paint brush.
Step 9 of 10
Use foam pads to adhere your floral element around the bottom right corner of your card.
Step 10 of 10
Die cut "Thank You" from black card and adhere across the top right, to finish.
You made it!
Share your make with the Stamps By Me community - and keep this guide for next time.
Hello! I'm Toni's AI craft helper - I know the projects from Toni's shows, our guides and everything in the shop. Ask me anything, like "which dies go with this stamp set?" or "what do I need to start ink blending?"
An AI helper (not Toni herself), answering from Toni's shows and our shop - please check the product page before you buy.