tap a picture to see it big · tap DONE as you go - this device remembers
Step 1 of 8
Wipe over the white cardstock, 8 x 5 1/2", with an anti static bag.
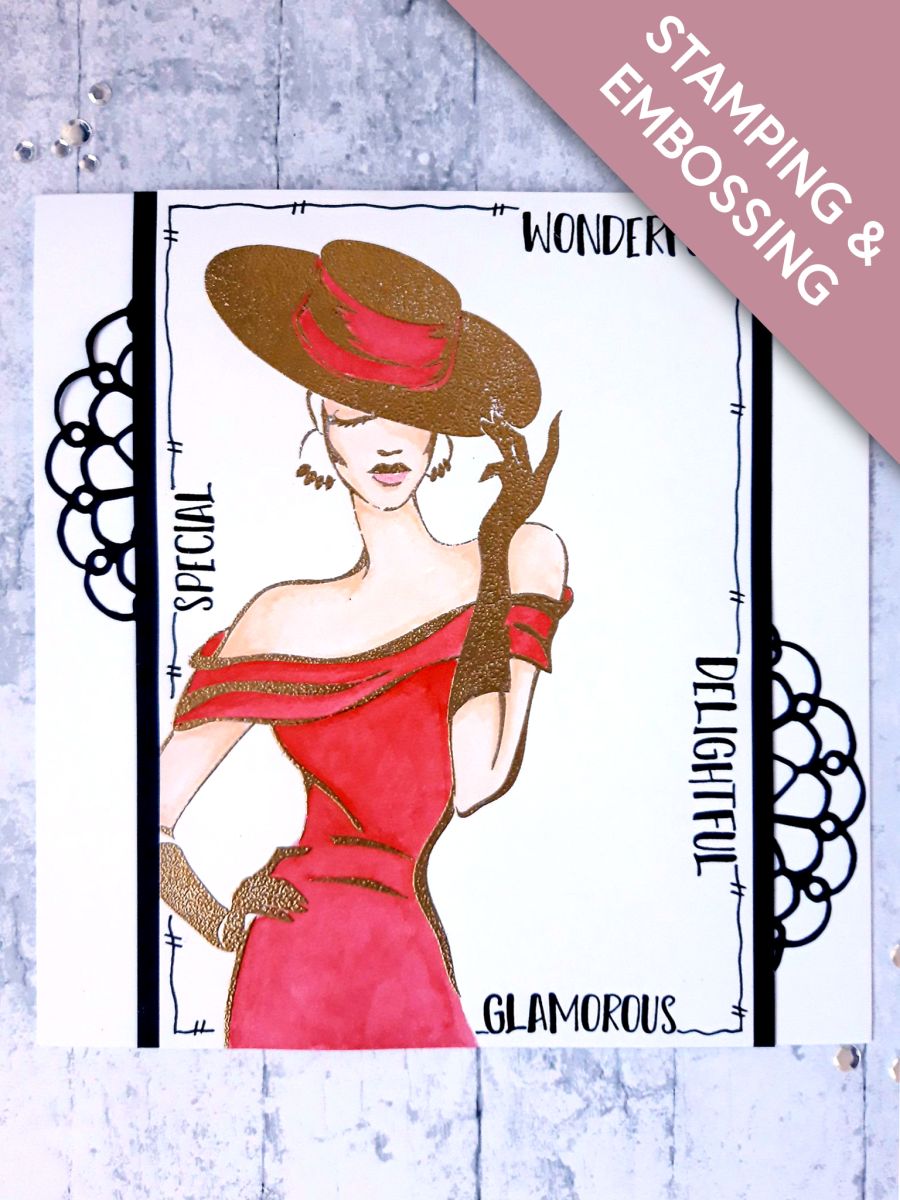
Ink up our lovely lady, from the Imala Pretty Woman stamp set, in the Versmark sticky ink.
Stamp her just off the left hand edge of the card.
Apply the gold embossing powder over your stamped image, and set with your heat gun.
Step 2 of 8
Paint your embossed image, using your watercolour paints.
To add more depth and shade to my painted image, i used HIMI Oil Pencils, once the paints were completely dry.
Step 3 of 8
Choose 4 sentiment stamps, from the Floral Banners Stamp And Die Collection.
One at a time, ink them up with the Onyx Black Versafine, and stamp each one along a different edge of the card, as shown in the photo. NB: You will be connecting them, to create a frame, so stamp them roughly the same distance from the edge of the card.
Step 4 of 8
Use a black pen to connect the stamped words, drawing a decorative frame around your artwork.
Step 5 of 8
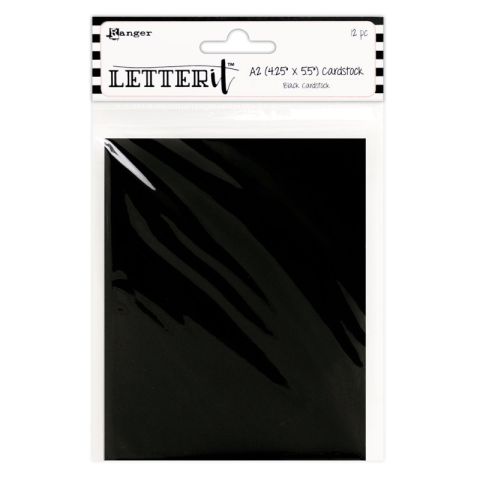
Glue your artwork on to the 8 x 6" black cardstock, ensuring it is flush at the top and bottom, with an equal gap of black card, visible on either side.
Set this to one side.
Step 6 of 8
Place the large flower die, from the Thirsty Brush UnLtd Fancy Flowers Creative Dies, on to the 5 x 5" black cardstock.
Run it through your die cutting machine.
Step 7 of 8
Cut the die cut flower in half.
Using your artwork as a guide, glue the 2 halves top left, and bottom right, of your card blank, so that they peek out from your artwork, once it is adhered in place.
Step 8 of 8
To finish, glue your artwork in place, in the middle of your card blank.
You made it!
Share your make with the Stamps By Me community - and keep this guide for next time.
Hello! I'm Toni's AI craft helper - I know the projects from Toni's shows, our guides and everything in the shop. Ask me anything, like "which dies go with this stamp set?" or "what do I need to start ink blending?"
An AI helper (not Toni herself), answering from Toni's shows and our shop - please check the product page before you buy.