


Step 1 of 9
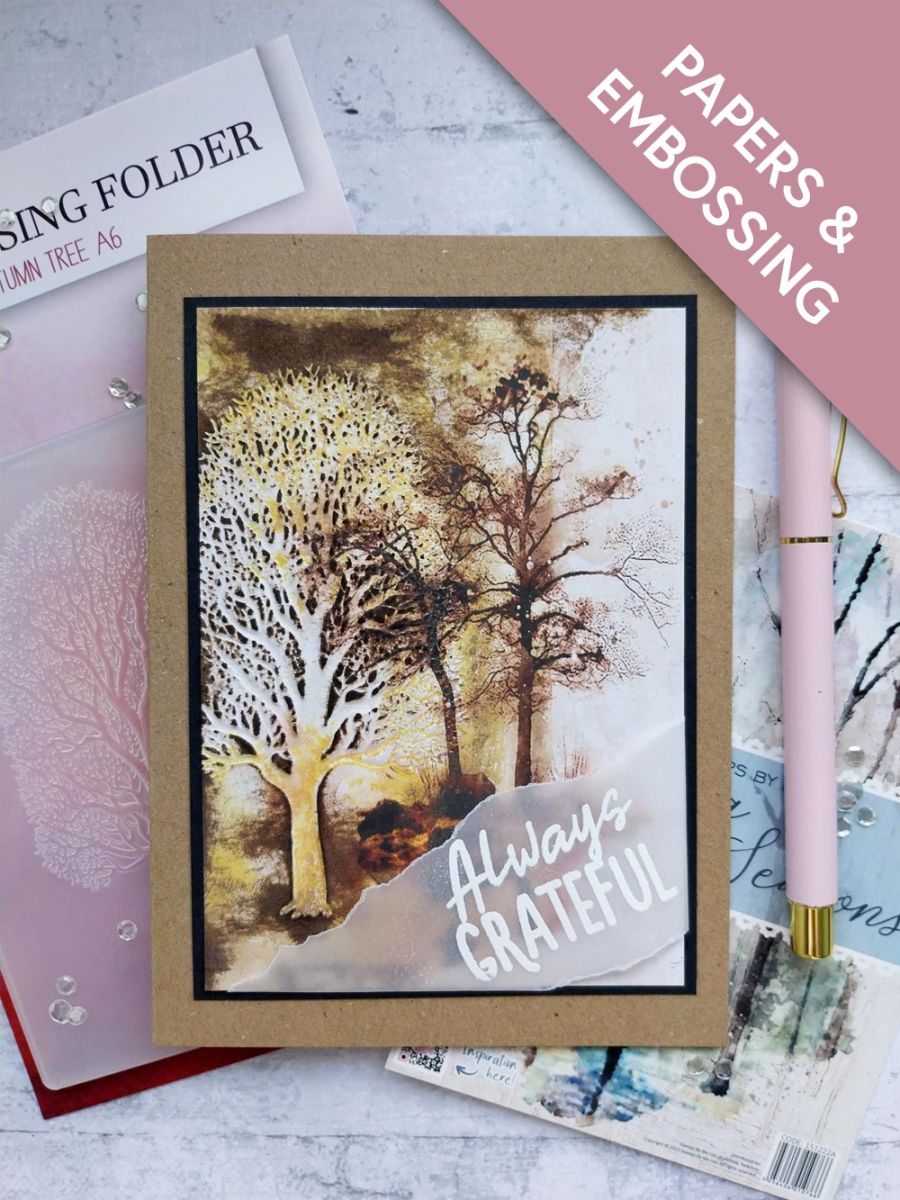
Remove this gorgeous painted mount from the Changing Seasons pack.








Prices change straight away. Every language is our own translation, not Google.
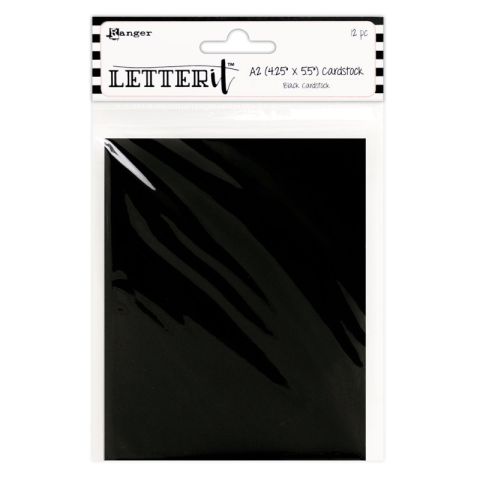 Cardstock BlackBlack cardstock€5.65BUY✓ ADDED
Remove this gorgeous painted mount from the Changing Seasons pack.
Ink up the DEBOSSED side of the Autumn Tree folder, with the Fossilized Amber Oxide and spritz lightly with water.
Place the painted mount inside, so the image sits to the left of the printed mount artwork.
Run it through your machine. You can add more Fossilized Amber, with a paint brush, as required.
Use your blending tool to apply Walnut Stain on random areas of the tree, below and around it, giving depth and dimension to your artwork.
Blast the ink dry with your heat tool.
Using your sentiment stamp (from Cotton Pines) as a positional guide, tear a panel of vellum that will lay diagonally across the bottom right corner, as shown here. You will need an overhang of vellum at each end, to allow you to secure it in place.
Having wiped over the vellum with your anti-static bag, stamp the sentiment with the sticky WOW embossing ink. Apply the white embossing powder and, once your heat tool is hot, heat set the powder.
Place across your painted mount, fold over the excess vellum and secure on the reverse with double-sided tape.
Mat on to black card cut to 6 x 4 1/4".
Affix to the front of your kraft card blank, to finish.
Share your make with the Stamps By Me community - and keep this guide for next time.
Prefer the previous layout? Open the old page.



