tap a picture to see it big · tap DONE as you go - this device remembers
Step 1 of 11
Swipe the Worn Lipstick ink pad over the DEBOSSED side of the Autumn embossing folder and spritz lightly with water.
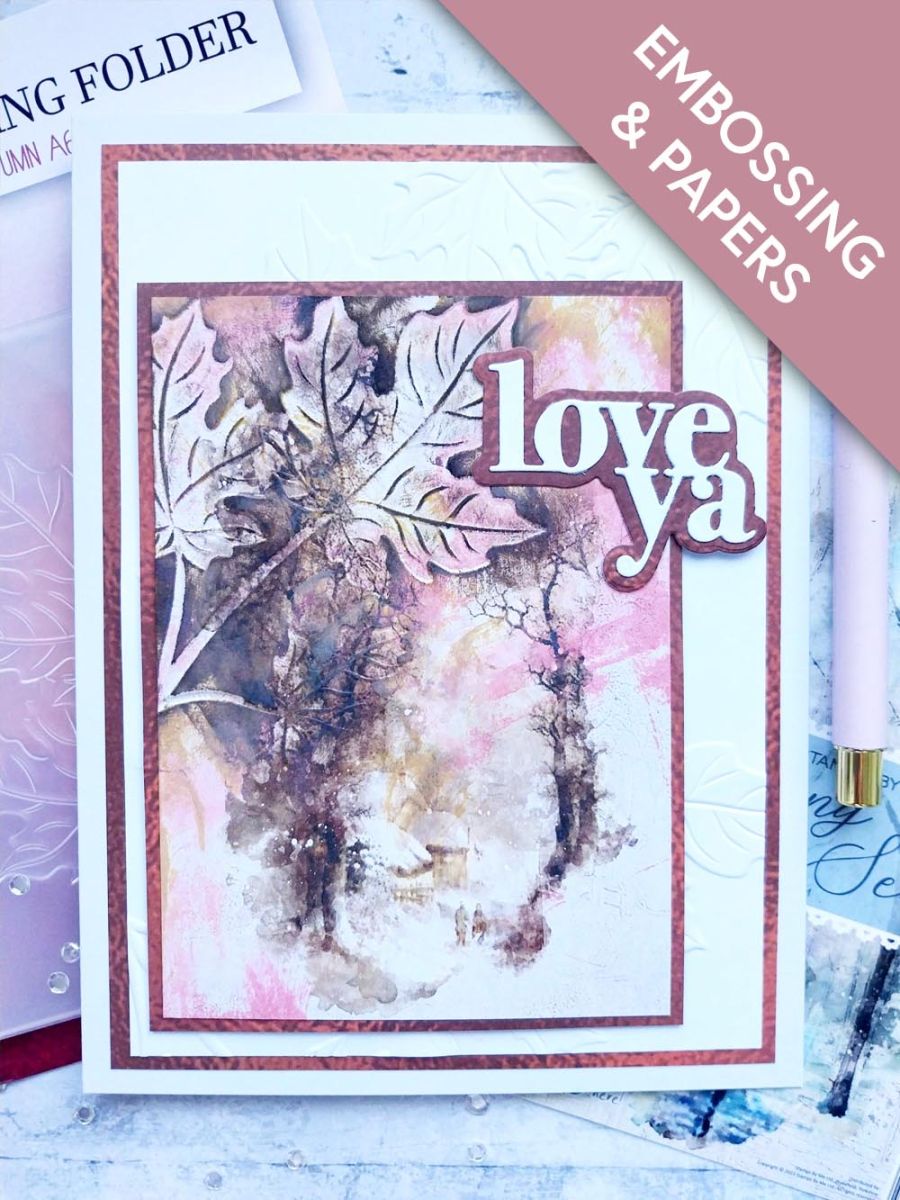
Place this beautiful painted mount, from the Changing Seasons pack, inside the folder so the leaves are coming down the top left side of the mount.
Step 2 of 11
Run through your die machine. You can go in and blend more of the ink around the top edges of the card, as shown here.
Step 3 of 11
Randomly swipe the Fossilized Amber ink pad around areas of the debossed image.
Step 4 of 11
Go back in and randomly swipe the Walnut Stain ink pad around the image, making the debossed leaves "pop". Set to one side to dry.
Step 5 of 11
Trim white card to 7 1/4 x 5 1/4", place inside the embossing folder and run it through your machine. You can choose whether to use the embossed or debossed side, for your background.
Step 6 of 11
Remove TWO of these patterned sheets from the Copper paper pad. Trim one to 7 1/2 x 5 1/2"and one 6 x 4 1/4".
Step 7 of 11
Adhere the embossed mount and embossed background on to their paper mats.
Step 8 of 11
Adhere to the front of your card blank and pop to one side.
Step 9 of 11
Using the "Love Ya" dies, cut the detailed die from white card and the outline die from the decorative paper left over earlier.
Step 10 of 11
Adhere to the top right of your artwork, with foam pads.
Step 11 of 11
Use the Stickles to add a touch of sparkle to your artwork.
You made it!
Share your make with the Stamps By Me community - and keep this guide for next time.
Hello! I'm Toni's AI craft helper - I know the projects from Toni's shows, our guides and everything in the shop. Ask me anything, like "which dies go with this stamp set?" or "what do I need to start ink blending?"
An AI helper (not Toni herself), answering from Toni's shows and our shop - please check the product page before you buy.