


Step 1 of 5
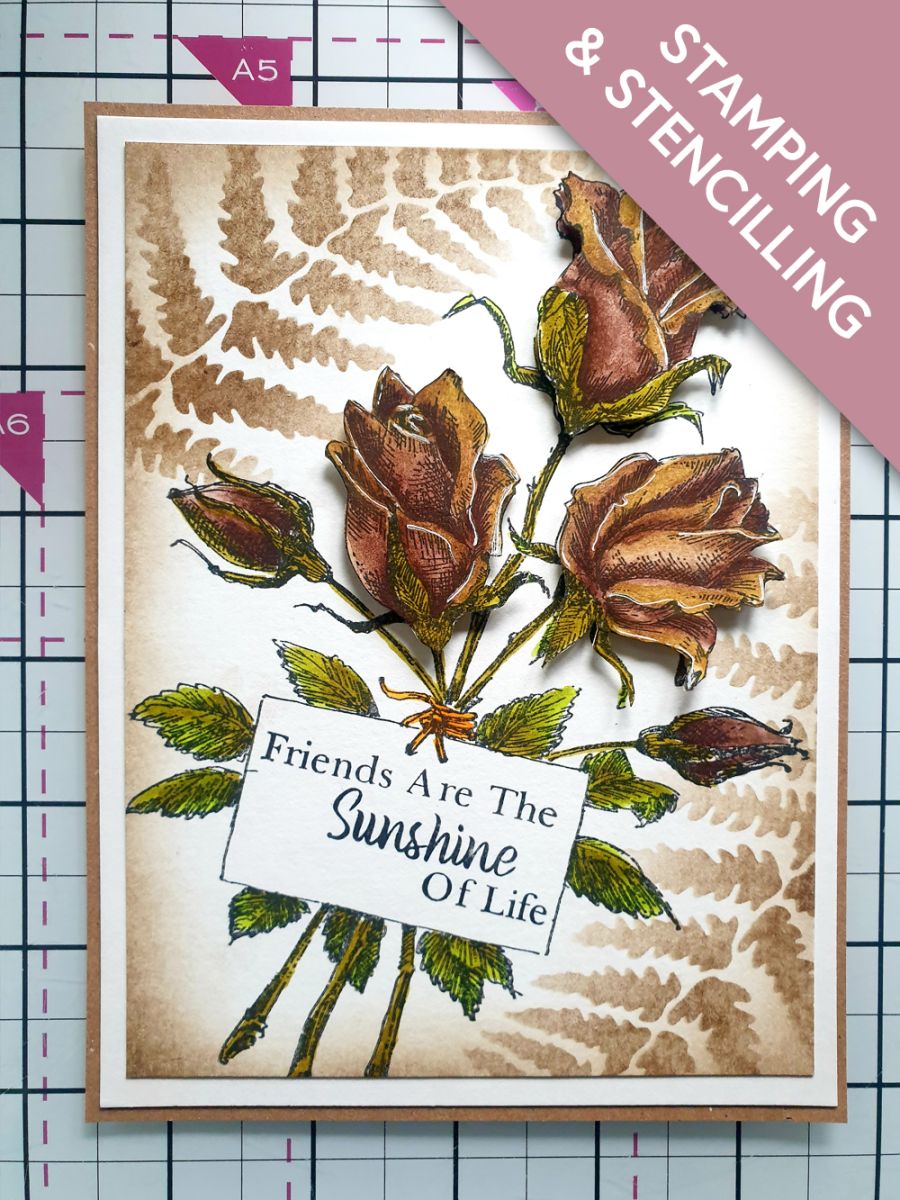
Stamp the Flower Hugs on to watercolour card cut to 4 x 6". Re-stamp it on another piece of watercolour card and cut out the top 3 flower heads.








Prices change straight away. Every language is our own translation, not Google.
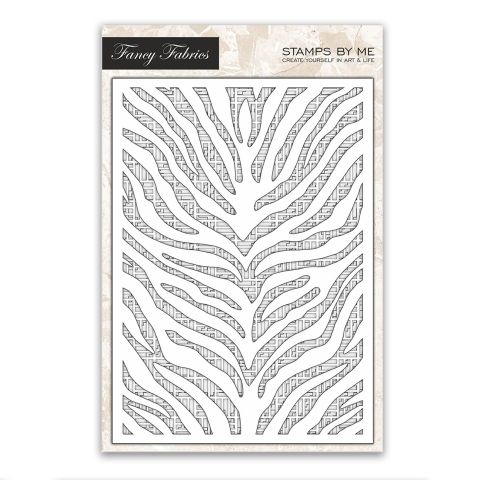 Stamps By Me Stencil Bundle - Fancy Fabrics€16.99BUY✓ ADDED
Stamp the Flower Hugs on to watercolour card cut to 4 x 6". Re-stamp it on another piece of watercolour card and cut out the top 3 flower heads.
Use your paints to watercolour your focal image and the 3 flower heads.
Once the paint is dry, use your Imala white gel pen to add accents and highlights.
Blend the Seal Brown through the Fern stencil, top left and bottom right of your artwork.
Use the same ink to blend around the edges of the card. Stamp your sentiment in the Midnight ink, within the stamped panel, before attaching the flower head elements with foam pads.
Adhere your artwork on to white card cut, to 4 3/4 x 6 3/4" and then on to the kraft card blank.
Share your make with the Stamps By Me community - and keep this guide for next time.
Prefer the previous layout? Open the old page.



