


Step 1 of 10
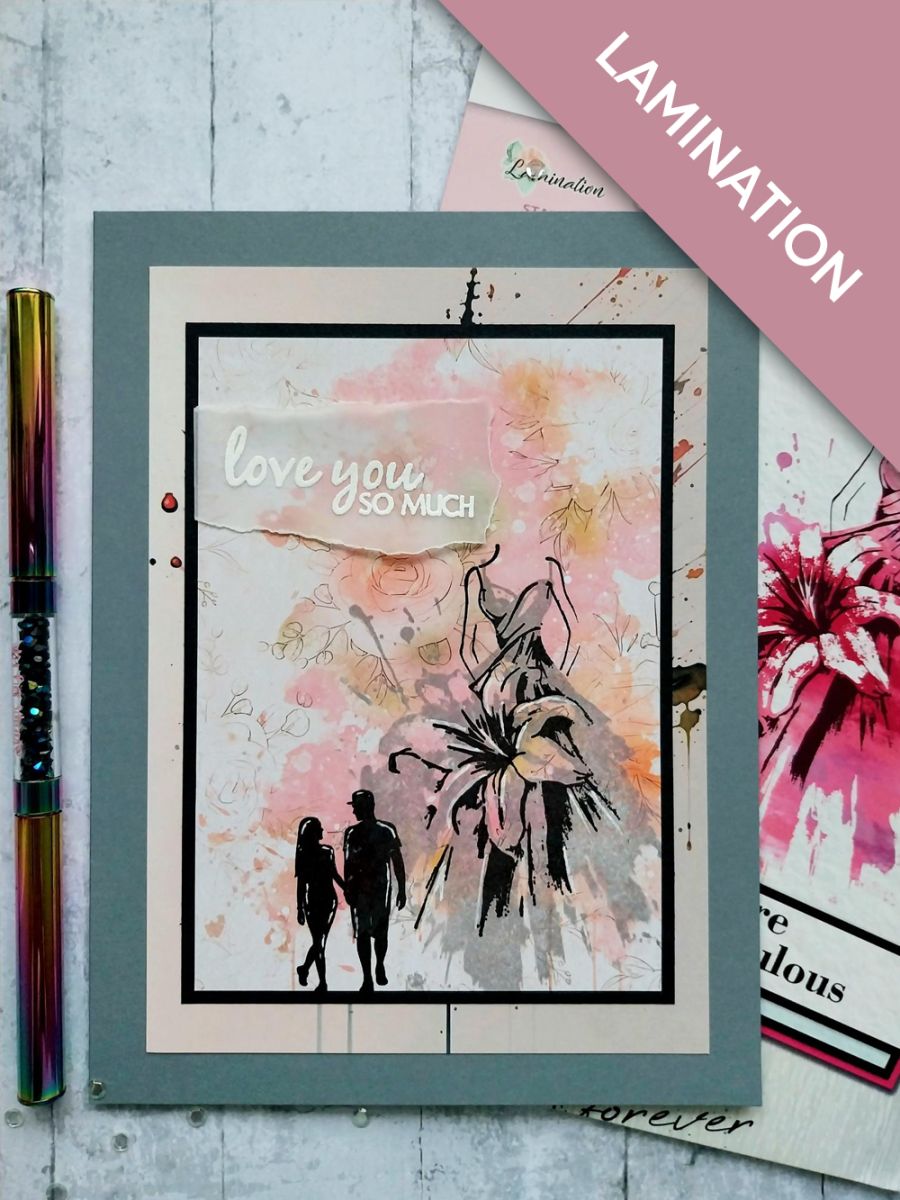
Ink the solid stamp from Just Be You, with Hickory Smoke. Spritz with water and stamp off the bottom right of this beautiful painted mount, from the Floral Hues pack.








Prices change straight away. Every language is our own translation, not Google.
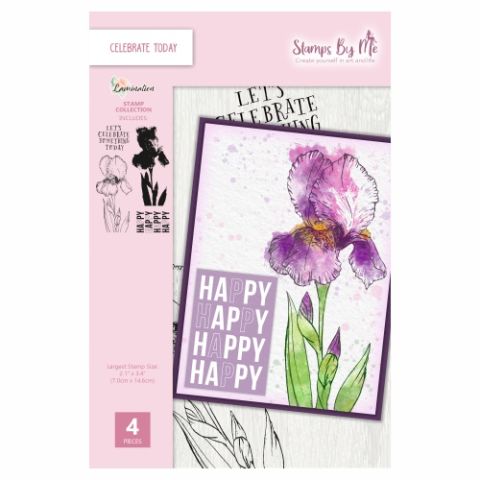 100566 - Htcn - A5 Stamp - Lamination - Celebrate Today
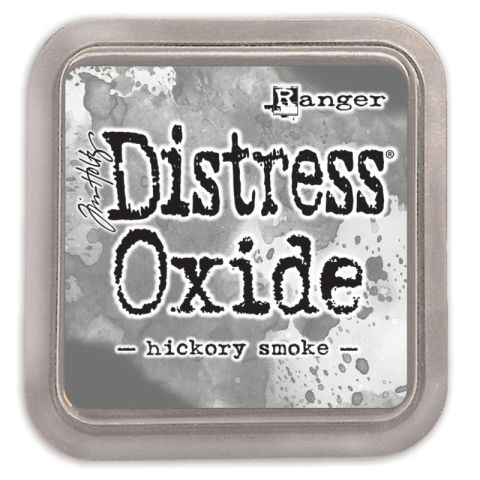 Tim Holtz - Distress - Oxide Pad Hickory SmokeDistress Ink/Oxide Ink Pad: Hickory Smoke€10.45BUY✓ ADDED
Ink the solid stamp from Just Be You, with Hickory Smoke. Spritz with water and stamp off the bottom right of this beautiful painted mount, from the Floral Hues pack.
Stamp the coordinating detailed stamp, in Midnight, over the solid image.
Stamp the solid silhouette stamp, from Celebrate You, with the Midnight, to the bottom left of the gown, minus the reflective element of the design.
Tear a panel of vellum, long enough to fit the stamp on but with excess vellum to the left of the sentiment. Wipe over with the anti-static bag and stamp the sentiment in the sticky embossing ink. Apply the white embossing powder over the sticky sentiment and once the heat tool is hot, heat set the powder.
Place the embossed vellum in the top left corner of the mount. Tuck the end of the vellum over the left edge of the mount and secure on the reverse with your double-sided tape.
Use your white gel pen to add accent and highlights to your stamped images, as required.
Mat your stamped artwork on to black card, cut 1/4" bigger than the mount.
Remove this decorative paper from the Watercolour Artistry pack.
Mat your artwork on to the paper.
Adhere to your grey card blank, to finish.
Share your make with the Stamps By Me community - and keep this guide for next time.
Prefer the previous layout? Open the old page.



